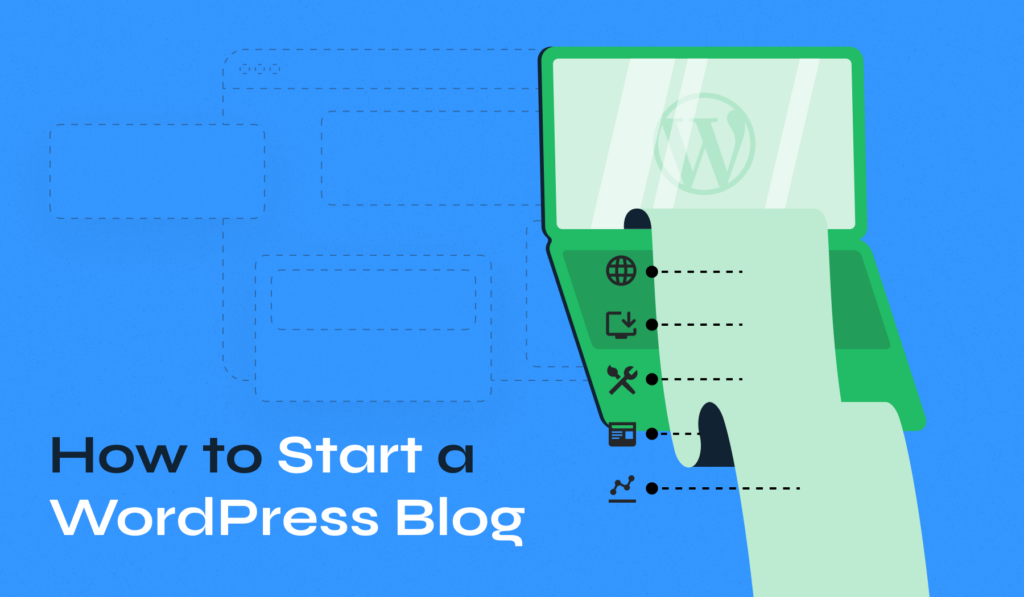
Knowing how to start a WordPress blog requires a blend of creativity and technical know-how. This guide provides a straightforward, step-by-step approach to creating your WordPress blog, ensuring a solid foundation for your online presence.
This article provides the necessary tools and insights, covering everything from selecting a domain and web hosting to crafting your first post and promoting the blog.
Whether blogging for business, passion, or both, you’ll find practical advice to navigate the blogging landscape confidently and effectively.
Quick Guide to Starting a WordPress Blog
Here’s a quick summary of the critical steps involved in starting and maintaining a WordPress website:
- Step 1: Register a Domain Name
- Step 2: Select a Hosting Provider
- Step 3: Install WordPress
- Step 4: Select and Customize a Theme
- Step 5: Customize Blog Settings
- Step 6: Install Essential Plugins
- Step 7: Create Your First Blog Post
- Step 8: Promote and Grow Your Blog
- Step 9: Maintain Your Blog
Now, let’s explore each aspect in more detail to ensure you’re well-equipped to launch your WordPress blog successfully.
9 Steps to Create a Blog on WordPress
The steps to start a blog are relatively straightforward. Still, some parts are slightly unintuitive, and this guide will make the whole process much easier for you.
1. Register a Domain Name
Think of your domain name as your unique address in the digital world, a direct link to your blog that people will remember and use to find you. Opt for a catchy, memorable name that reflects your blog’s theme or personal brand. Avoid complicated spellings that might confuse potential visitors. A domain name typically costs around $14.99/year, a small price for your brand’s online presence.
Conduct thorough research using domain registrars or your web hosting provider to ensure domain name availability. It’s not just about finding an available name but one that also avoids trademark issues or confusion with other sites.
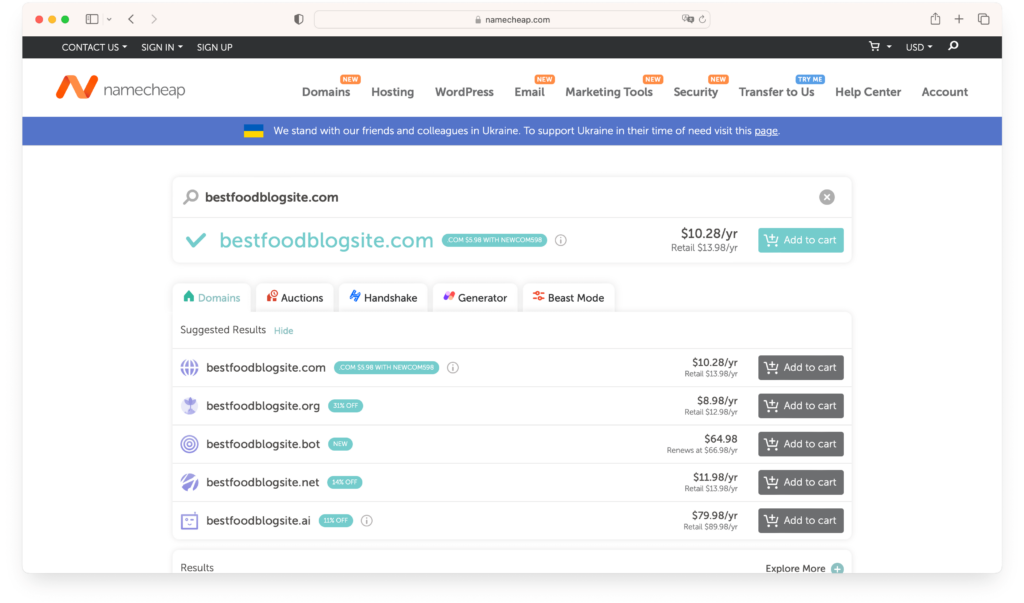
If you’re finding it challenging to come up with the perfect domain name, consider using a domain name generator tool like DomainWheel. These tools offer a variety of suggestions based on the keywords you provide. They can spark ideas and show you available domain options. You can get a list of potential domain names by inputting a few relevant words, making the selection process easier and more fun.
2. Selecting a Hosting Provider
Hosting is like choosing a home for your blog on the internet. A reliable hosting provider ensures your blog is accessible, secure, and performs well.
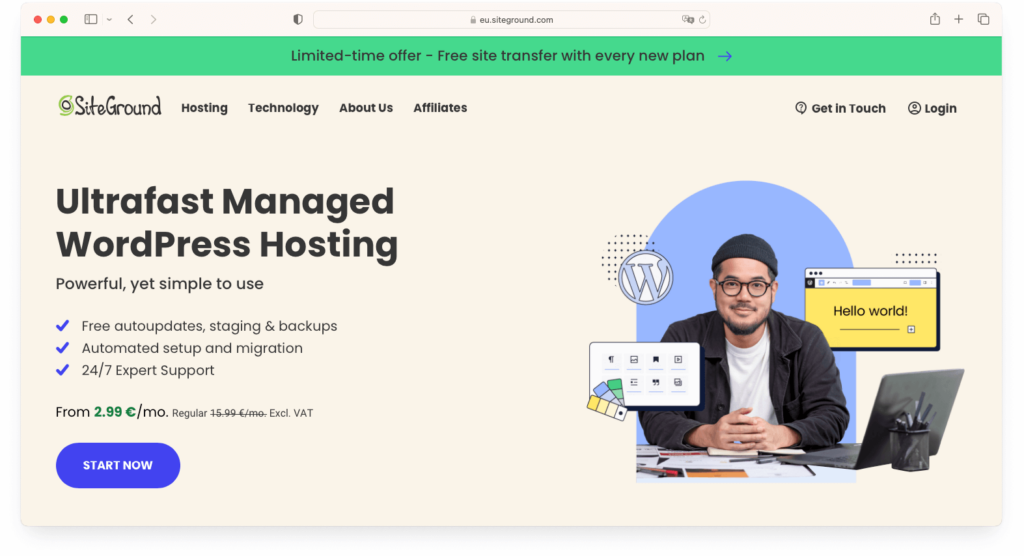
When choosing a hosting provider, consider uptime guarantees, customer support quality, and WordPress-specific features. Providers like SiteGround are renowned for their WordPress compatibility and often start at $7.99/month.
Explore reviews and testimonials to gauge the credibility of potential hosts. Don’t just skim the surface; look for consistency in customer experiences and the provider’s response to issues.
Next, draw up a cost comparison chart. While freebies are tempting, they often come with limitations. Seek out hosting plans that balance affordability with features, like a free domain name, without skimping on essentials.
An added convenience is that many companies, including Siteground, offer domain registration and hosting services. This can simplify the process, allowing you to manage your domain and hosting from a single platform. It’s also beneficial for troubleshooting, as you’ll have one point of contact for any issues related to your blog’s domain or hosting.
3. Installing WordPress
With your domain and hosting ready, the next step is installing WordPress. This platform will serve as the base to manage your website content. WordPress is celebrated for its user-friendliness and flexibility, making it a favorite among bloggers.
Regardless of your hosting provider, installing WordPress is typically straightforward and similar across different platforms.
Here’s a general guide to installing WordPress:
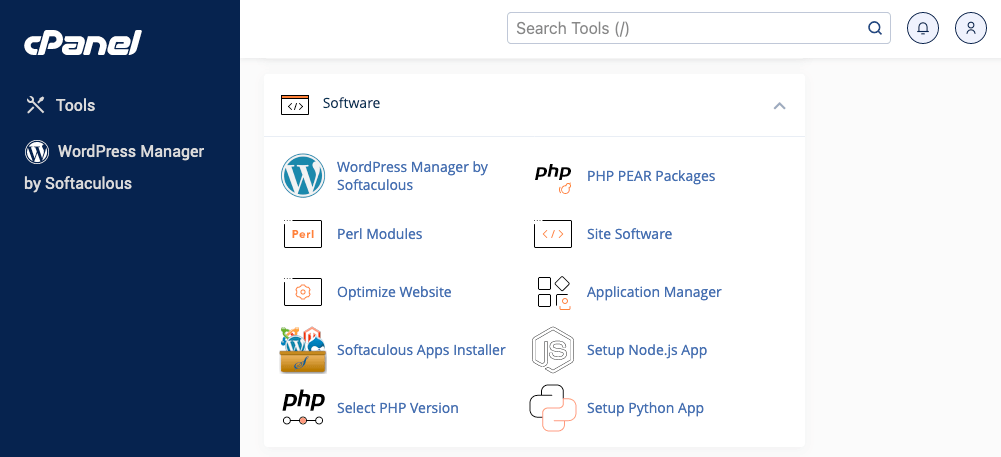
- Log into Your Hosting Control Panel: Most providers use a control panel like cPanel, Plesk, or a custom dashboard.
- Locate the WordPress Installer: Hosting providers often offer a one-click WordPress installation tool. You can usually find this under sections labeled ‘Website’ or ‘Software and Services.’ One-click installation tools include Softaculous, Fantastico, and QuickInstall.

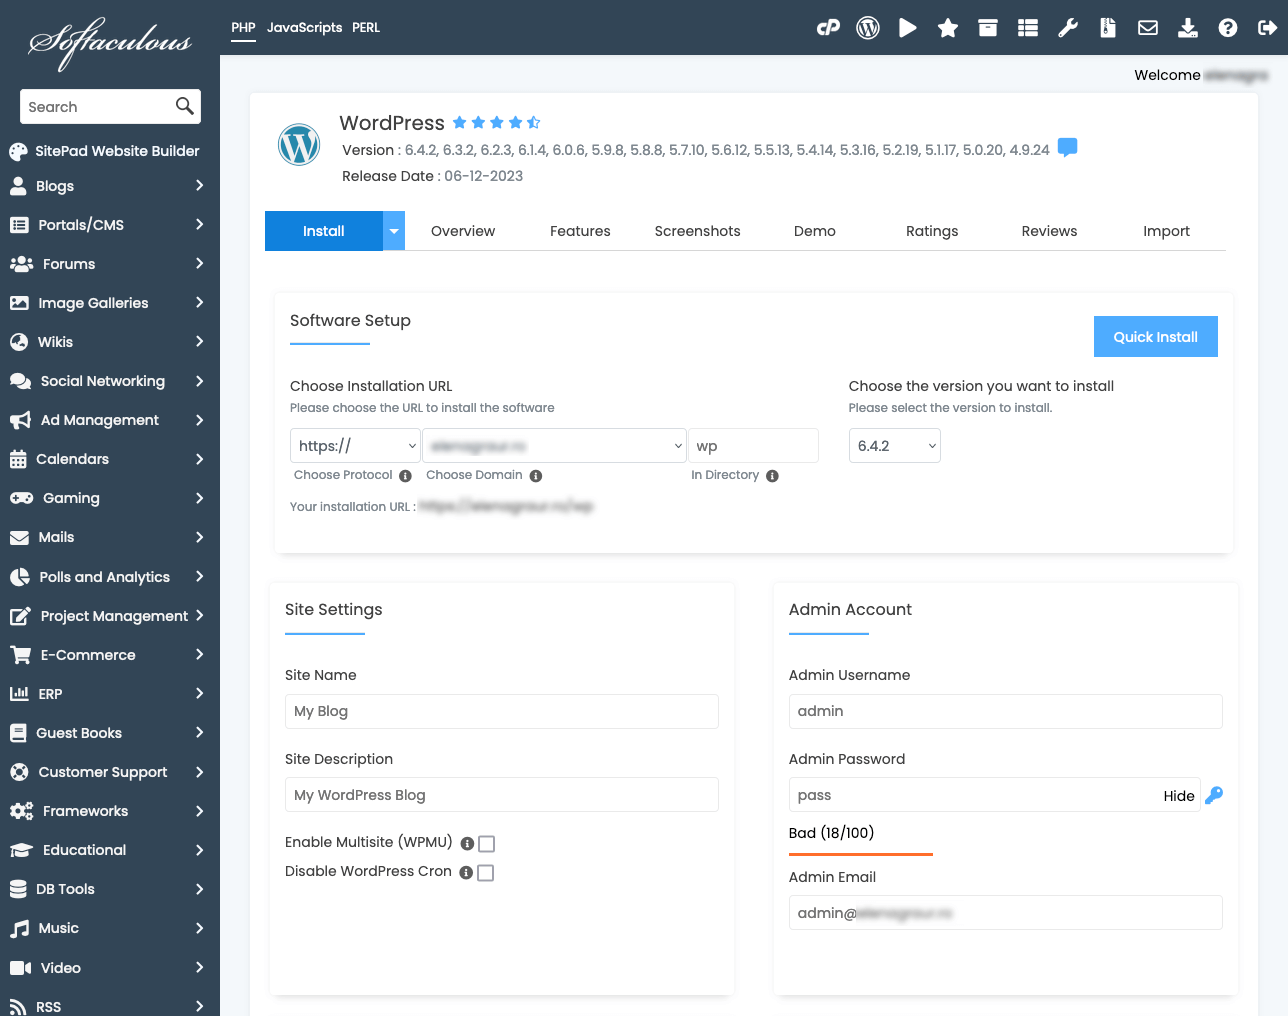
- Start the Installation Process: Once you find the WordPress installer, launching it will guide you through a simple setup process. You’ll typically choose the domain where you want to install WordPress.

- Enter Site Details: You’ll need to fill in some basic details like the name of your WordPress site, an administrative username, a password, and an admin email address.
- Advanced Options: Some installers allow you to configure advanced options like database names or table prefixes. For beginners, the default settings are usually fine.
- Complete the Installation: After entering your details, proceed with the installation. The installer will automatically set up WordPress on your chosen domain. This process usually takes just a few minutes.
- Log into WordPress Dashboard: Once the installation is complete, you can access your WordPress dashboard using the admin credentials you set. The dashboard is where you’ll manage your site, create content, and customize its appearance.

- Familiarize Yourself: Upon your first login, take some time to explore the WordPress dashboard. Familiarizing yourself with the layout and the various settings will make your blogging journey smoother.
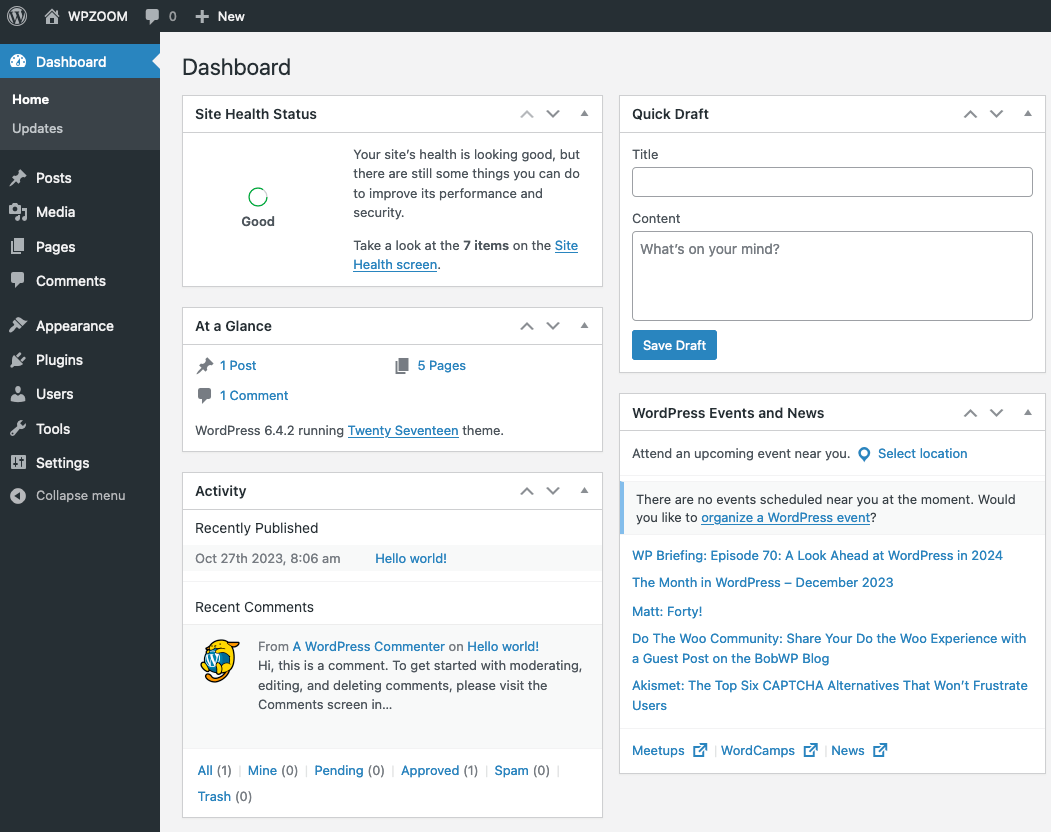
If you encounter any issues during the installation, don’t hesitate to contact your hosting provider’s support team. They are generally well-equipped to assist with WordPress-related queries.
With WordPress installed, you’ve laid the foundation for your blogging adventure. It’s time to start shaping your blog into something that truly represents you and your vision.
4. Selecting and Customizing a Theme
You’ve now followed the basic steps needed to create a WordPress blog, and we can get into the enjoyable steps. The first thing we’ll do is choose a theme!
WordPress themes are a significant advantage of WordPress: they let you get a professional design on your site for a fraction of the cost of hiring a professional designer.
Your theme determines your blog’s overall look and feel, impacting how visitors perceive and interact with your content. While the abundance of options can be overwhelming, we have some specific recommendations to simplify this process.
We recommend you look through our collection of WordPress themes to find a theme that aligns perfectly with your blog’s niche. Whether you’re running a food blog, a travel diary, a business site, or any other type of blog, our collection offers a variety of themes tailored to different niches and styles.
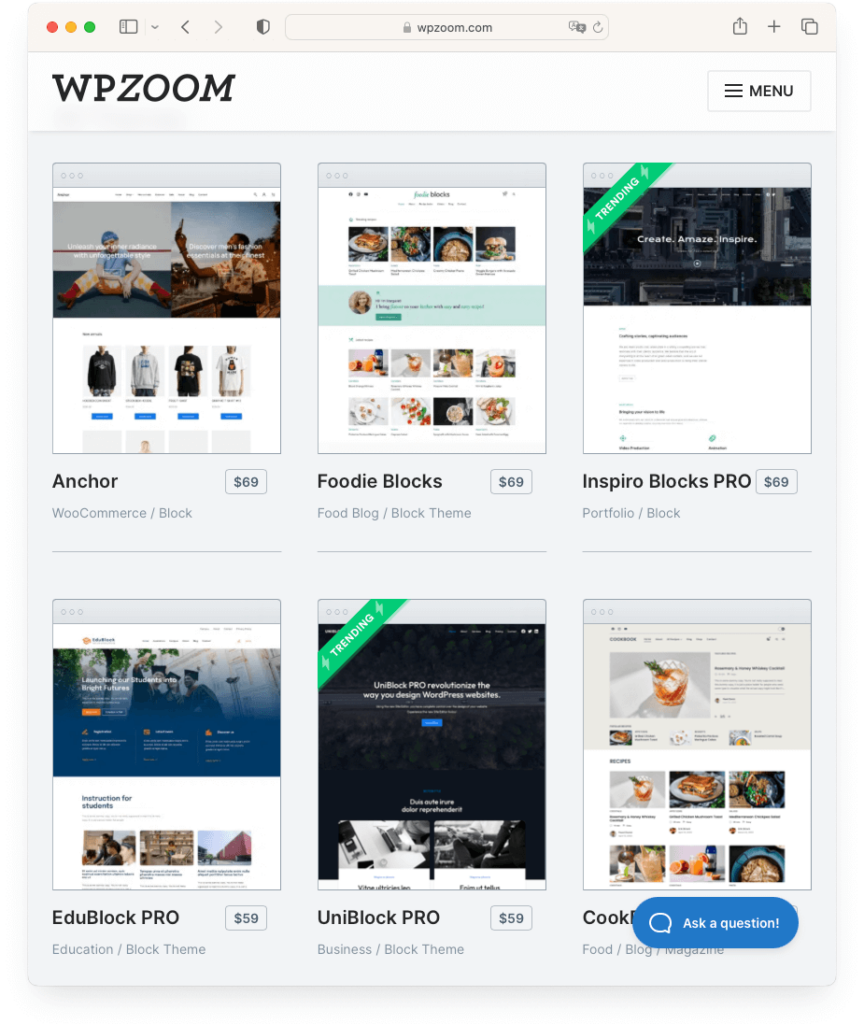
Here are a few recommendations:
- Inspiro PRO is a professional portfolio theme focused on the Elementor page builder. It is extremely popular with creatives. If you want to show off your work, this is your theme.
- Foodica is our food blog WordPress theme, which works great for magazine, travel, or recipe blogs.
- Indigo is one of our magazine WordPress themes, mixing the design you’d find in a magazine with the classic blog look.
- VideoBox is the theme to choose if you want a video WordPress theme. For mixing video content and your blog, look no further.
- Presence – finally, if you want a single theme to do it all, this is our multipurpose theme, which can do anything.
Once you’ve selected a theme from our collection, installing and customizing it to fit your style and needs is a breeze. Our themes are user-friendly, offering intuitive options for customization. You can effortlessly adjust colors, fonts, layouts, and other elements to create a unique look for your blog. Plus, with responsive design as a standard feature, you can rest assured that your blog will look great on all devices.
Suggested Reading:
Consider Using a Page Builder
In addition to selecting a suitable theme, it’s worth considering using page builders to complement your chosen theme. Page builders are intuitive tools that allow you to construct and customize your site’s pages with ease. They offer a drag-and-drop interface, allowing you to design elaborate layouts without extensive coding knowledge.
While themes provide the overall design framework for your blog, page builders give you the creative freedom to customize individual pages and posts to your exact specifications.
5. Customizing Blog Settings
Once you’ve chosen your theme, the next step is to customize the settings of your WordPress blog. This step is crucial as it configures various elements defining how your blog functions and interacts with your audience. Customizing your blog settings ensures that your site reflects your style and caters effectively to your readers’ needs.
Here’s how to customize your blog settings:
- General Settings: Start with the basics. Navigate to the Settings section in your WordPress dashboard. You can set your site title, tagline, and time zone here. These general settings provide basic information about your blog to search engines and visitors.

- Setting Up a Navigation Menu: A well-structured navigation menu is vital to a user-friendly blog. It guides visitors through your site and helps them quickly find what they want. Go to Appearance > Menus to create and customize your navigation menu.
- Configuring Your Homepage: Decide what visitors will see when visiting your blog. You can set your homepage to display your latest posts or a static page. Customize this in Settings > Reading.
- Managing Comments: Engaging with your readers through comments is a great way to build a community around your blog. In Settings > Discussion, you can manage how comments are handled, such as requiring approval before they appear or automatically closing comments on older posts.
- Permalinks Settings: Permalinks are the URLs of your posts and pages. WordPress allows you to customize these in Settings > Permalinks. Choose an SEO-friendly structure that makes it easy for visitors and search engines to understand your content.
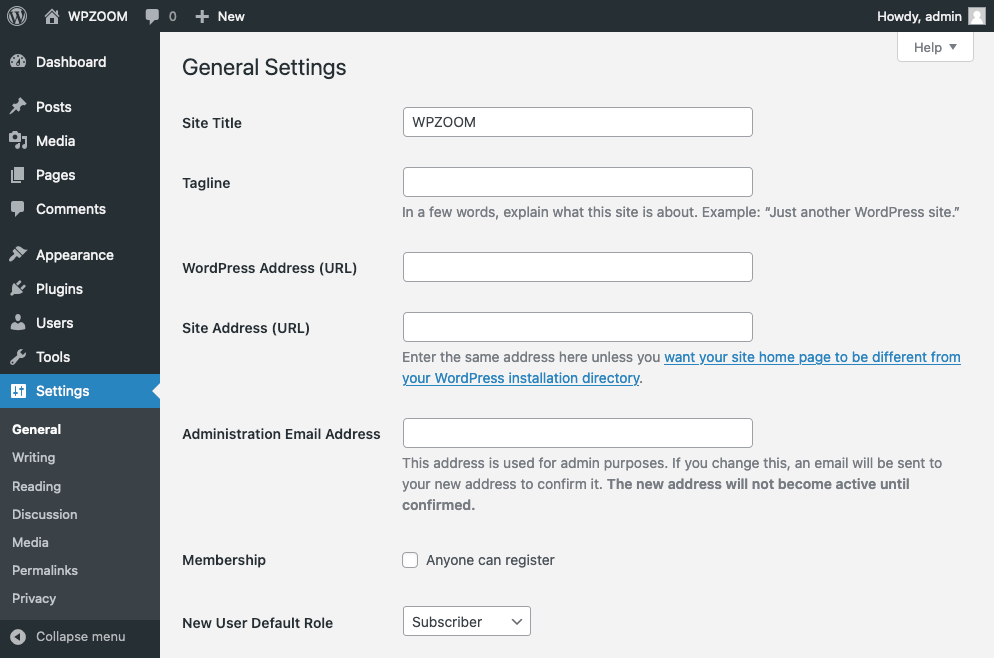
Each setting significantly affects your blog’s overall functionality and user experience. Taking the time to customize these settings enhances your blog’s professionalism. It ensures that it operates smoothly and aligns with your blogging goals.
6. Installing Essential Plugins
Enhancing your WordPress blog with plugins is similar to customizing a smartphone with apps – they add new features and expand your blog’s capabilities. However, with the vast array of WordPress plugins available, choosing those that genuinely benefit your blog without compromising its performance is essential.
Determine what functionalities you want to add to your blog. There’s likely a plugin for SEO, social media integration, security, or e-commerce. Each plugin comes with its own settings and configuration options.
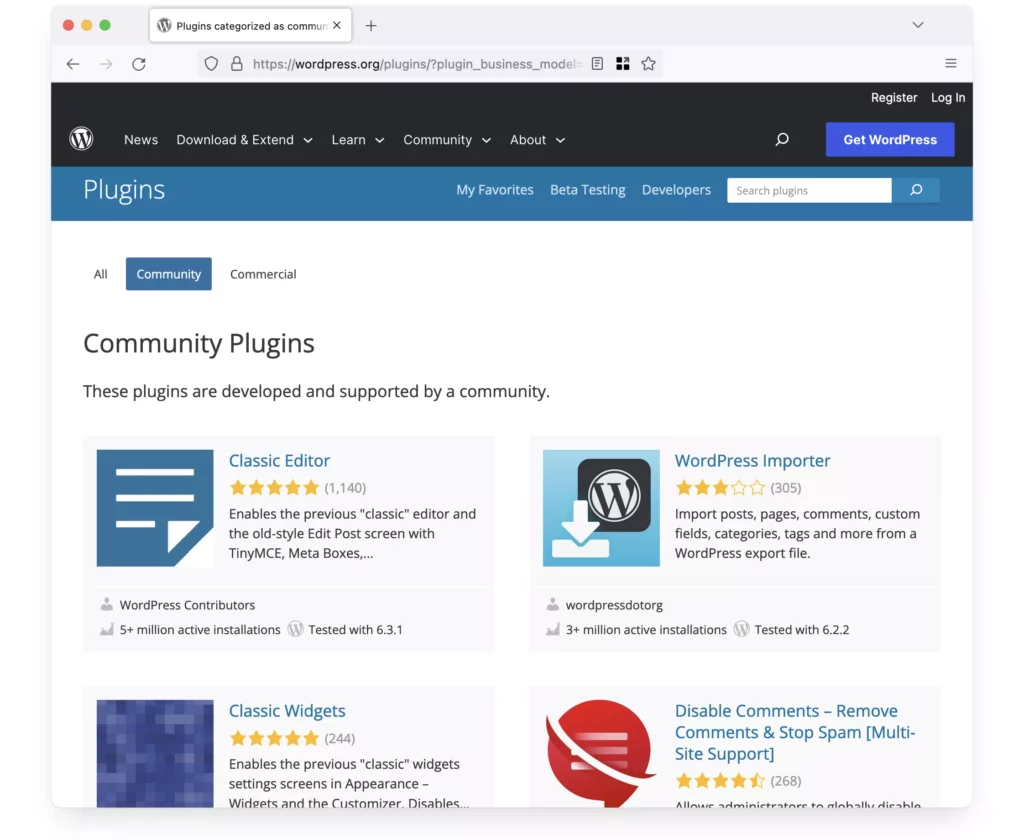
We’ve curated a list of recommended plugins to assist you in this. This list includes plugins across various categories, ensuring access to reliable and quality plugins.
Regularly update your plugins to maintain your blog’s security and efficiency. Outdated plugins can be a security risk and may not function properly with the latest version of WordPress.
While plugins are powerful tools, having too many can slow down your WordPress website. Be selective and install only those that are essential for your blog.
Suggested Reading:
7. Creating Your First Blog Post
Now that your WordPress blog has a personalized theme and fine-tuned settings, it’s time to start an exciting milestone: crafting your first blog post. This is where your ideas and creativity come to life, engaging your audience with compelling content.
Here’s how to create and format your initial blog post for success.
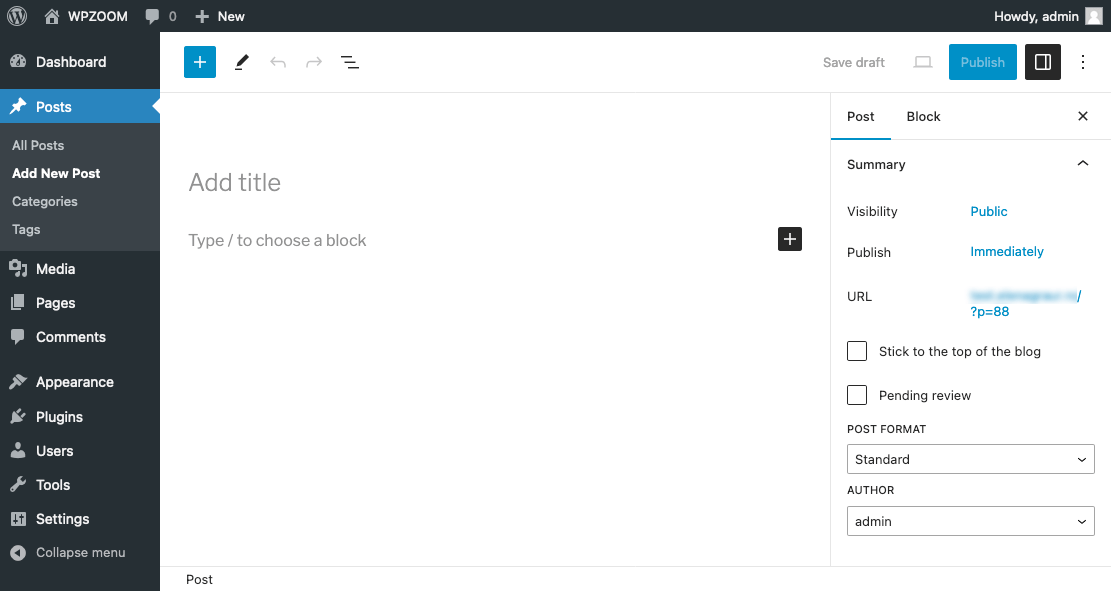
- Adding a New Post: In your WordPress dashboard, navigate to ‘Posts’ and click ‘Add New.’ You’ll navigate to the WordPress editor, a user-friendly interface where you can write your post. Start by adding a title in the title area.

- Formatting Your Post: The WordPress editor allows you to format text and add headings, lists, and more, similar to word processing software. Use headings to structure your content. This makes it reader-friendly and supports SEO. Add images by clicking the ‘Add Media’ button. You can also add other elements like videos, quotes, and links to enhance your post.
- Preview and Publish: Preview your post to see how it looks live. Check for any formatting issues or typos. Once satisfied, hit ‘Publish’ to make your post live or ‘Schedule’ to publish it later.
Your first blog post is a milestone. It’s the beginning of your journey to share your thoughts, insights, and stories with the world. By focusing on quality content, engaging formatting, and SEO best practices, you’re setting the stage for a successful blog.
8. Promoting and Growing Your Blog
Creating valuable content is just the beginning of your blogging journey. The next crucial step is promoting your blog to reach a wider audience and grow your community. Effective promotion can increase your blog’s visibility, drive traffic, and help establish your brand.
Here’s how to promote and grow your WordPress blog:
- Optimize for Search Engines (SEO): Implementing SEO strategies is essential for increasing your blog’s visibility in search engine results.
- Leverage Social Media: Share your content on social media platforms where your target audience spends their time.
- Email Marketing: Build an email list and regularly send newsletters to your subscribers.
- Engage with Your Audience: Respond to comments on your blog and social media channels.
- Regularly Update Your Blog: Consistency is key in blogging.
- Track Your Progress: Install Google Analytics to track your blog’s performance.
Promoting your blog is an ongoing process that requires patience and persistence. These strategies can gradually increase your blog’s reach and influence, turning it into a thriving online community.
WPZOOM offers specialized social media tools to enhance social media integration:
- Social Icons Widget: A simple yet powerful tool for adding social media icons to your website, linking directly to your profiles.
- Instagram Widget: It allows you to display your latest Instagram posts directly on your website.
9. Maintaining Your Blog
A successful blog is about more than just great content and initial setup; it requires ongoing maintenance to ensure it remains secure, efficient, and relevant. Regular maintenance helps improve your site’s performance, securing it from potential threats and keeping your content fresh and engaging.
Here’s a guide to maintaining your WordPress blog effectively:
- Regular Updates: Keep your WordPress core, themes, and plugins updated. Updates often include security patches, bug fixes, and new features.
- Backups: Regularly back up your blog. This ensures that your data is safe in case of any issues like hacking or accidental deletions.
- Security Checks: Implement security measures to protect your blog from threats. This includes using strong passwords, installing security plugins, and regularly scanning for malware. Stay informed about the WordPress community’s latest security best practices and updates.
- Performance Optimization: Monitor your blog’s loading speed and performance. Slow-loading pages can deter visitors and affect your SEO. Optimize images, use caching plugins, and consider a content delivery network (CDN) to enhance speed.
Maintaining a blog is an ongoing process that requires attention and effort. By regularly updating, backing up, and optimizing, you can ensure that your blog remains a dynamic and secure platform for your voice and creativity.
Bottom Line
You’ve now equipped yourself with the knowledge to set up, customize, and nurture your WordPress blog, laying a solid foundation for your online presence.
Each step is a building block towards a successful blog, from selecting the perfect domain and hosting provider to creating engaging content and optimizing for SEO.
Remember, the key to a thriving blog lies in consistent effort, adaptability, and a genuine passion for your subject.
Keep experimenting, learning, and evolving as you start this exciting journey. The blogging world is dynamic, and staying curious and adaptable will be your greatest asset. Engage with your audience, listen to feedback, and let your unique voice shine through your content.
Most importantly, feel free to take the first step. Every great blog started with a single post; yours is no exception. Embrace the process, enjoy the creative expression, and watch your blog grow from a simple platform to a vibrant community.