Plugins are, without question, a necessity for your WordPress website. Whether it’s for customization enhancements, better functionality, security, or even performance, plugins can change your website for the better.
Knowing how to install a plugin in WordPress is a skill you need, and the good news is that you can learn it quite easily. The process is far from being overly complicated. With the complete guide below, you’re about to overcome everything that stood between you and being an expert in installing WordPress plugins.
Table of Contents
- Installing Plugins via WordPress Dashboard
- How to Upload WordPress Plugins
- Install a WordPress Plugin Manually Using FTP
- Add Plugins to WordPress Using cPanel
4 Ways to Install WordPress Plugins
Installing WordPress plugins is a relatively simple process. There are several ways for you to get it done, and each method comes with its own set of advantages and drawbacks and different levels of difficulty.
Choosing the right method for you when it comes to the way you want to add plugins to WordPress depends on several factors, but is ultimately up to your preference and level of experience.
Method 1: Installing Plugins via WordPress Dashboard
The most straightforward way to install WordPress plugins is by using the official WordPress Plugins Directory. This is easily accessible from your WordPress dashboard and is a sure way to find the plugins you need or even some inspiration.
This can be done easily by following these steps:
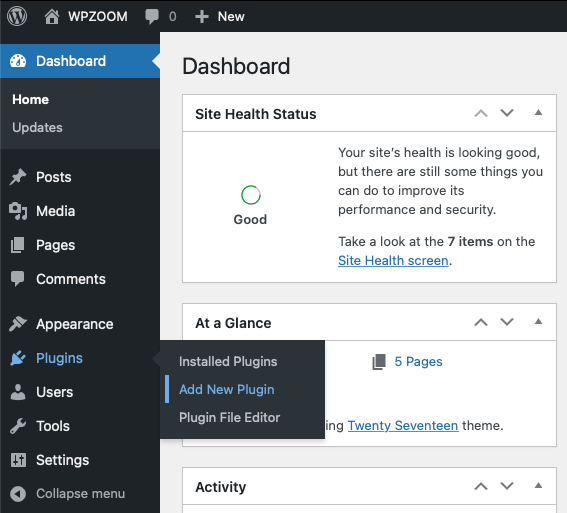
- Log in to your WordPress dashboard.
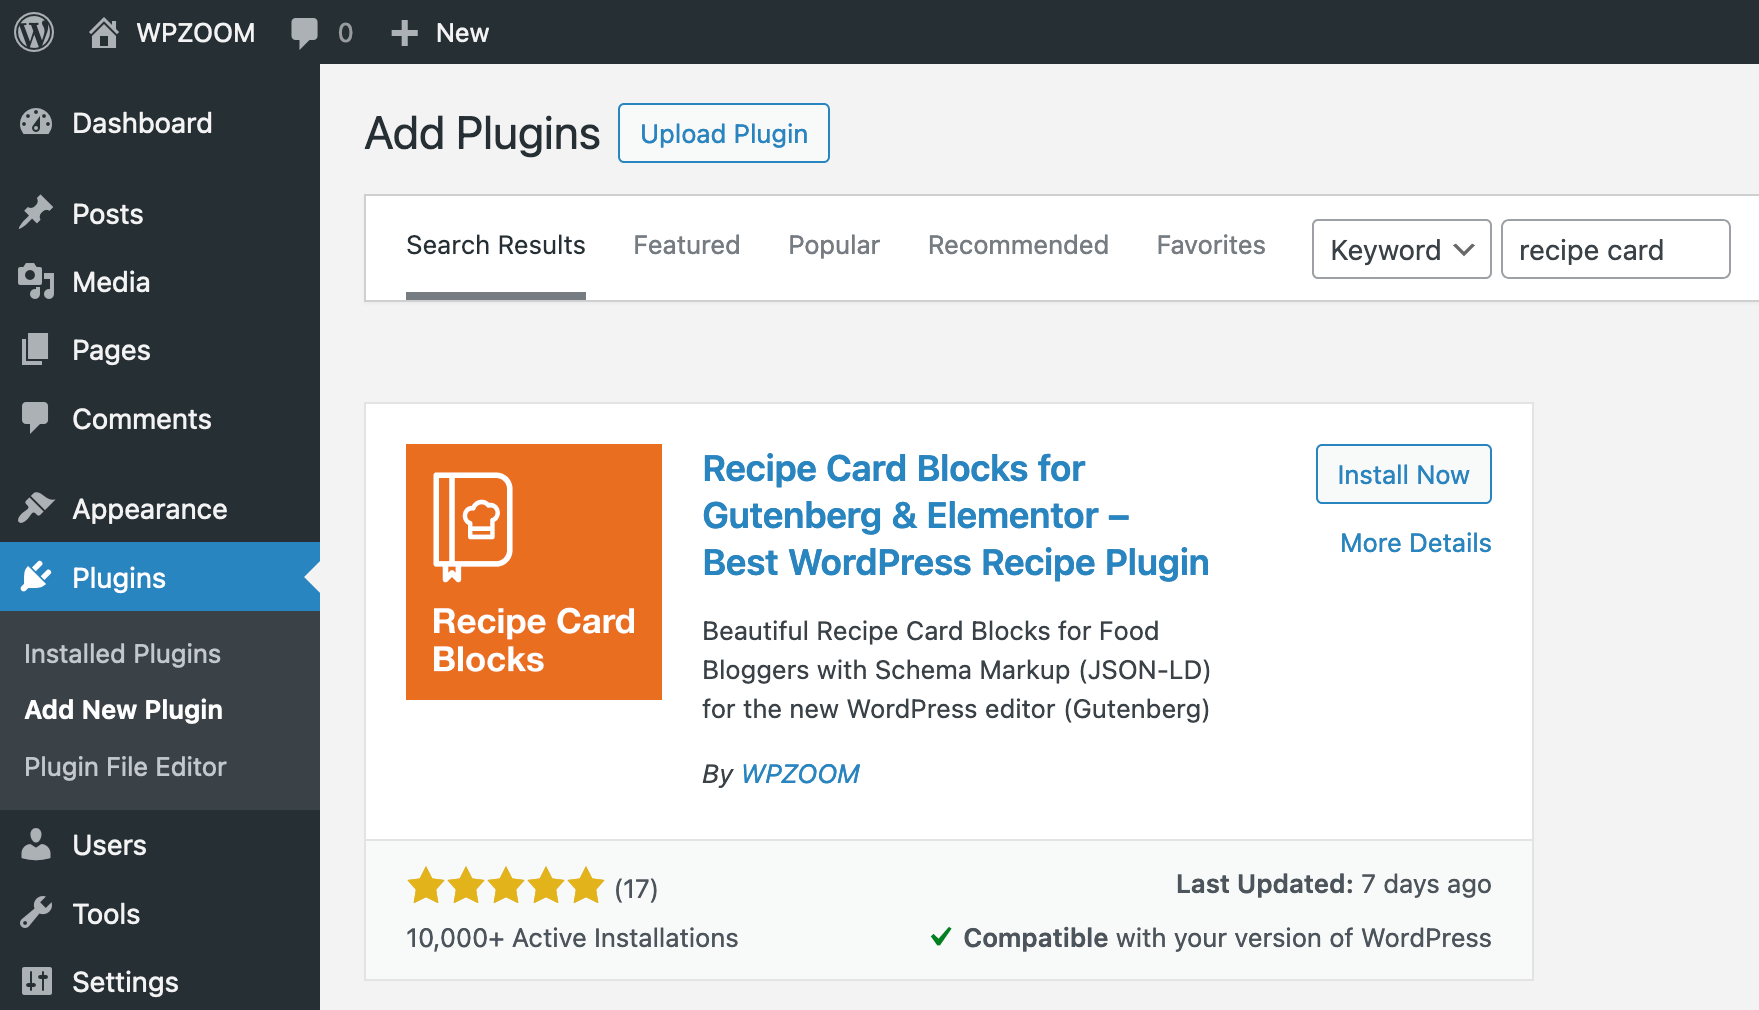
- Select Plugins > Add New Plugin from the left sidebar menu.

This will open a new screen, where you will have plugin recommendations, a search bar, and the option to manually upload plugins (more on that last one, further below). - Search for the WordPress plugin you want to install or scroll through the recommended plugins until you find something that you need.

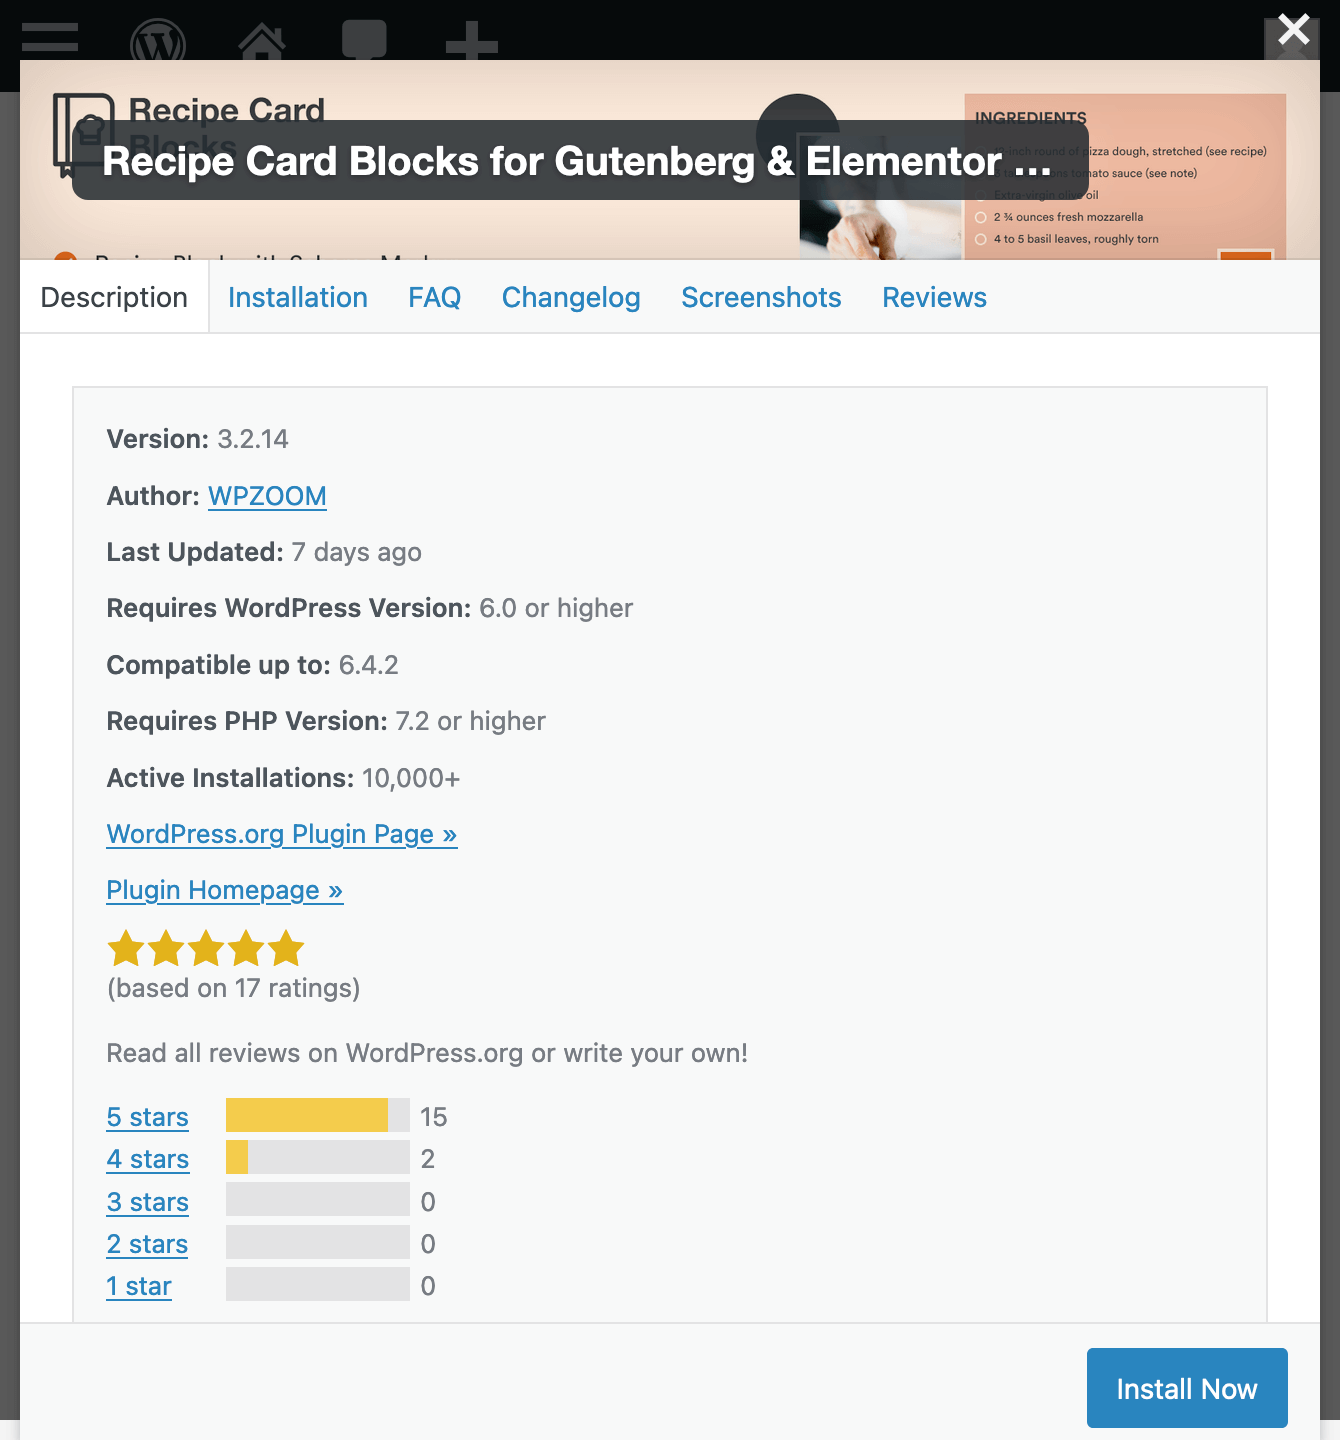
You can click on any plugin from the list to see more information, including a detailed description, screenshots, the number of times it was installed, and user reviews.
- To install plugins, you just need to click on the Install Now button.
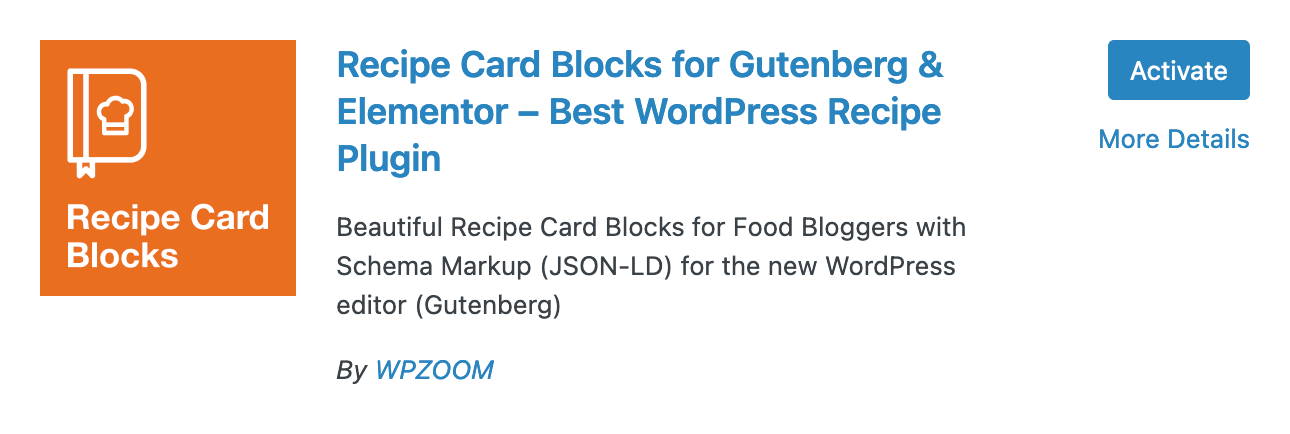
- Once the installation is complete, you will also need to activate the plugin by clicking the Activate button.

- Now your WordPress plugin can be configured from the Plugins > Installed Plugins section.
As you can see, adding plugins from the official WordPress plugin directory is definitely not a difficult thing to master. While it is a rather simple process, one thing it lacks to a certain extent is diversity.
Method 2: How to Upload WordPress Plugins
While the WordPress plugin directory provides a range of options that are generally enough for the average user, there are many cases in which something more is needed.
For those and many premium plugins, you will need to learn how to upload WordPress plugins. Here is how you can do this:
- Download the .zip file containing the plugin.
- From your WordPress dashboard, navigate to Plugins > Add New Plugin in the left-side menu.
- On the upper-left side of the next page, you should be able to see the Upload Plugin button. Click on it.
- Click on Choose File… and select the .zip file from your computer.
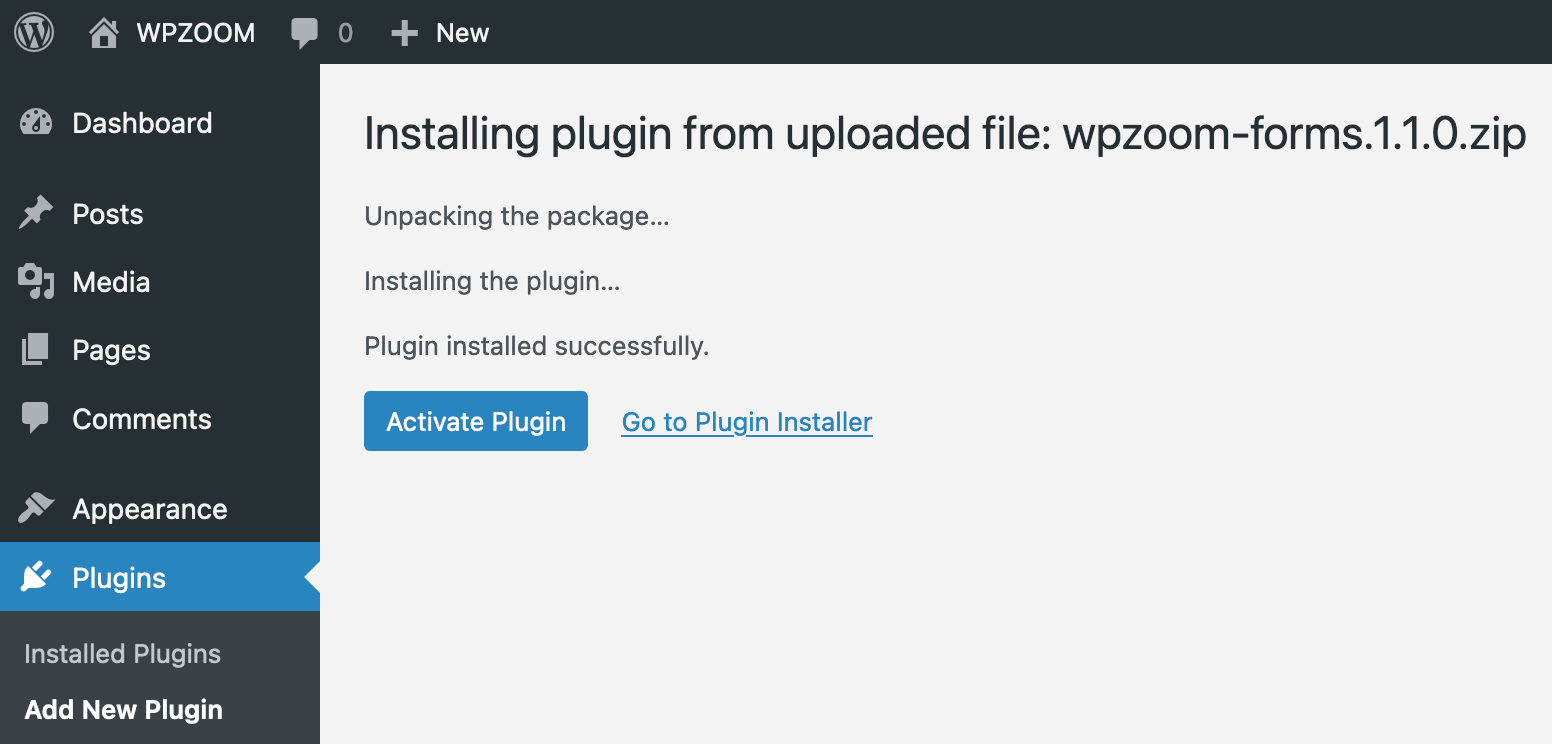
- Click on Install Now as soon as the button becomes available.
- After the installation is complete, activate the WordPress plugin by clicking on Activate.

One thing you need to remember is that installing third-party software from unreliable sources on your WordPress site can have pretty serious consequences. You should always make sure that you install plugins from trustworthy developers and sources.
A poorly developed WordPress plugin can negatively impact your site’s performance, increasing loading times. Just as true is that you might face compatibility issues. Another real possibility is for your site to become a lot less secure since plugins are oftentimes used by hackers as entry points for vulnerable sites.
Method 3: Install a WordPress Plugin Manually Using FTP
Another popular method for adding plugins to your WordPress site is using FTP (File Transfer Protocol).
This method can be used as an alternative for uploading plugins as .zip files directly through the WordPress dashboard. Certain plugins require this type of installation, for example, when the .zip file is above the WordPress maximum file upload size.
Here is how you can upload WordPress plugins via FTP using our simple step-by-step guide.
- Download your plugin and save it as a ZIP file on your computer.
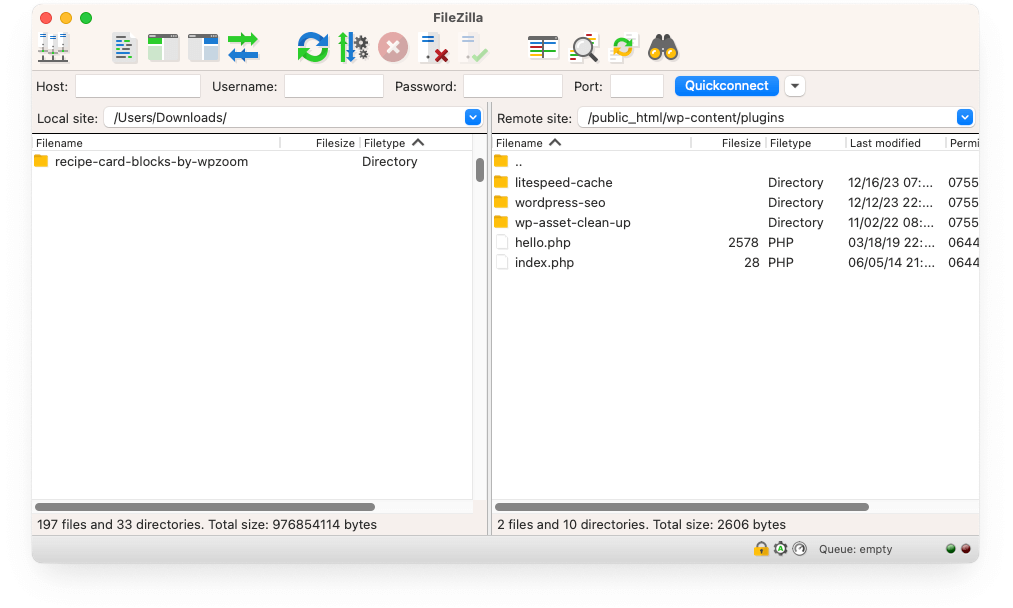
- Open your FTP client (let’s say Filezilla for the sake of this example).
- Connect to your website using the login credentials provided by your hosting provider.
- Navigate to the /wp-content/plugins/ folder.

- Upload the plugin folder to the /wp-content/plugins/ folder.
- Access your WordPress dashboard, go to the Plugins section, and click Activate to activate the plugin.
Even though, as you can see, this process requires you to be a somewhat more advanced user, the benefit is that you get a lot more freedom when choosing the plugins you install.
Method 4: Add Plugins to WordPress Using cPanel
While the three methods mentioned above do tell the whole story for most users, there is one other thing we need to turn our attention to. Most hosting providers integrate cPanel into their services as a hosting control panel.
Given its popularity, let’s take a look at a step-by-step guide that will walk you through the entire process of installing WordPress plugins from cPanel.
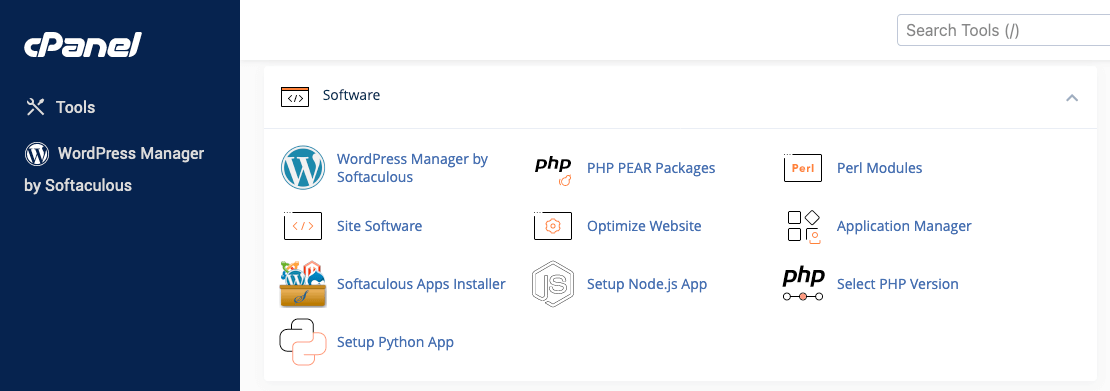
- Log into your cPanel account (your hosting provider should provide the login information).
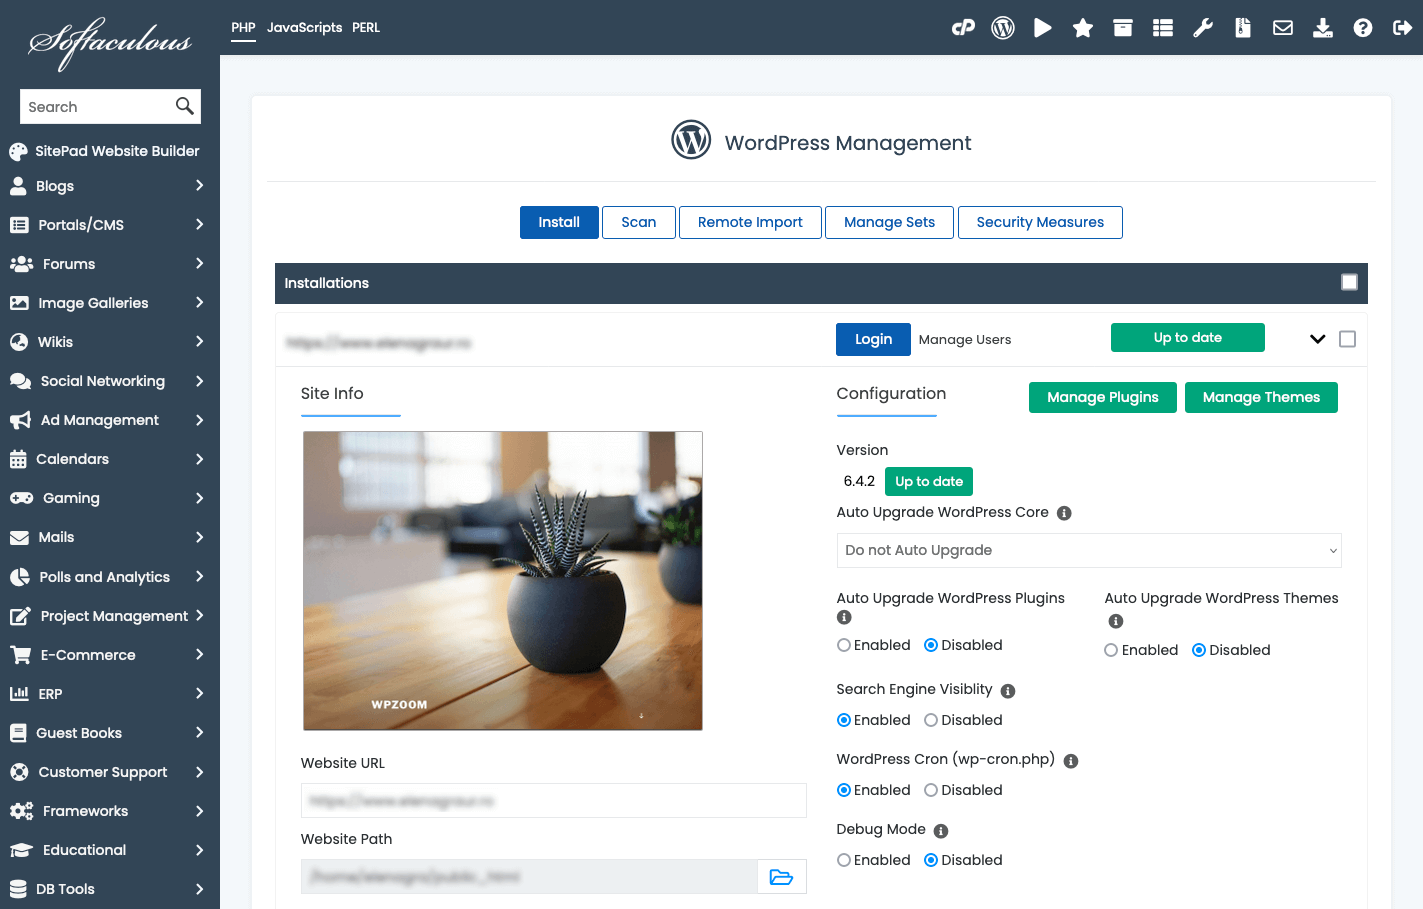
- Open the WordPress Manager to see the list of installed WordPress sites.

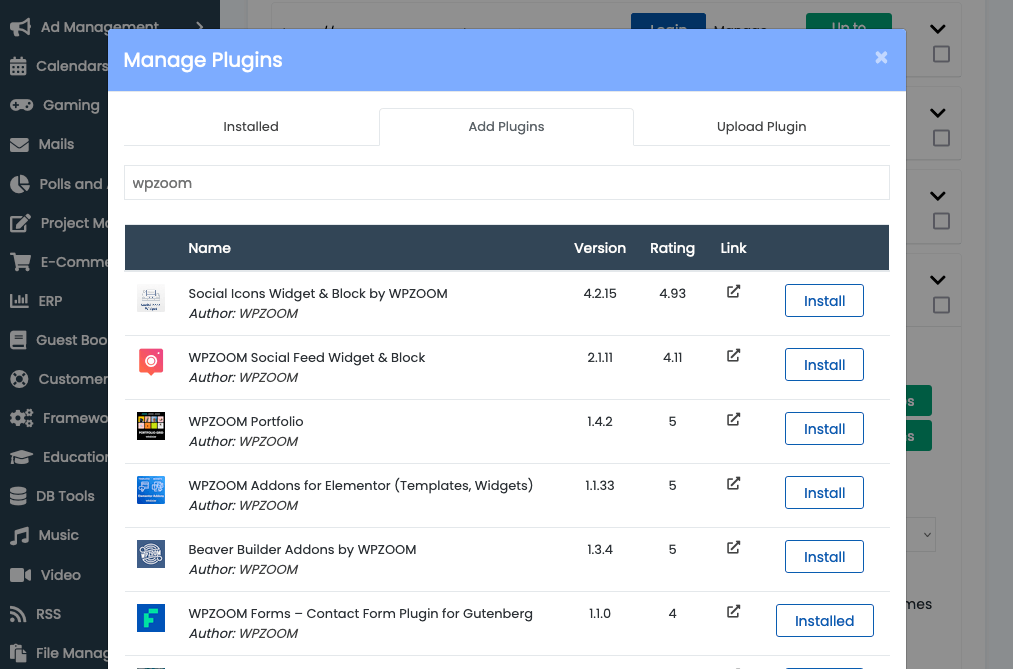
- Click on Manage Plugins for the site you want to add new plugins to. A list of installed plugins should appear.

- Click on Add Plugins to search for a plugin from the WordPress plugins directory.
- Select the plugin you want to install and click Install.

- Your plugin will now be installed and will need to be later activated from your WordPress dashboard.
The process of adding WordPress plugins from cPanel is quite similar to adding them from the WordPress plugins directory and provides an easy and safe choice for beginners.
Bottom Line
Learning how to install a plugin in WordPress is an essential skill for anyone who is creating or managing a WordPress website. Plugins are an integral part of the design and functionality of your site, and knowing how to choose, install, and manage your plugins will have an effect on the performance of your site.
Regardless of how you choose to install WordPress plugins, one thing to remember is that you always have to pay attention to the sources and the developers behind the software.