
You have two main paths to add Google Analytics to your WordPress site: using a plugin or manual integration.
Using plugins like Site Kit by Google is a straightforward method, perfect if you’re not tech-savvy. Alternatively, you can manually add the Google Analytics tracking code to your site or use Google Tag Manager for more customization and advanced tracking capabilities. This requires more technical knowledge but offers flexibility in data management.
This guide will walk you through the process of how to add Google Analytics to WordPress, covering multiple methods to suit different needs and skill levels.
Table of Contents
- How to Add Google Analytics to WordPress Using a Plugin
- Top WordPress Google Analytics Plugins
- Create a Google Analytics Account
- Add the Google Analytics Tracking Code to WordPress Manually
- Adding Google Analytics to WordPress with Google Tag Manager
- Make Sure Google Analytics Is Working Properly
Several methods exist to add Google Analytics to your WordPress site, from plugins to manually inserting the tracking code. Choose the one that best suits your comfort level and requirements.
How to Add Google Analytics to WordPress Using a Plugin (Site Kit by Google)
WordPress Google Analytics plugins are designed for efficiency and ease of use, catering to users needing more extensive technical experience.
Site Kit by Google is a powerful plugin that simplifies the process of adding Google Analytics to WordPress and provides a user-friendly dashboard within WordPress to view your analytics data. It offers a direct and streamlined approach sanctioned by Google itself.
This plugin also provides access to other Google services, such as Search Console, AdSense, PageSpeed Insights, and more, directly within your WordPress dashboard.
Follow these detailed step-by-step instructions to successfully add Google Analytics to your WordPress site using Site Kit by Google:
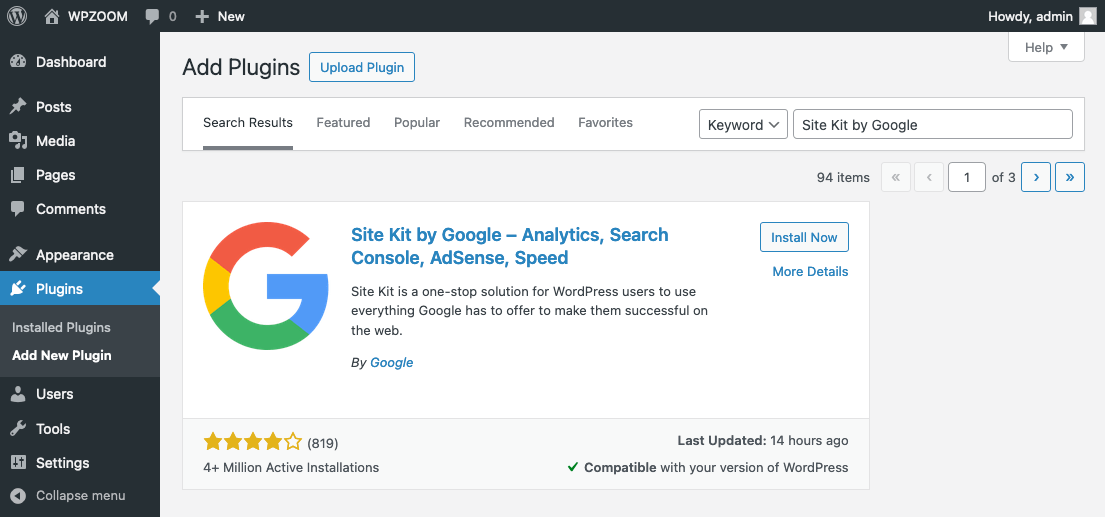
- From your WordPress Dashboard, navigate to Plugins > Add New Plugin and type “Site Kit by Google” in the search bar. The plugin should be clearly marked as developed by Google in the search results. Install and activate the plugin.

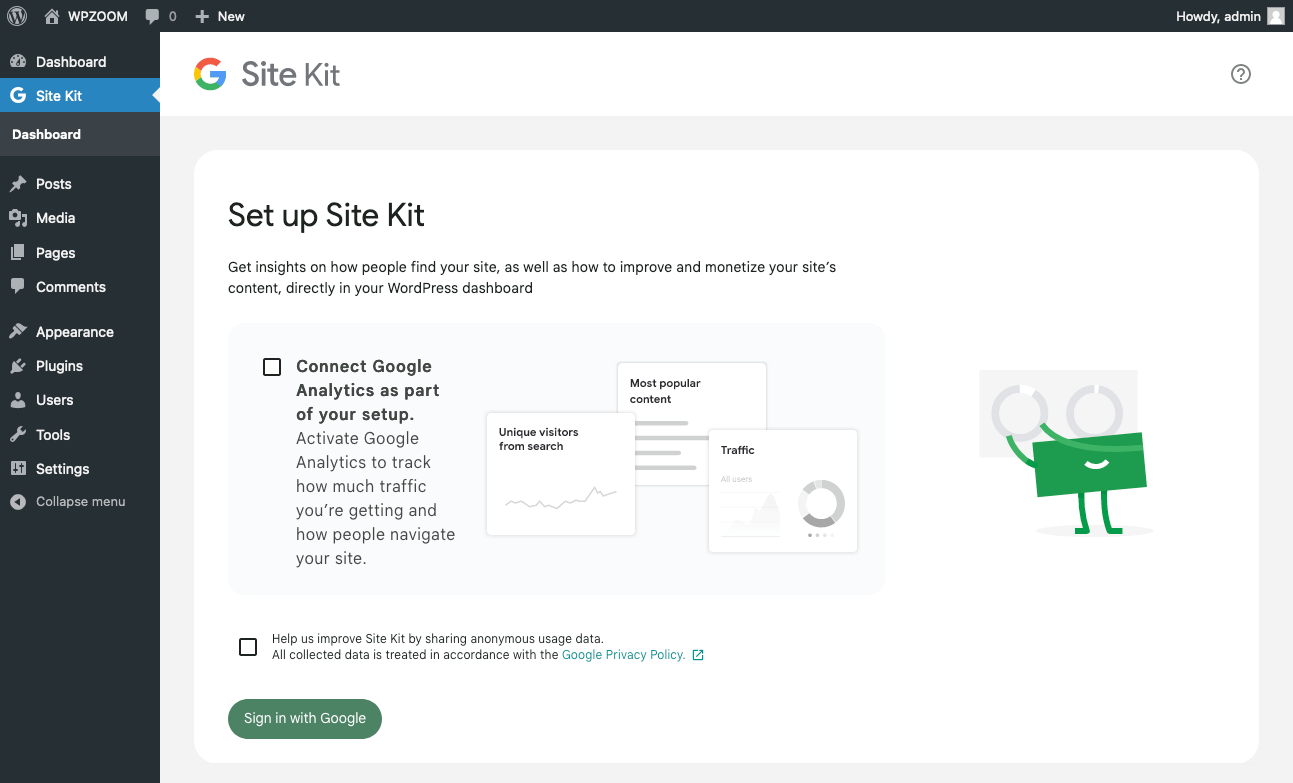
- After activation, you will find a new menu item labeled Site Kit in your dashboard. Click on this to start the setup process.
Tick the Connect Google Analytics as part of your setup box and click Sign in with Google.
- Site Kit will prompt you to sign in with your Google account, which should be the same account you use for Google Analytics. Follow the on-screen instructions to grant Site Kit the necessary permissions to access your Google Analytics data and any other Google services you wish to connect to your WordPress site.
- Click Verify to let Google verify that you own the website.

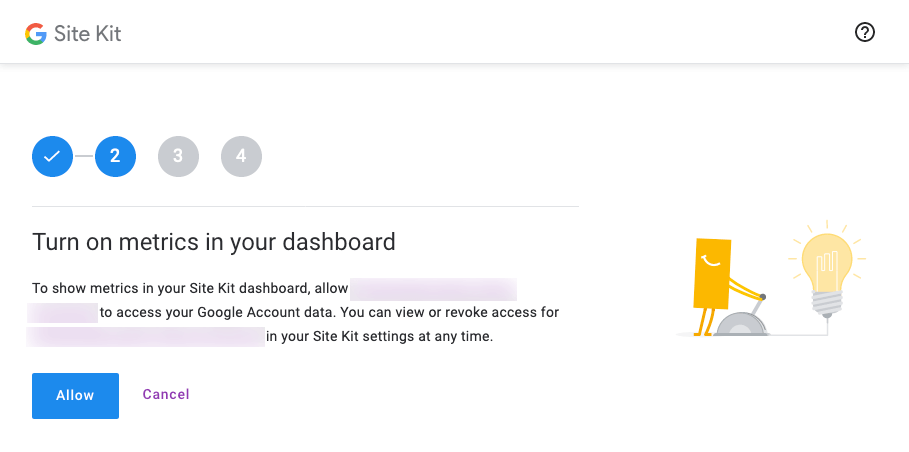
- Click Allow to allow your WordPress website to access your Google Account data.

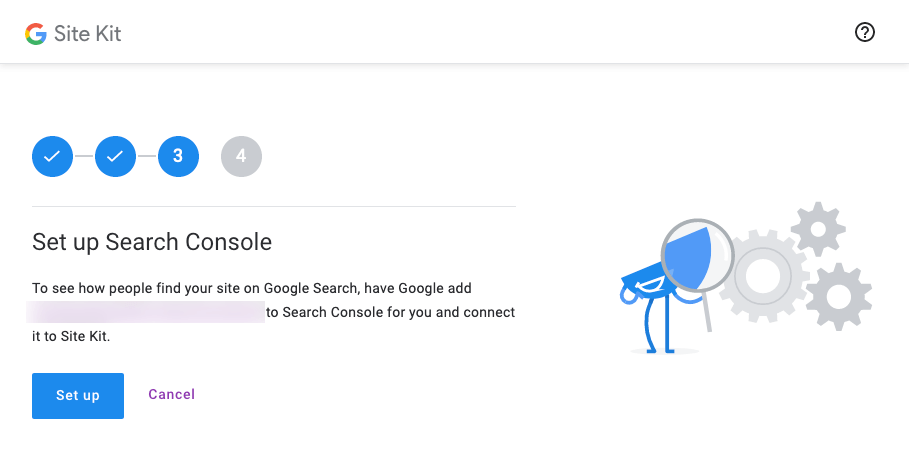
- Click Set up, If you want to set up Google Search Console or click Cancel if you don’t.
- Click Next.
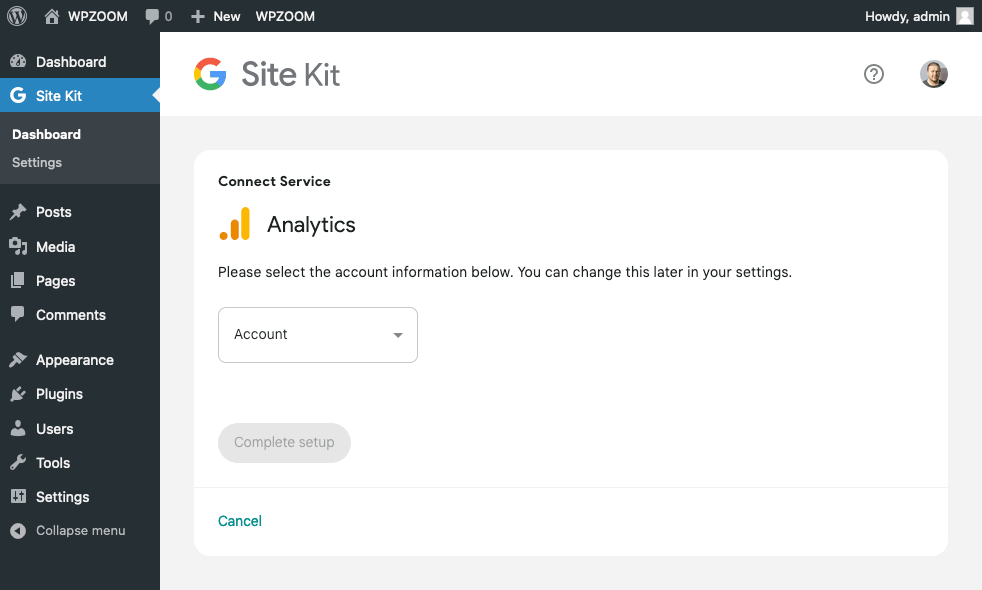
- Here you have two options: select an existing Google Analytics account or create a new one. Site Kit provides the option to create an account directly through the plugin interface.

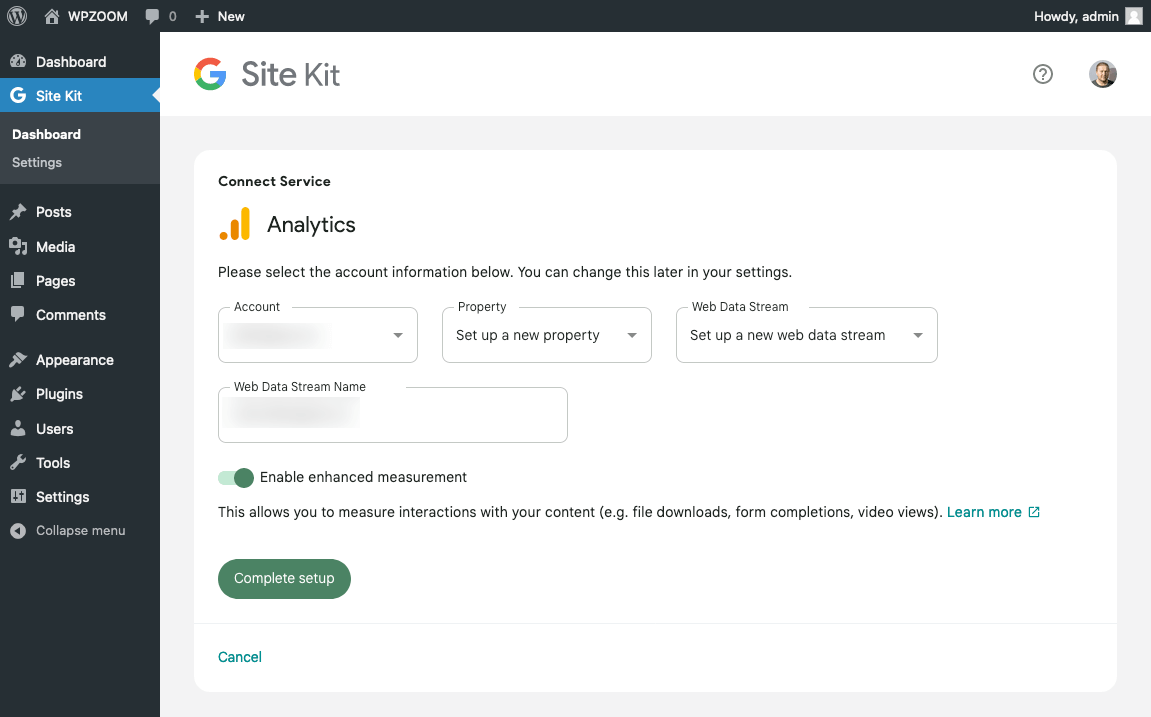
If you have a Google Analytics account, select your account, choose the relevant property and web data stream that corresponds to your website and click Complete setup.
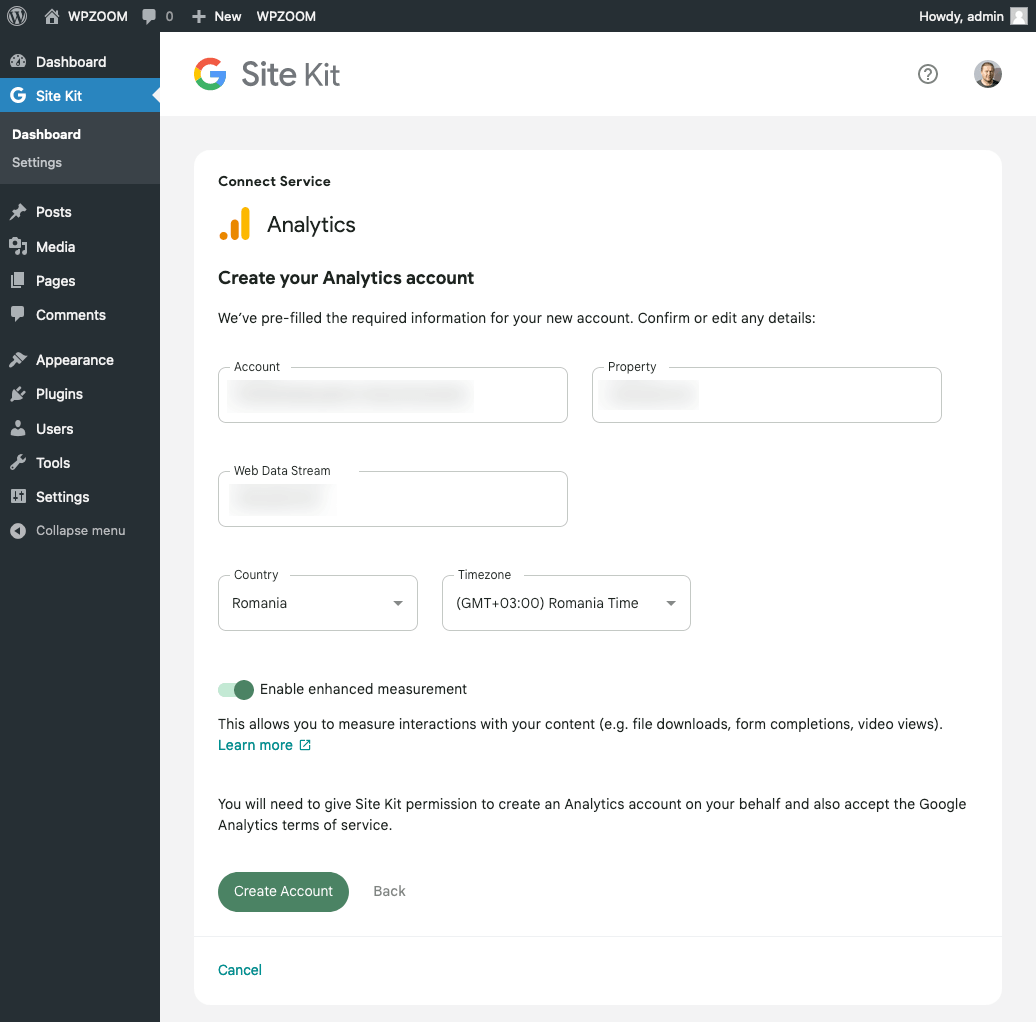
If you have not yet created a Google Analytics account, select Set up a new account, make sure all the fields are filled correctly and click Create Account.
- Site Kit will then integrate Google Analytics with your WordPress site, handling the tracking code insertion automatically. No manual code editing is required.


With Google Analytics now connected, you can access your analytics data directly from the WordPress dashboard through the Site Kit menu. Site Kit offers an overview of key metrics and reports from Google Analytics, allowing you to monitor your site’s performance without leaving WordPress.
Top WordPress Google Analytics Plugins
Several plugins stand out for their ability to seamlessly install Google Analytics on WordPress. Each plugin comes with its unique set of features designed to cater to different needs and preferences. Here’s a closer look at the top WordPress Google Analytics plugins:
- Site Kit by Google is the official WordPress plugin from Google, designed to seamlessly integrate a suite of Google’s tools into your website. It simplifies the dashboard experience by directly bringing essential metrics and insights to your WordPress admin area.
- GA Google Analytics is designed for users who want a lightweight and straightforward way to connect WordPress to Google Analytics. This plugin focuses on simplicity, allowing you to insert the necessary Google Analytics code into your site with minimal fuss.
- MonsterInsights is arguably the most popular Google Analytics plugin for WordPress, boasting over 2 million active installations. Its appeal lies in its user-friendly interface, and the depth of analytics features it offers directly within the WordPress dashboard.
- Analytify simplifies Google Analytics for WordPress users. It provides detailed page-level analytics in the WordPress post editor, giving you insights into how each piece of content performs.
- Analytics Insights (formerly known as WP Statistics) is a powerful Google Analytics WordPress plugin that provides detailed insights without relying on external services; the data is processed and stored within your WordPress installation.
How to Add Google Analytics to WordPress Without a Plugin
Adding Google Analytics to WordPress manually is a viable option for those who want more control.
Prerequisite: Create a Google Analytics Account
Before integrating Google Analytics with your WordPress site, you must first have an active Google Analytics account.
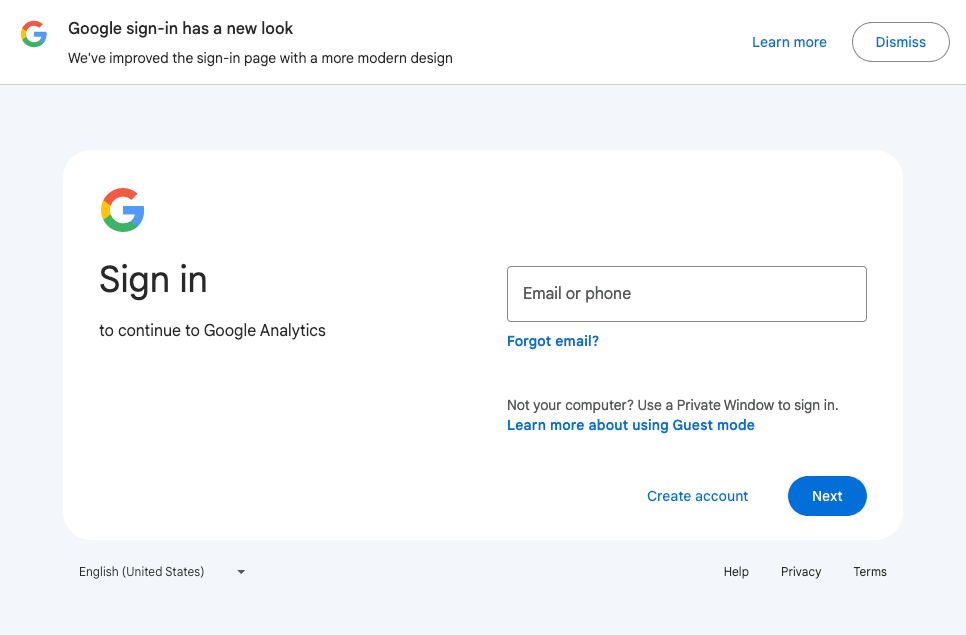
- Sign Up for Google Analytics. Navigate to the Google Analytics website using your web browser. If you already have a Google account (which you might have if you use Gmail, Google Drive, or any other Google service), you can use it to sign in.

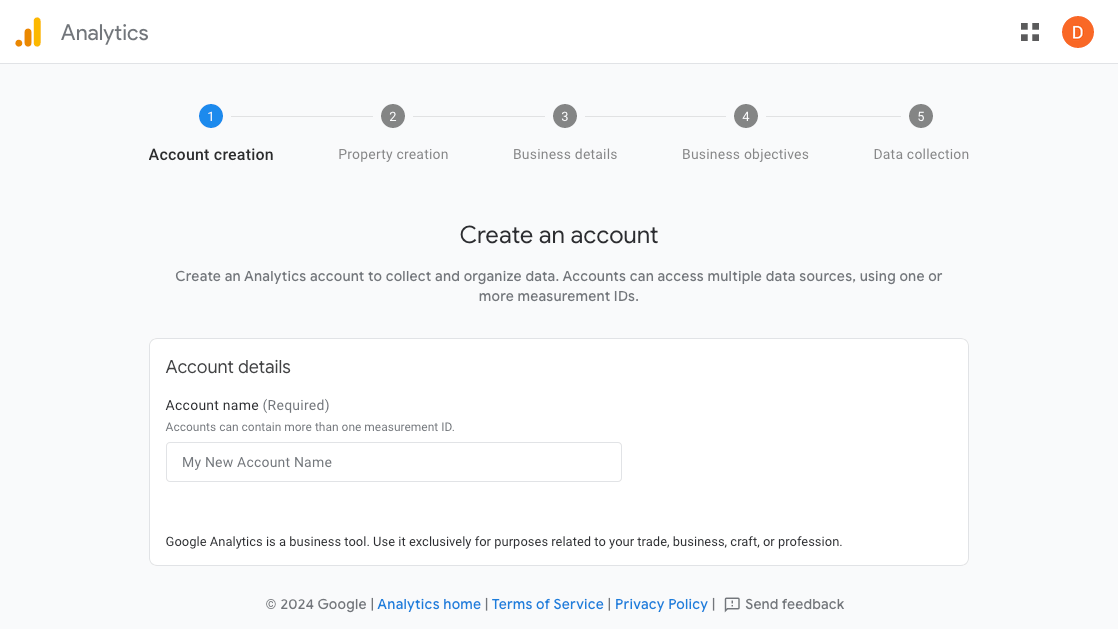
If you still need to, click Create account to create a new Google account. Once signed in, you’ll be greeted with the Google Analytics signup page. Click Start measuring.
- Enter the name of your account.

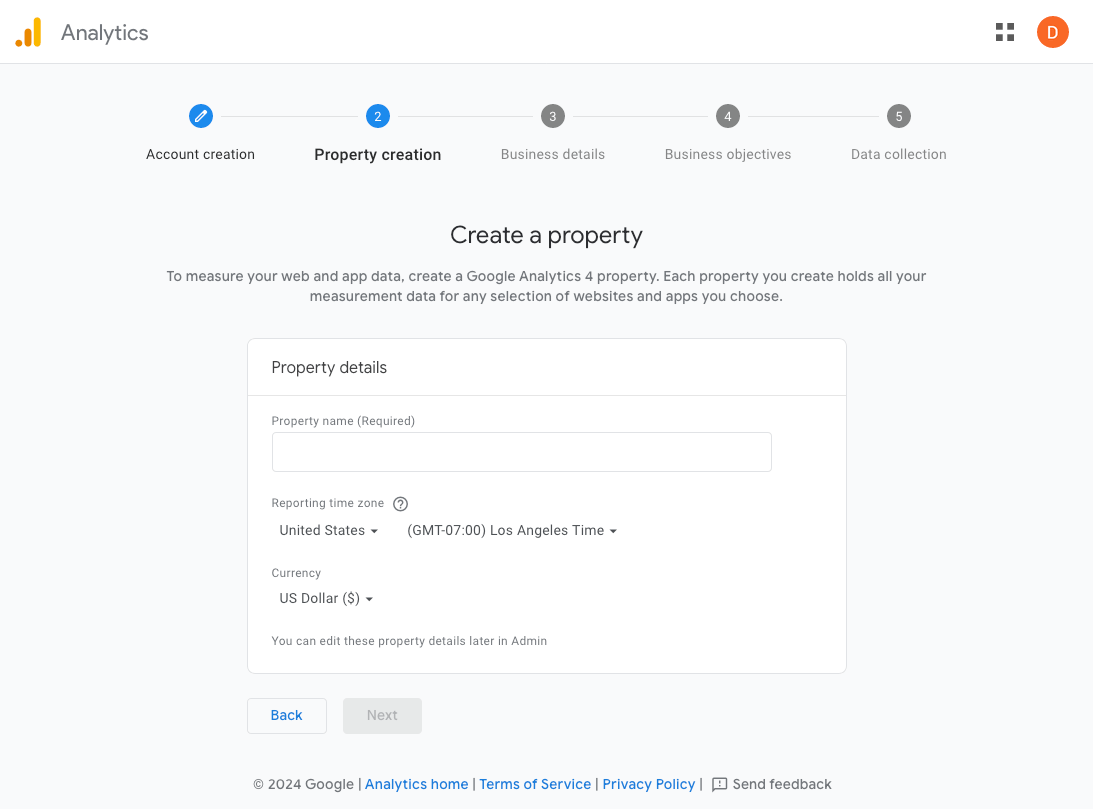
- Register Your Website. Google Analytics will prompt you to create a new property upon signing up.

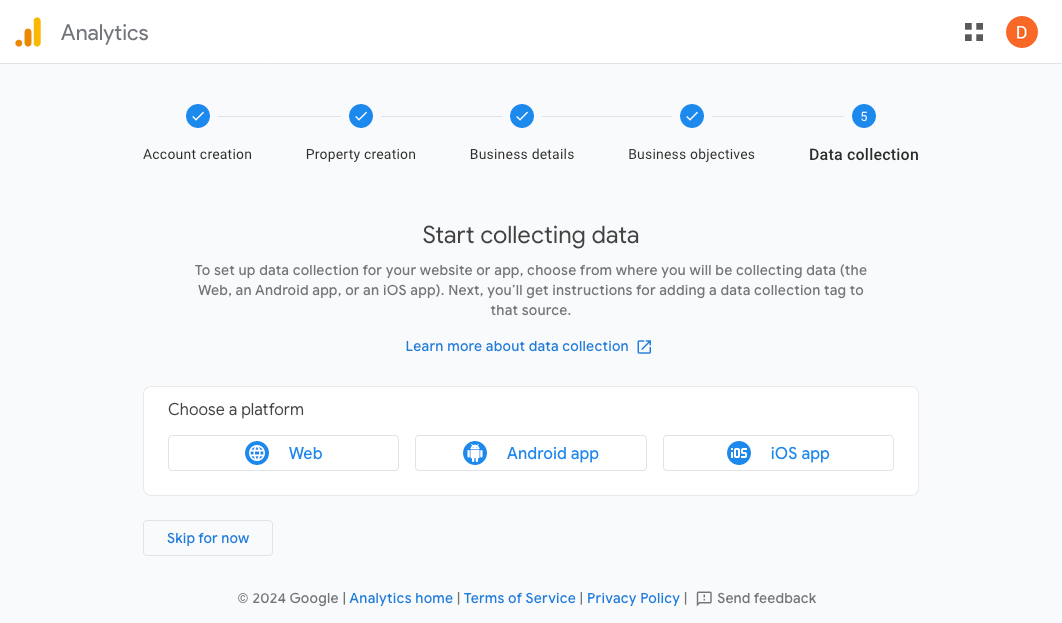
Choose the Web data stream type.
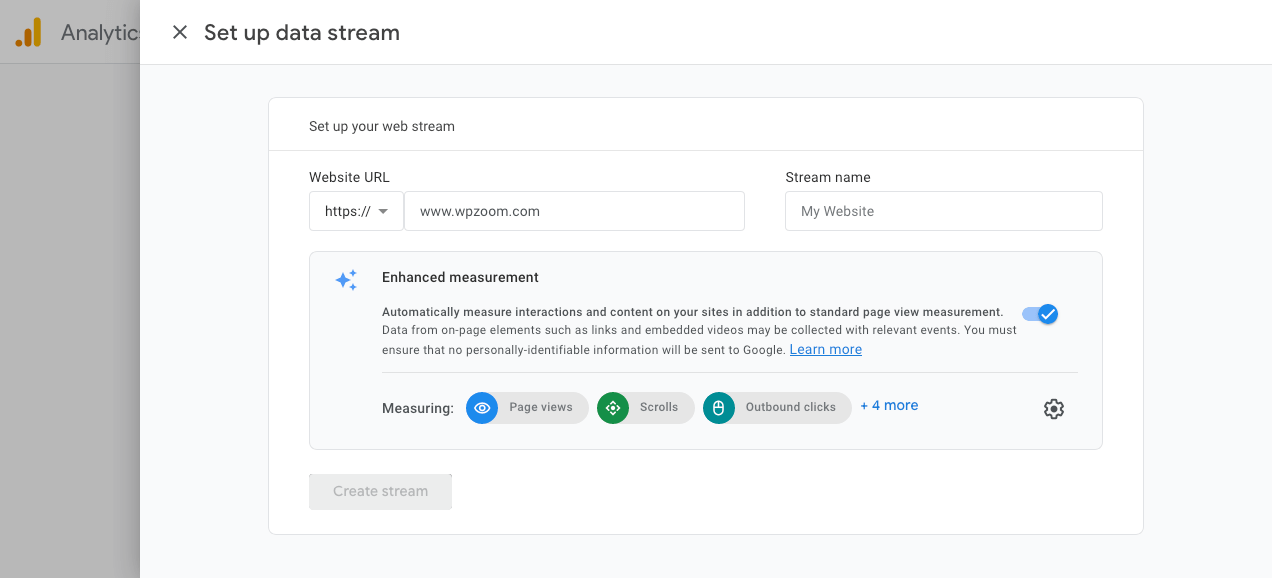
Enter your website address, a stream name, and click Create stream.
- Get Your Tracking ID and the Tracking Code. After filling in your website details, Google Analytics will provide you with a unique Tracking ID and a snippet of JavaScript code known as the tracking code. You will integrate this code into your WordPress site to start collecting data.

Note your Tracking ID and keep the tracking code snippet accessible for the next steps of the integration process. This information will be crucial.

Add the Google Analytics Tracking Code to WordPress Manually
This approach involves manually adding the Google Analytics tracking code snippet into your website’s code. While this method bypasses the need for plugins, it requires more technical know-how.
Warning About Editing Theme Files!
Before proceeding, be aware that directly editing your theme’s files can have unintended consequences. Use a child theme to make your changes, ensuring that your modifications are not overwritten when updated. Alternatively, consider using a code snippets plugin like WPCode to add custom code to your WordPress site safely.
Follow these detailed steps to manually add the Google Analytics tracking code to your WordPress site.
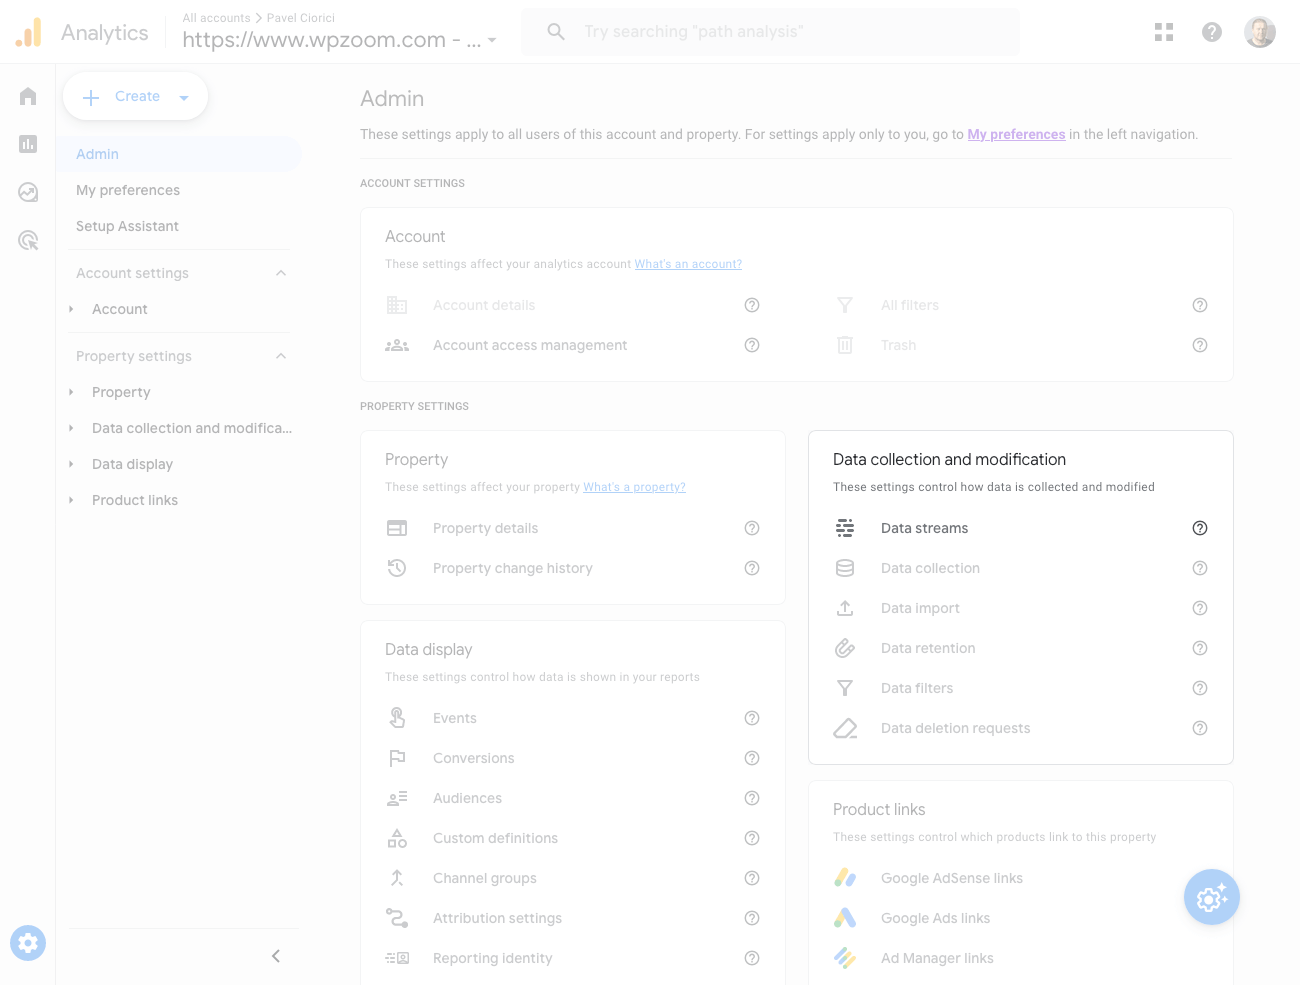
- Copy Your Google Analytics Tracking Code. Log into your Google Analytics account and navigate to the Admin section.

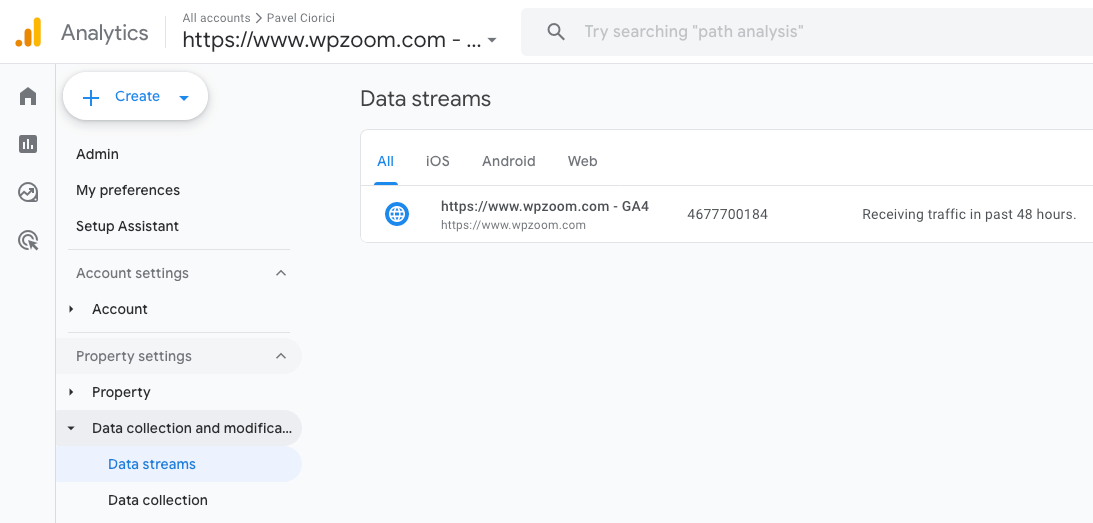
Go to Data Streams from the Data collection and modification box.
Click on your Google Analytics property.
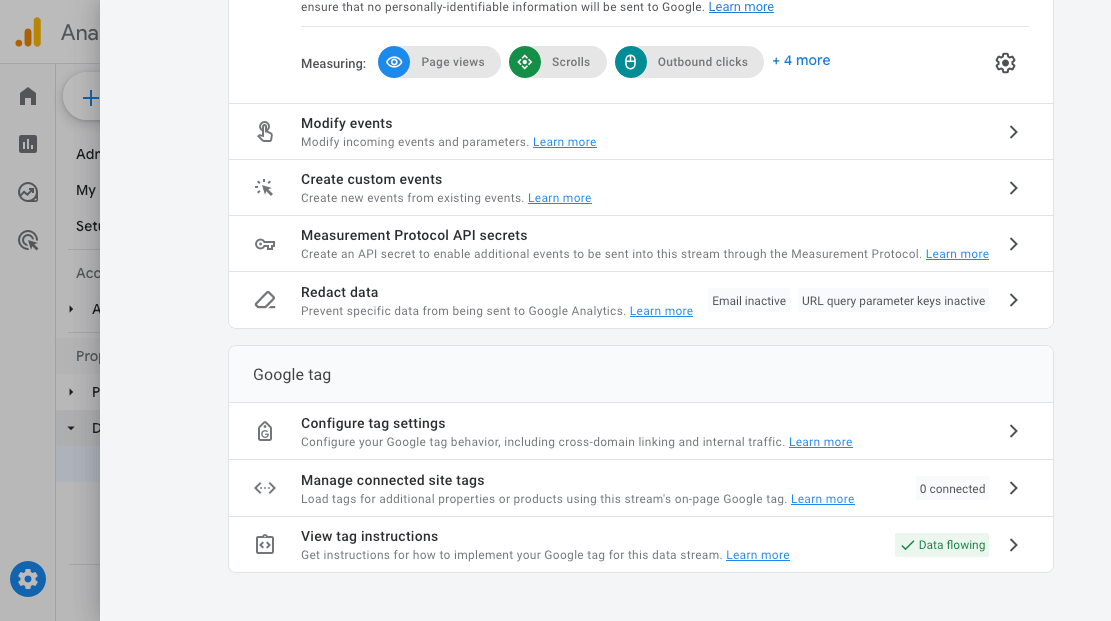
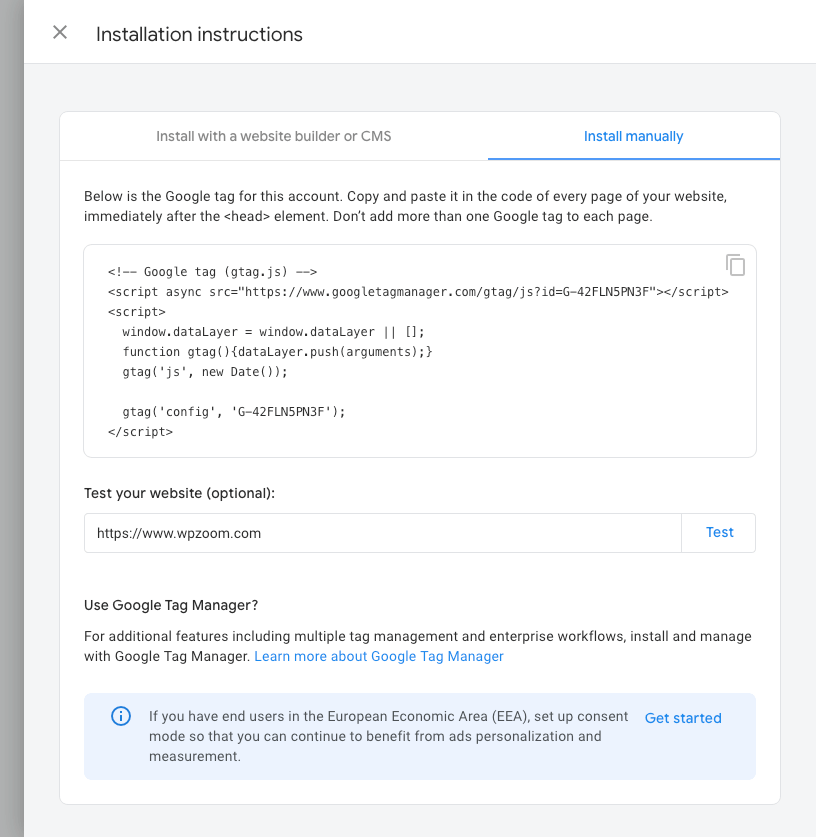
Scroll down and click on View tag instructions.
Navigate to the Install manually tab.
Here, you will find your Global Tag (gtag.js), a JavaScript snippet that needs to be added to your website.
Copy this code to your clipboard; you will need it for the next steps. - Add the Tracking Code to Your Theme’s Header File. You can add the code by manually editing your theme’s header file/s, but we don’t recommend doing this.
For a safer and more straightforward approach, consider using a WordPress plugin designed for inserting header and footer scripts, such as WPCode. These plugins provide a straightforward interface for pasting the GTM code snippets into the right places without directly editing theme files.
Remember, if you add the code manually directly to your header file, you may need to re-add the tracking code when you update the theme, unless you use a child theme or a code snippets plugin.
Adding Google Analytics to WordPress with Google Tag Manager
Many people favor installing Google Analytics on WordPress using Google Tag Manager (GTM) because of its flexibility and control in managing various tracking codes and scripts.
Google Tag Manager acts as a middleman between your site and analytics services like Google Analytics, allowing you to deploy and update tracking codes without directly editing your site’s code. This approach is handy for websites with multiple analytics and marketing services.
Here’s how to add Google Analytics to your WordPress site using Google Tag Manager.
Step 1. Create a Google Tag Manager Account
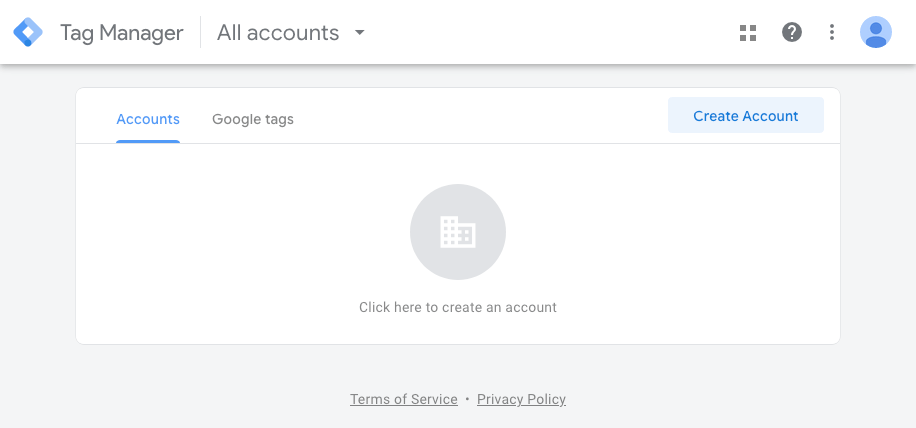
- Go to the Google Tag Manager website and sign in with your Google account.
- Click on Create Account.

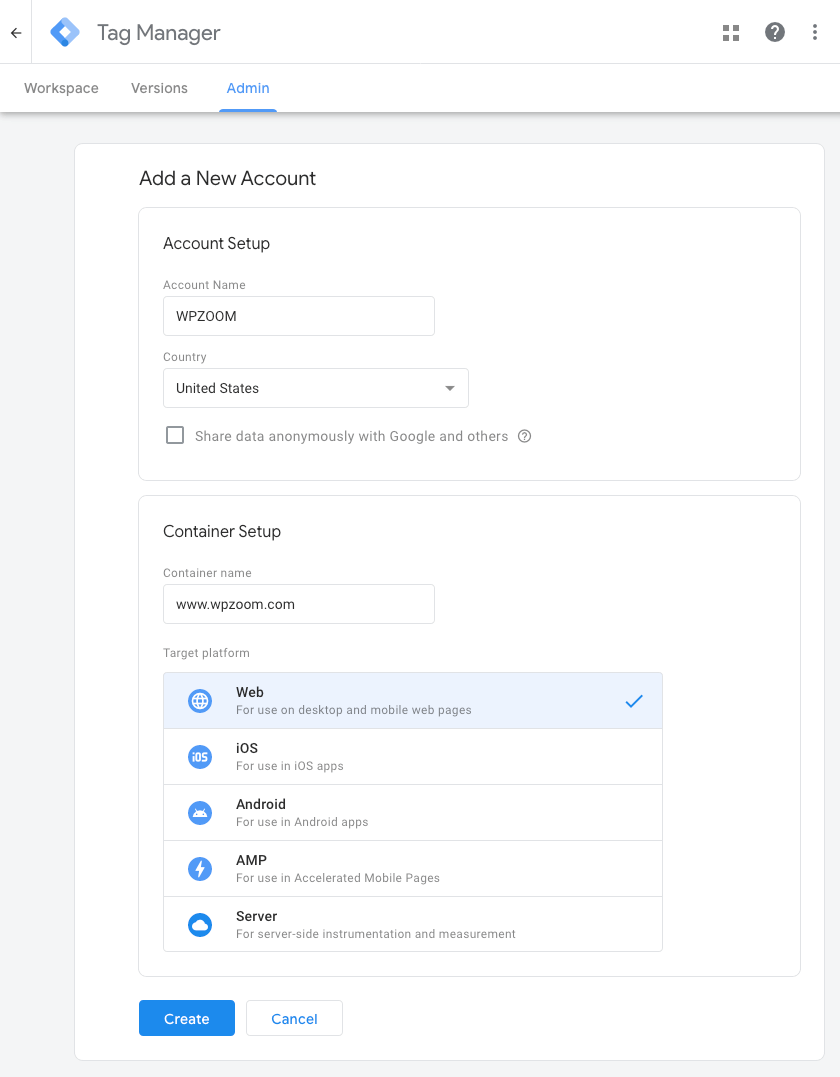
- Enter your account name (usually your company’s name), select the country, enter the container’s name (typically your website’s name), select Web as the target platform, and click Create.

After agreeing to the terms of service, you’ll receive a GTM code snippet to add to your website.
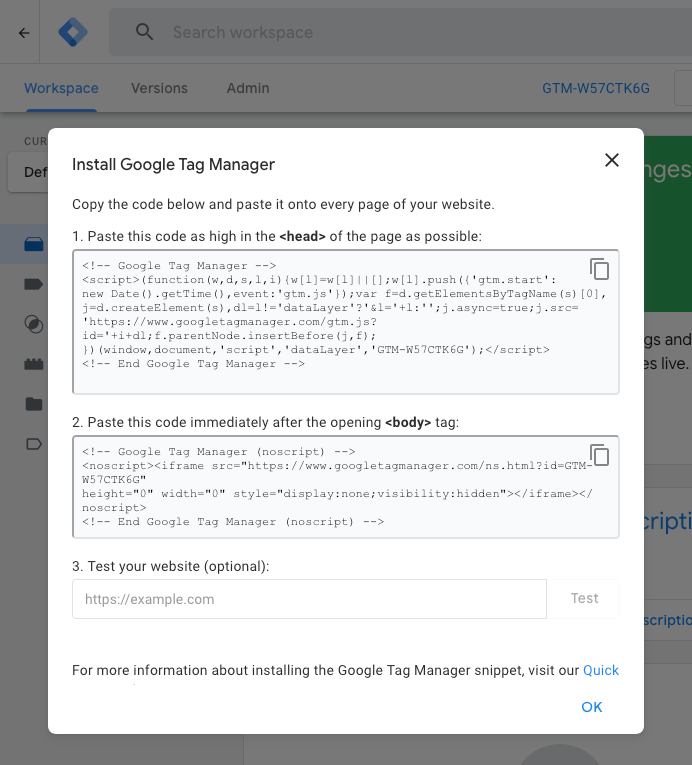
Step 2. Add GTM Code to Your WordPress Site
The GTM code snippet consists of two parts: one that needs to be added immediately after the opening <head> tag and another that should be placed immediately after your website’s opening <body> tag.
To add these code snippets to your WordPress site, you have two options:
- Edit your theme’s header and body files. You can manually insert the GTM code snippets into your theme’s header.php and body.php, but we don’t recommend doing this.
- Use a code snippets plugin. For a safer and more straightforward approach, consider using a WordPress plugin designed for inserting header and footer scripts, such as WPCode or a specific plugin for Google Tag Manager. These plugins provide a straightforward interface for pasting the GTM code snippets into the right places without directly editing theme files.
Step 3. Set Up Google Analytics in Google Tag Manager
With GTM installed on your WordPress site, the next step is to configure Google Analytics within GTM:
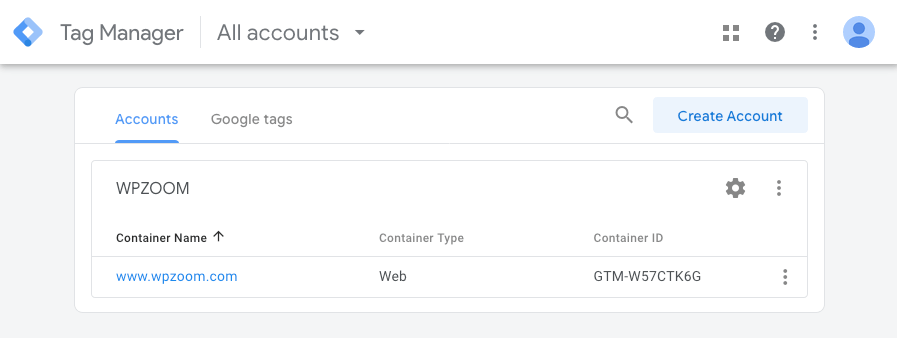
- Navigate to your GTM dashboard and select your website’s container.

- Open the Tags menu, click on New.

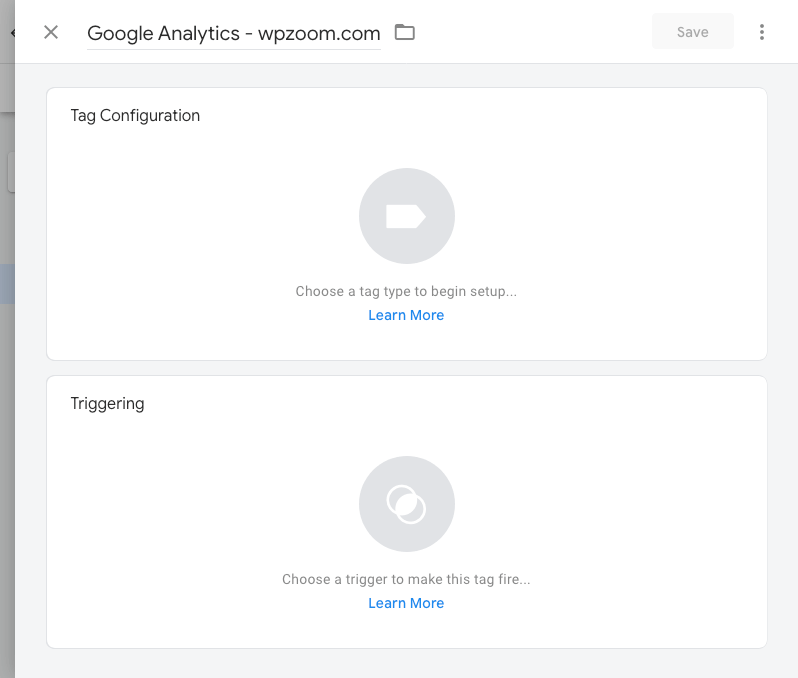
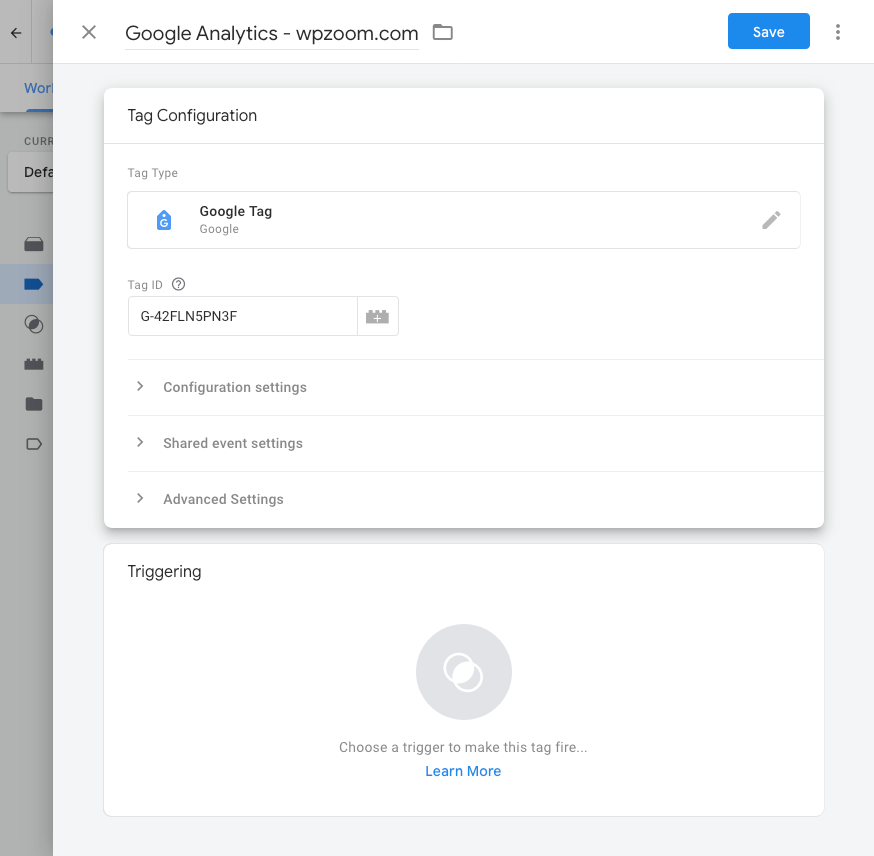
- Enter a name for the tag at the top (e.g., “Google Analytics – wpzoom.com”) and click on Tag Configuration box.

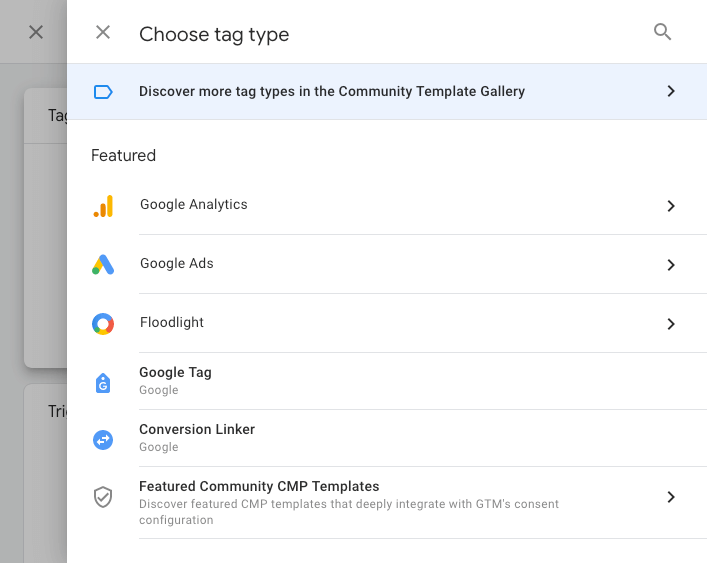
- Select Google Analytics.

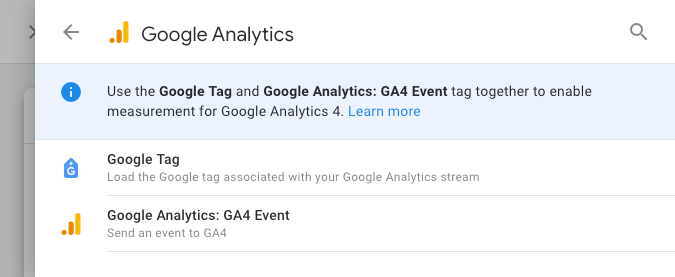
- Click Google tag.

- In the field Tag ID, enter your Google Tag ID then click the Triggering box.

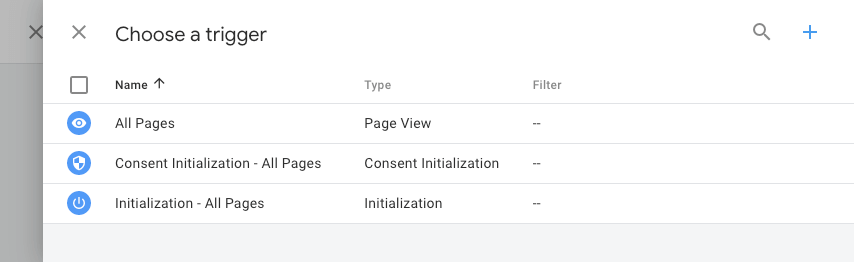
You can find your Google Tag ID in your Google Analytics account > Admin > Data Streams > Google tag settings. - Use the Initialization – All pages trigger to ensure Google Analytics tracks all page views across your site.

- Click the Save button to save your tag and publish the changes to make your Google Analytics tracking live.

Make Sure Google Analytics Is Working Properly
After integrating Google Analytics into your WordPress site, whether through a plugin, manually, or via Google Tag Manager, it’s crucial to ensure the setup functions correctly.
Here’s how to confirm that Google Analytics works as it should on your WordPress site.
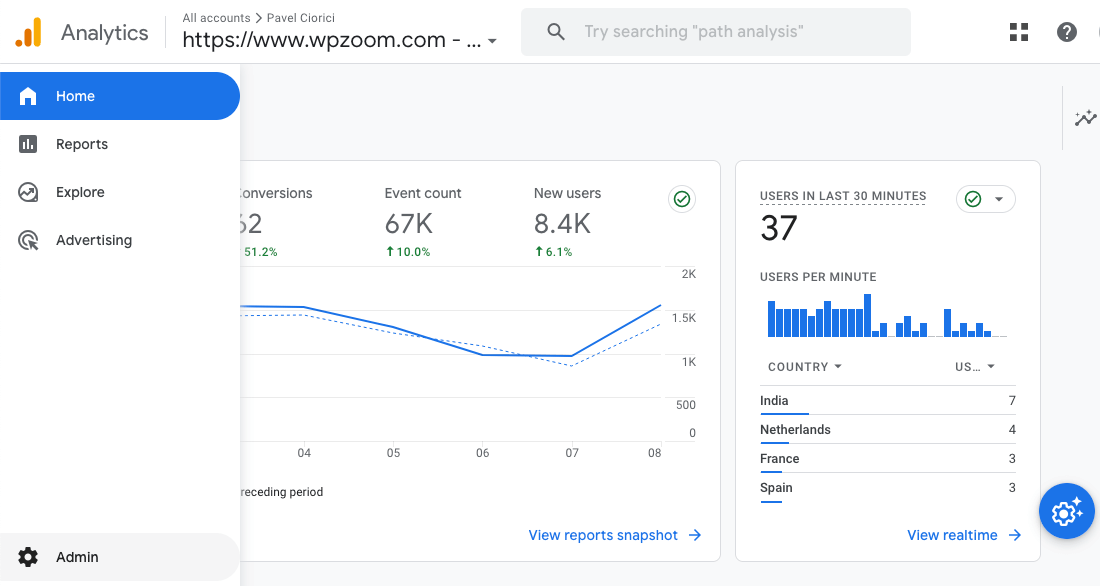
Option 1: Check Real-Time Reports in Google Analytics
One of the quickest ways to verify your Google Analytics installation is through the Real-Time Reports feature.
- Log into your Google Analytics account and select the correct view for your website.
- Navigate to the Reports > Realtime section in the sidebar menu.

If Google Analytics has been properly integrated and is actively tracking, you’ll see real-time data about your site, such as the number of active users, their geographic locations, and the pages they’re currently viewing.
Option 2: Use the Google Tag Assistant
Google Tag Assistant helps you verify the installation of various Google tags, including Google Analytics, Google Tag Manager, and others.
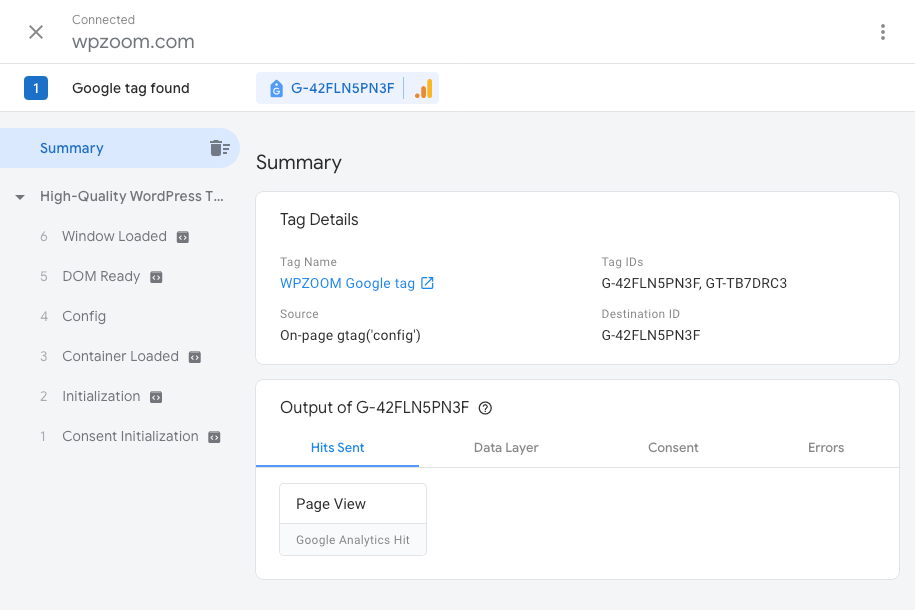
It will show you which tags are found on the page, any errors or warnings associated with those tags, and confirmation if Google Analytics is successfully detected.
You can also use its Tag Assistant Companion Chrome extension.
Option 3: Check for Tracking Code on Your Site
Another method to ensure that Google Analytics is working properly is to manually check your website’s source code for the Google Analytics tracking code.
Right-click on your website in your browser, select View Page Source, and then use the browser’s search function (usually Ctrl + F or Command + F) to look for the unique Google Analytics tracking code (e.g., “G-XXXXX”). If you find the tracking code in the source code, Google Analytics is likely installed correctly.
Option 4: Verify Data in Google Analytics Reports
After confirming the presence of the tracking code and checking real-time data, give it 24 to 48 hours and then review other reports in Google Analytics to ensure data is being collected accurately.
Look at the Reports > Acquisition report to check where your traffic is coming from. Seeing data populating this report that align with your expectations based on your site’s activity is a good sign that Google Analytics is functioning correctly.
Option 5: Use Analytics Debugging Tools
Consider using debugging tools for a more technical approach, especially if you suspect issues with your Google Analytics setup.
Both Google Analytics and Google Tag Manager offer debugging options that provide detailed insights into what data is being captured and any errors that might be occurring. These tools are particularly useful for advanced setups or troubleshooting specific issues.
Bottom Line
Integrating Google Analytics with your WordPress site can provide invaluable insights into your audience and website performance.
Whether you use a plugin for simplicity, add the code manually for a leaner site, or use Google Tag Manager for advanced tracking, the key is to select the method that aligns with your technical comfort and site management goals.