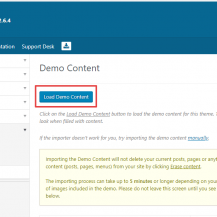
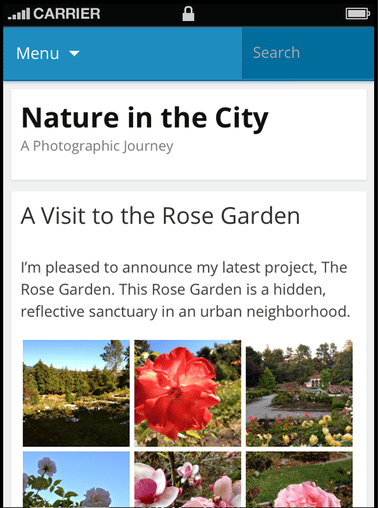
Setting up your new theme to look just like the live preview starts with the demo content. We have a page with each theme’s demo content ready for you to download, so you can set up and test your theme exactly like the demo. Head to our Theme Demo Content page to access the files.
Theme authors usually host their demo (or dummy) content in one of a few places: a dedicated documentation page, the theme’s item page on a marketplace like ThemeForest, a GitHub repository, or bundled directly inside a companion plugin. On WPZoom, we keep everything in one spot so you don’t have to hunt for the right XML file.
Once you’ve downloaded the demo content package, you can bring it into your site in one of two ways:
To import manually, go to Tools > Import in your WordPress dashboard, choose WordPress from the list of importers, install it if prompted, then upload the demo XML file and follow the on-screen steps to assign authors and download attached images.
Before importing, always back up your site. Demo content adds posts, pages, images, and menu items to your existing database, and importing it into a site that already has content can create duplicates or overwrite settings. Backing up first lets you undo the process if anything looks off.
After the import finishes, a few post-import steps help everything match the demo:
If images or layouts look broken afterward, it’s usually because the media files didn’t fully download during import. Re-running the “Download and import file attachments” step, or manually uploading missing images from the demo package, typically fixes this.
If you no longer need the sample content once your site is set up, a reset plugin such as WP Reset can safely remove demo posts, pages, and settings without affecting your real content, as long as you’ve kept a backup beforehand.