The importance of standing out from a crowd cannot be underestimated. Whether it’s due to special functionality requirements or the need for a unique appearance, the ability to customize WordPress themes is crucial. How to customize a WordPress theme easily?
You probably have a lot of questions, and luckily we have all the answers. Learn all the best methods, all the tricks, and every other piece of information you need in order to learn how to customize a theme in WordPress.
Table of Contents
- Use the Full Site Editor to Customize Your Theme
- Use the Theme Customizer to Edit Your Theme
- Use a Page Builder for WordPress Theme Customization
- Use the Theme File Editor
- Customize Your Theme Using a Child Theme
- Easiest WordPress Themes to Customize
How to Customize a WordPress Theme
Depending on your level of experience, customizing your WordPress theme can be done in a number of ways. Your experience level and the complexity of the customization you seek both play an important role in the way you choose the right method for you.
The theme you are trying to modify also dictates the methods you can use to a certain extent. Depending on whether the theme comes with a complex, predefined editor or not, you will be able to make the necessary changes in different ways.
Here are the most common methods you can use to customize WordPress themes and what each one’s particular advantages and disadvantages are.
Use the Full Site Editor to Customize Your Theme
The Full Site Editor (FSE) extends the ability to edit posts and pages through block editing. This is one of the simplest ways to customize WordPress themes, but it only works for certain themes that integrate this block-based site editor.
In order for this method to work for your website, you will need a WordPress version higher than 5.9 and a block-compatible theme.
The FSE is a particularly powerful tool, as it allows you to edit your entire website using blocks, and it can be quickly and easily accessed through the WordPress dashboard.
Here is how you can customize your WordPress theme using the full site editor.
Step 1. Log into your WordPress dashboard.
Step 2. Navigate to Appearance > Editor
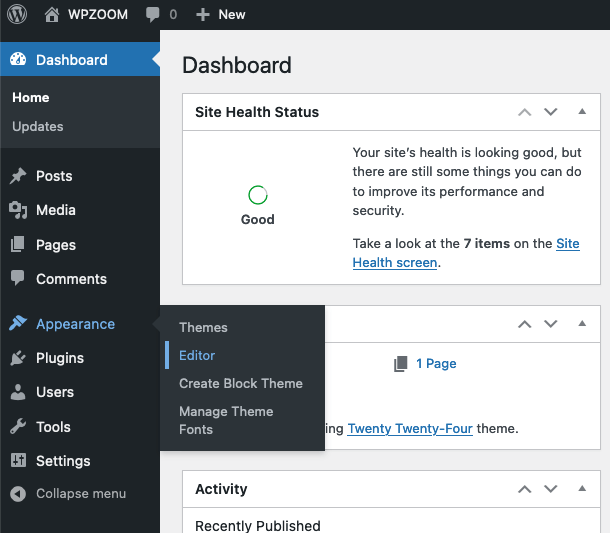
Step 3. The block editor will now load, allowing you to change the layout of your website using blocks. To be more precise, all important parts of your pages will be separated into modifiable block elements. You can add new blocks if needed or delete old ones.
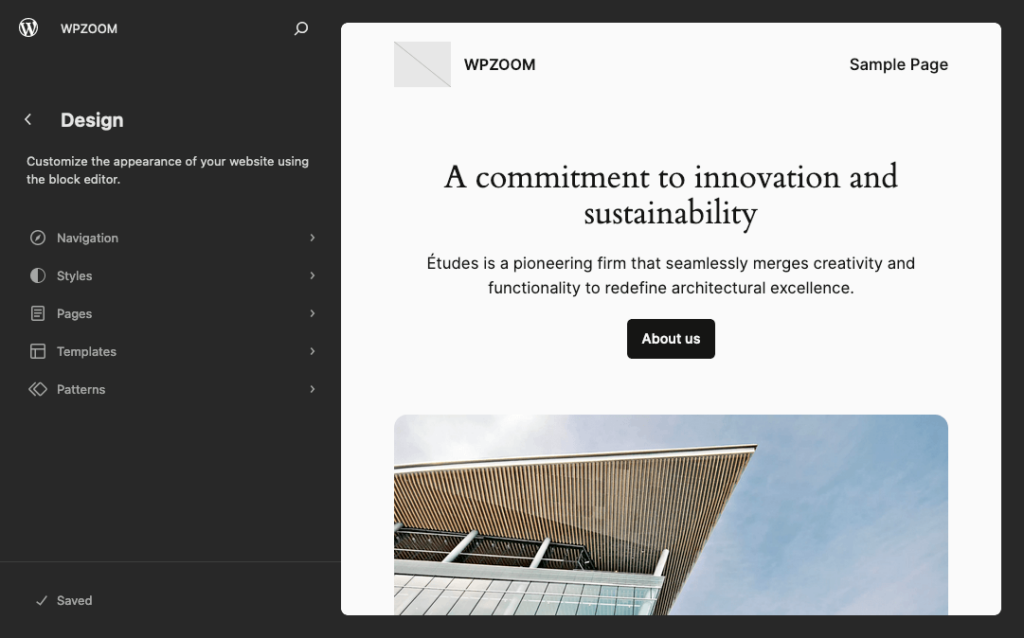
On top of this, you will be able to see on this page several other shortcuts that will allow you to navigate to other menus like:
- Navigation: change your website’s navigation menus
- Styles: change the colors, fonts, and other design elements
- Pages: edit the content and aspects of individual pages
- Templates: edit the layout and structure of different page and post types
- Patterns: edit smaller elements of your theme templates
Once you choose to start working on an element, if you click on it, a new page will open. Here, you will be able to start creating new elements or editing older ones:
- Using the “+” sign in the upper-left corner, you can start adding new blocks or patterns
- Use the drag-and-drop interface to customize your WordPress theme
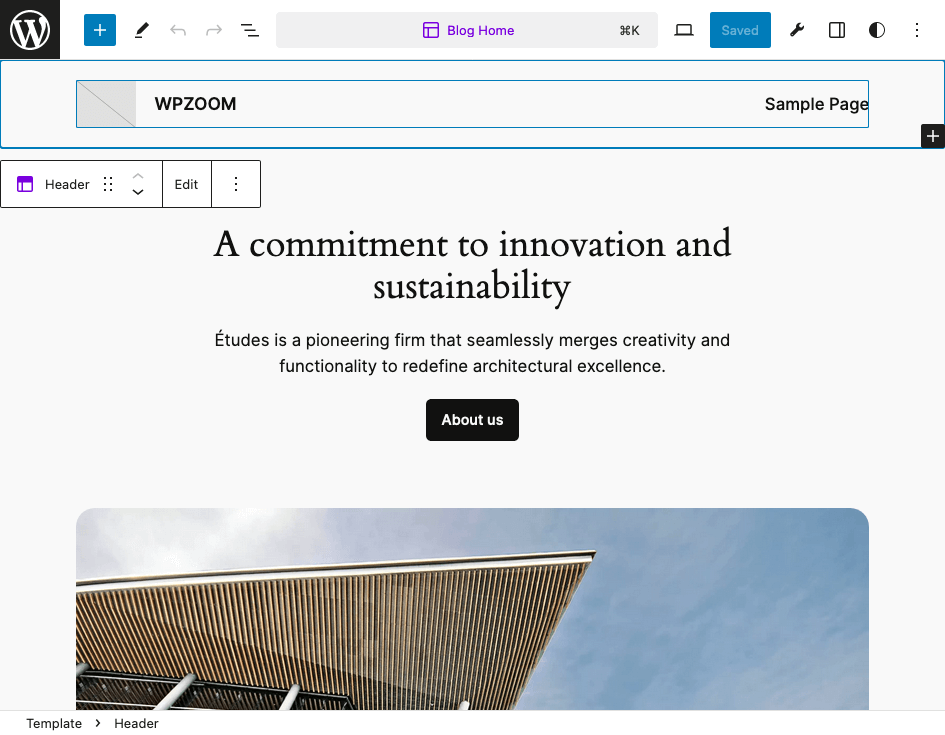
Step 4. Save your changes and enjoy your newly customized WordPress website.
As you can tell, this is one of the simplest ways for you to edit your WordPress theme. As long as your theme is compatible and your WordPress version is recent enough, this can be a great way to edit your custom WordPress theme without any need for coding experience or advanced technical knowledge.
Use the Theme Customizer to Edit Your Theme
Another equally simple and effective method to customize your WordPress theme is to use the theme customizer already built into WordPress. This applies to classic WordPress themes or in case you need to keep your WordPress below the 5.9 version for some reason.
The WordPress Customizer is a legacy tool that allows you to customize the look and functionality of your WordPress theme in realtime. How much you can actually change and how easy the process is depends on the actual theme you use.
Here is the step-by-step process you will need to go through in order to customize your WordPress theme with this method.
Step 1. Log into your WordPress dashboard.
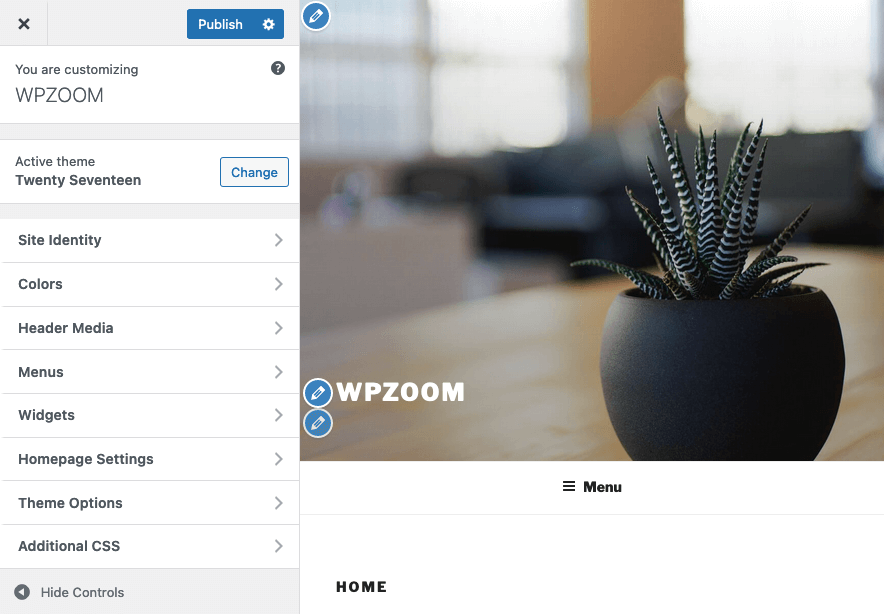
Step 2. Go to Appearance > Customize.

Step 3. Now, the Customize page will be displayed, and you will now be able to make modifications to your WordPress theme. The left sidebar is going to offer you various customization options, such as:
- Homepage settings
- Color schemes
- Header and footer settings
- Backgrounds
- Site identity (WordPress site title, tagline editor)
- Navigation menus
- Widgets
- Custom CSS
Step 4. Preview your changes in realtime and save them whenever you feel happy with your accomplishments.
While each theme will give you different customization levels, it is important to keep in mind that this is a great method for beginners. It might not offer the level of customization needed to make your website truly unique or the best it can be. However, you will still be able to edit its appearance and functionality to a certain extent. And for many users, this will be more than enough.
Use a Page Builder for WordPress Theme Customization
Many WordPress themes come with different page builders. These page builder plugins come in many different shapes and forms, but one of the most commonly used is clearly Elementor. There are some other honorable mentions:
Depending on the WordPress theme you are using, either one of the plugins above can be a great tool to help you customize your WordPress theme. These plugins offer more customization options than WordPress can inherently offer and will be a great way for you to edit your website, regardless of your level of expertise.
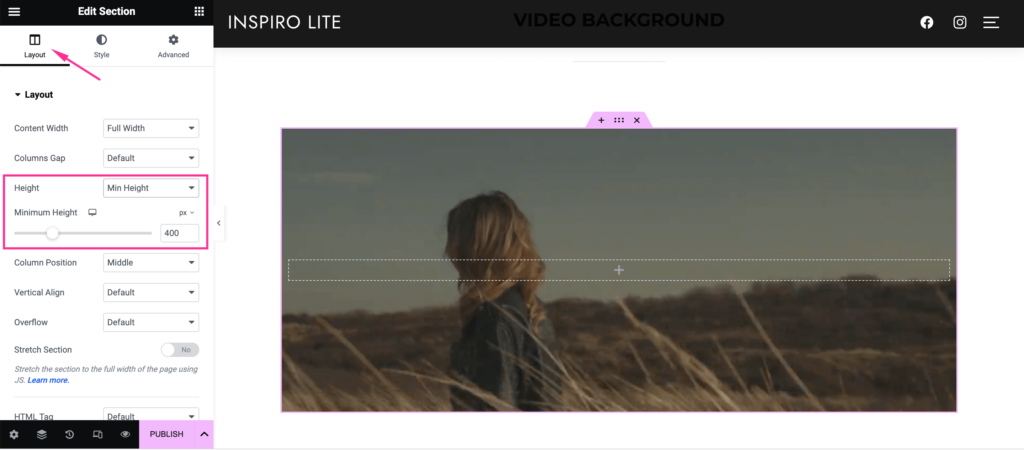
Most of these plugins work in a similar fashion, and while there are differences in the way you can use them to edit your theme, there are a handful of similarities as well. Elementor, for example, comes built into quite a generous number of themes nowadays.
One thing that you should always keep in mind when considering using a page builder plugin is that you need to be certain of your decision. Once you start designing your WordPress website with the Elementor page builder plugin, for example, you need to stick to it.
That’s because if you decide all of a sudden to stop using it, all your customizations will be lost. Everything you customized in the past will need to be redone, and chances are you will need to put quite a lot of time and effort into recreating everything.
These plugins are a great solution for pretty much anyone who wants an easy way to customize a WordPress theme and provide amazing flexibility both in terms of design and functionality.
Use the Theme File Editor
Now it’s time to get into the more complex methods of customizing your WordPress theme. If you have some experience with coding, editing your theme’s code directly can be a great way for you to edit your WordPress theme and make it your own.
This method is the ultimate tool for WordPress customization and one that provides limitless options in terms of flexibility. You can create the exact website you want, without having to worry about any limitations imposed by page builder plugins, WordPress editors, or any other additional elements.
While the actual alterations to the WordPress theme code will require some technical knowledge and will depend on a lot more than just a series of steps, here is where and how you will be able to make them.
Step 1. Log into WordPress Dashboard.
Step 2. Go to Appearance > Theme File Editor.
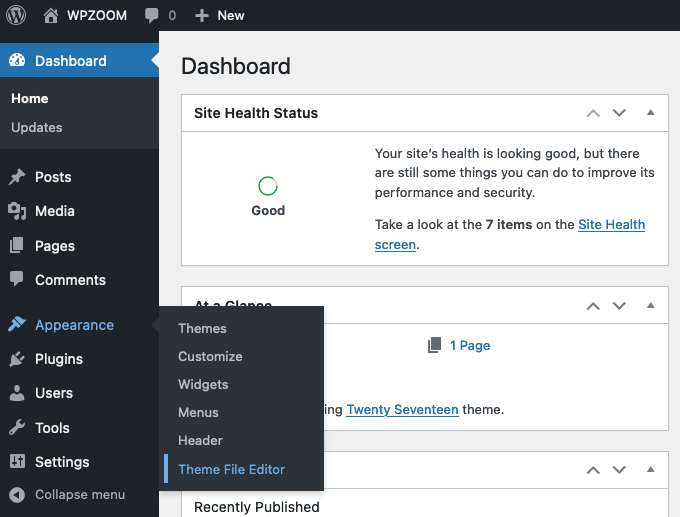
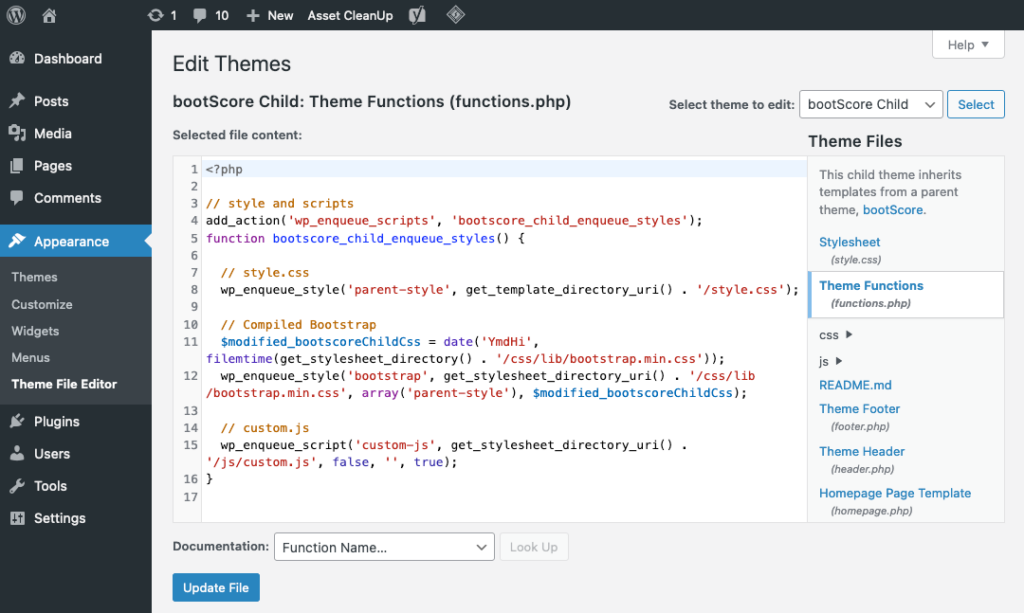
Step 3. Start editing the code on the screen that pops up. You can change the code in style.css, functions.php, and theme template files.
Even though this method does provide some important advantages, there are some risks you need to be aware of. There are two reasons why you should actually avoid using this method altogether.
- All the changes you make through this method will be lost the next time you update the theme. If you don’t update the theme, you risk leaving your website exposed to security threats. If you do update it, all your changes will be lost and will need to be redone each time.
- You can end up ruining your website. That is because changes made in the code through this method are not tracked, and you will not have access to the previous versions of the files you edit.
So, how to customize a theme in WordPress with maximum flexibility and minimum risk?
Customize Your Theme Using a Child Theme
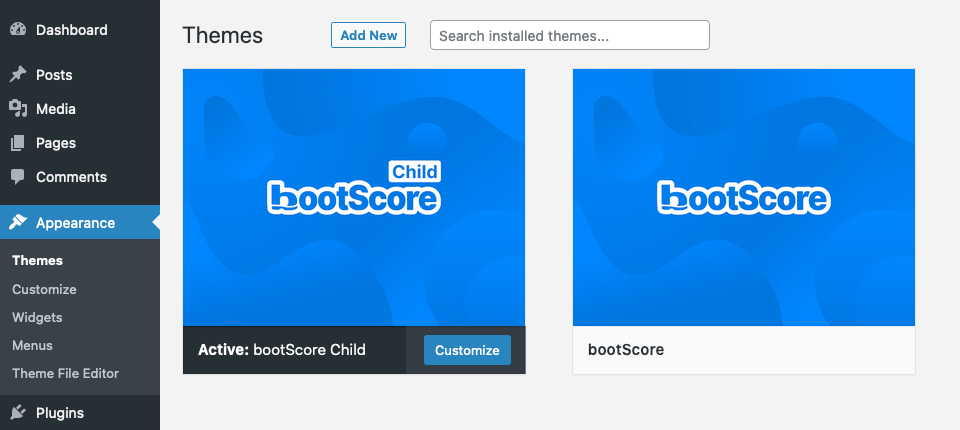
Probably the most advanced method on our list and the one that provides the most advantages, creating a child theme is a very powerful tool for editing your WordPress site.
A child theme is a duplicate of the original theme you have installed on your website. It inherits all the style data and functionalities from the main theme (parent theme).
Here is why using a child theme is the best way to customize your website.
- Using a child theme will ensure that you can update the parent theme to the latest version without losing any of your customizations.
- Your original WordPress theme files will remain safe. Regardless of the customizations you make and whether you end up damaging your site while editing it, you will always have the parent theme as a safety net.
- Creating similar websites is a lot easier when using a child theme.
- Popular WordPress themes are generally easier to modify with a child theme than directly in the main version of the theme.
Creating a child theme can be done in various ways, and you should feel free to explore everything there is to know about creating child themes in our detailed guide.
- Create your child theme using one of the methods described in the complex tutorial above.
- Install your child theme from your WordPress dashboard.
- Customize the theme, using any of the methods already described in this guide.
- Once the changes are made, save them.
- Activate the theme and check to see if your website looks and functions the way you were expecting.
Easiest WordPress Themes to Customize
WordPress themes are quite different from one another. There are thousands of WordPress themes out there, and as you might imagine, some are more customizable than others.
Here are some of the best most easily customizable WordPress themes you can choose from:
Inspiro PRO
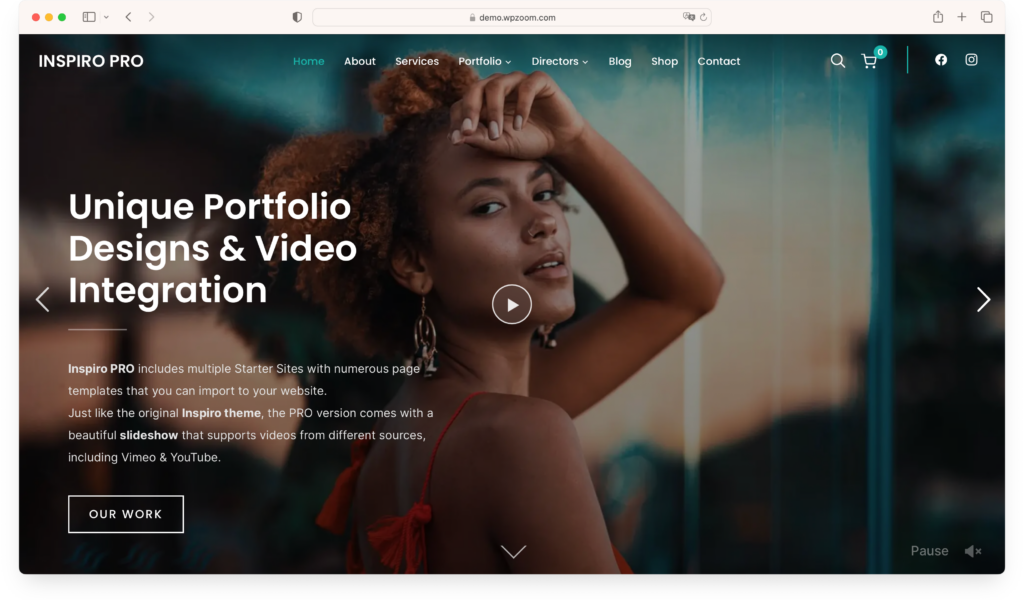
If you are looking to create a professional portfolio website, you need to be in control of customizing it and making it stand out from the rest. Inspiro PRO can be the best tool for you. It is built around the Elementor page builder, which makes it highly customizable and very easy to edit in a variety of ways.
There are several layout options available; you can choose from a wide selection of dynamic elements to make your pages pop; it is user-friendly; and it provides a seamless experience both for you as a WordPress website creator and for your visitors.
UniBlock PRO
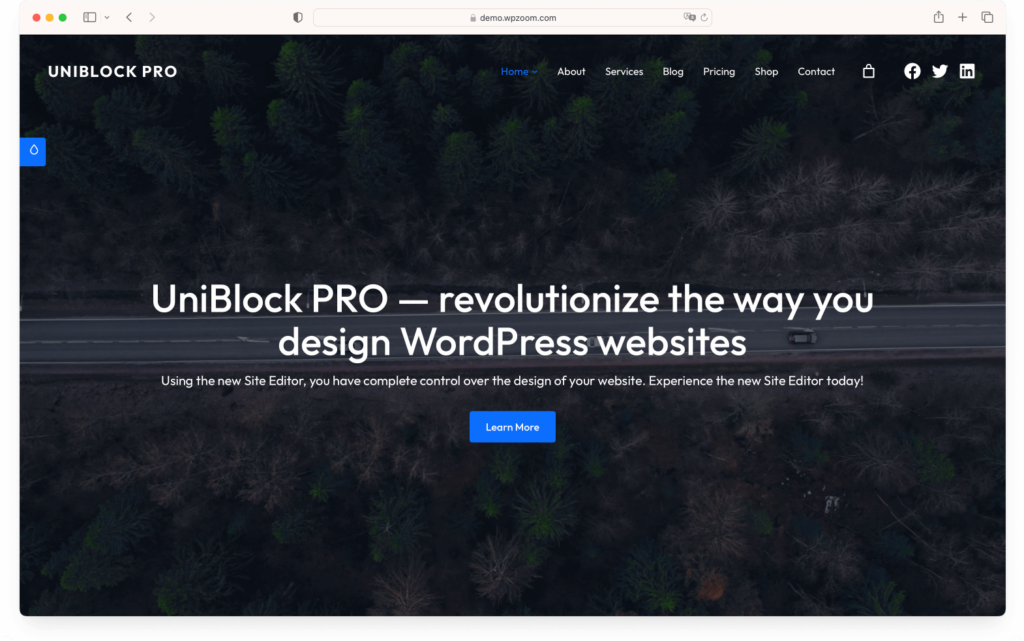
Another top choice for any website creator who wants a hands-on approach to editing the WordPress theme, UniBlock PRO is based on the revolutionary Full Site Editor from WordPress.
Being built around the most recently developed functionality of WordPress, UniBlock PRO is extremely easy to edit, and it can be highly customized without any hassle. There is no coding required, and you don’t need any technical knowledge at all.
Anchor

If you need a highly customizable WordPress theme that can also be seamlessly integrated with WooCommerce, Anchor can be the right answer for you. It can also be customized using WordPress Full Site Editor, which means that very little technical knowledge is actually required to make your website represent your vision.
Your e-commerce business needs the best interface for your visitors while also representing your brand and the way you want to show yourself in front of your customers. Anchor can be edited easily without coding knowledge and needing access to the theme files.
Bottom Line
Customizing a WordPress theme is a very important part of creating a unique website, whether it is for your own brand or as part of your journey to becoming a developer. Whether you do it through manually coding and changing the theme files or you choose the easiest Full Site Editor function from WordPress, the end result needs to represent something unique.
Now you have all the relevant information to start editing WordPress themes, but your true experience will only start developing once you dive into it. Whether you decide to create child themes or you find the easiest WordPress theme to customize, you are going to have a blast if you follow our step-by-step guides.