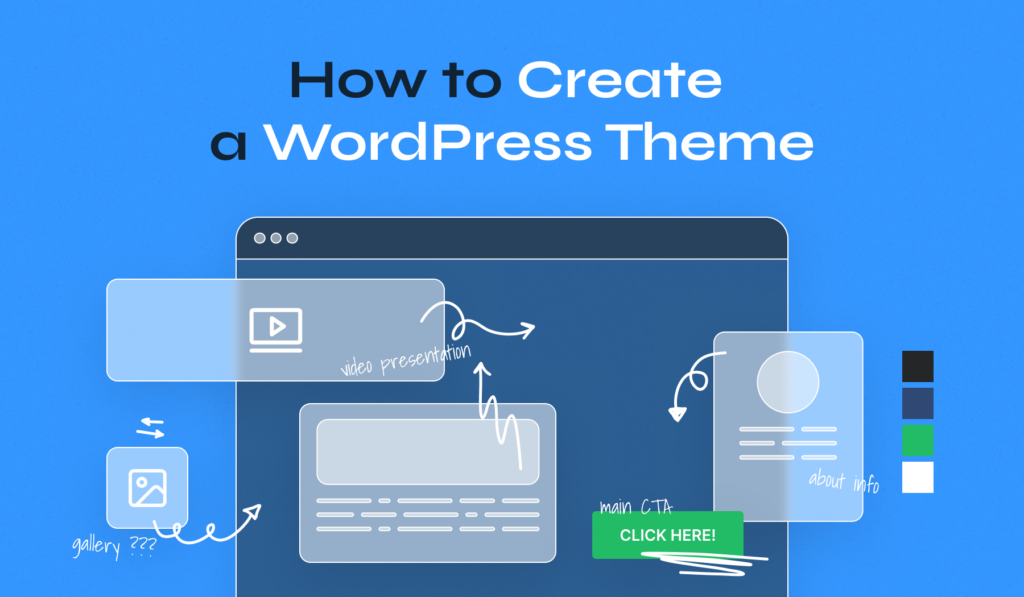
WordPress’s versatility as a CMS is largely due to its customizable nature, particularly through themes. Custom themes go beyond aesthetics; they capture a brand’s personality, provide unique user experiences, and make a website stand out from others using generic templates. This guide, focusing on how to create a custom WordPress theme, is designed to equip you with the knowledge to craft a unique and functional theme, tailored to your specific needs and vision.
A WordPress theme is essentially a group of files that create the visual interface of a website. While pre-made themes are readily available and easy to use, they might not always align with your unique requirements or brand identity. Custom themes offer a level of flexibility and personalization that pre-made themes simply cannot. They allow for a tailored layout, personalized user experience, and specific functionalities unique to your site.
Table of Contents
- Getting Started: Preparing for Theme Development
- Installing WordPress Locally
- Basic Theme Files: Building the Foundation
- Enhancing Theme Functionality
- Advanced Features for Your Theme
- Deploying Your Custom Theme
- Using the “Create Block Theme” Plugin to Create a Custom Theme
- Using a Starter Theme as a Foundation for Custom Theme Development
Getting Started: Preparing for Theme Development
Creating your own custom WordPress theme from scratch requires an artistic vision and a solid understanding of the technical aspects that make up a WordPress theme. From mastering essential web languages to setting up the right development tools, this initial phase lays the groundwork for successful theme creation.
Let’s explore the essential skills and tools needed to start developing your own custom WordPress theme.
Developing the Essential Skills
To build a robust and effective WordPress theme, it’s important to know well the main web languages that form the backbone of WordPress. Each language plays a specific role in theme development, from structuring your web pages to adding dynamic functionalities. Understanding these languages will enable you to build a custom theme that is not only visually appealing but also functions well:
- HTML (HyperText Markup Language): The foundation of all web pages. It’s essential for structuring the content of your web pages, including elements like headings, paragraphs, links, and images.
- CSS (Cascading Style Sheets): Used for styling the visual presentation of your web pages. It allows you to design elements like layouts, colors, fonts, and even complex animations.
- PHP (Hypertext Preprocessor): A server-side scripting language that WordPress uses extensively. PHP codes are important for creating dynamic page content, manipulating WordPress data, and integrating your design with WordPress core functionality.
- JavaScript: While not always essential for basic WordPress themes, JavaScript adds interactive elements to your website, enhancing the user experience. It’s particularly useful for creating dynamic content updates, handling form submissions, animations, and more.
Essential Tools for Development
Having the right tools at your disposal can greatly enhance the efficiency and quality of your own theme development process. From code editors that streamline your coding workflow to version control systems that keep track of your progress, these tools are important for a smooth development experience.
Let’s explore the essential tools that every WordPress theme developer should have in their toolkit:
- Local Server Software: Essential for developing and testing your theme in a controlled environment before going live, a local server software allows you to run a WordPress site on your personal computer.
- Code Editor: A good code editor like Notepad++ or Brackets is indispensable. It offers features like syntax highlighting and code completion.
- FTP Client: When you’re ready to take your own theme live, an FTP client like FileZilla will be necessary. It allows you to transfer files from your local machine to your web server.
- Version Control: Consider using a version control system like Git. It helps in tracking changes, reverting to previous states, and collaborating with others if needed.
- Web Browsers for Testing: Ensure you have multiple web browsers (like Chrome, Firefox, Safari) for testing your theme across different environments.
Installing WordPress Locally
Developing your own WordPress theme from scratch requires a stable and isolated environment where you can experiment and test your ideas without the risk of breaking a live site.
Here’s how to create that environment by installing WordPress on your local machine:
- Select a Local Server Software: Choose a local server environment like XAMPP, MAMP, or Local by Flywheel. These applications simulate a web server on your computer, allowing you to run WordPress locally.
- Download and Install: Download the chosen software and follow the installation instructions. For XAMPP or MAMP, this will involve setting up Apache, MySQL, and PHP on your computer. Local by Flywheel simplifies this process with a more automated setup.
- Setting Up a Database: If using XAMPP or MAMP, create a new MySQL database for your WordPress site via phpMyAdmin, a web-based database management tool.
- Install WordPress: Download WordPress from the official website and extract it into the appropriate directory of your local server (e.g., ‘htdocs’ for XAMPP). Then, navigate to your local server’s address in your web browser and complete the WordPress installation by connecting it to your newly created database.
After WordPress installation, you can perform performance testing easily, adjusting configurations without affecting a live site. Additionally, a local setup simplifies error debugging, allowing you to resolve issues before deploying your own theme.
Basic Theme Files: Building the Foundation
The creation of your own WordPress theme revolves around its fundamental files. These template files are the backbone of your theme, dictating how it functions and appears.
Here’s a detailed guide to developing these essential components:
Creating the index.php File
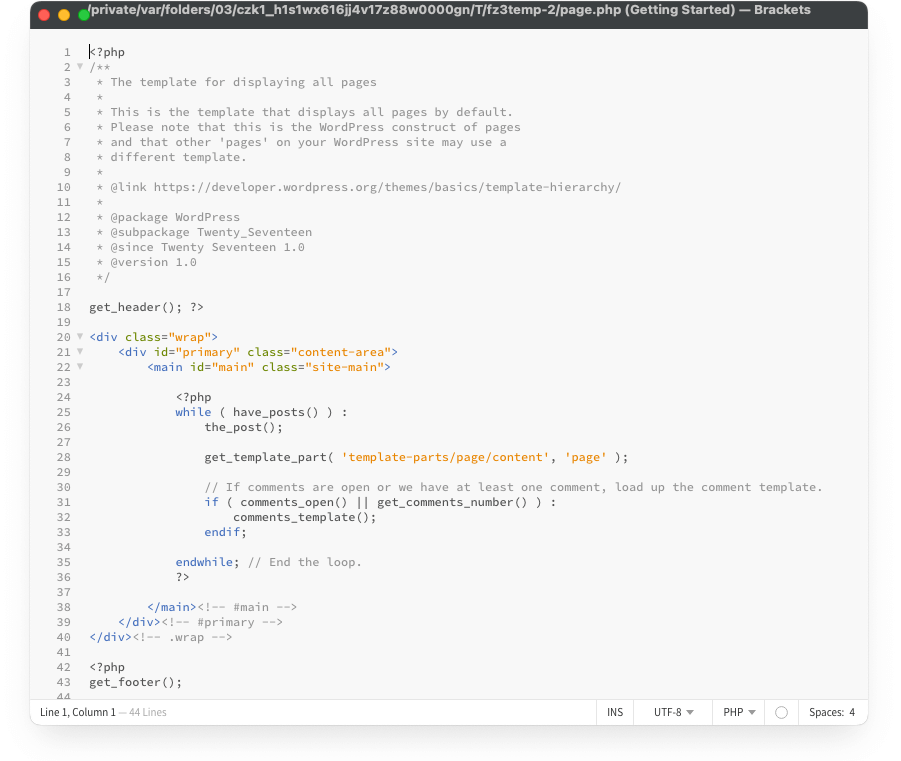
The index.php file is the primary template file in a WordPress theme. It serves as the default file that WordPress uses to display content if specific templates (like single.php for single posts or page.php for pages) are not found.
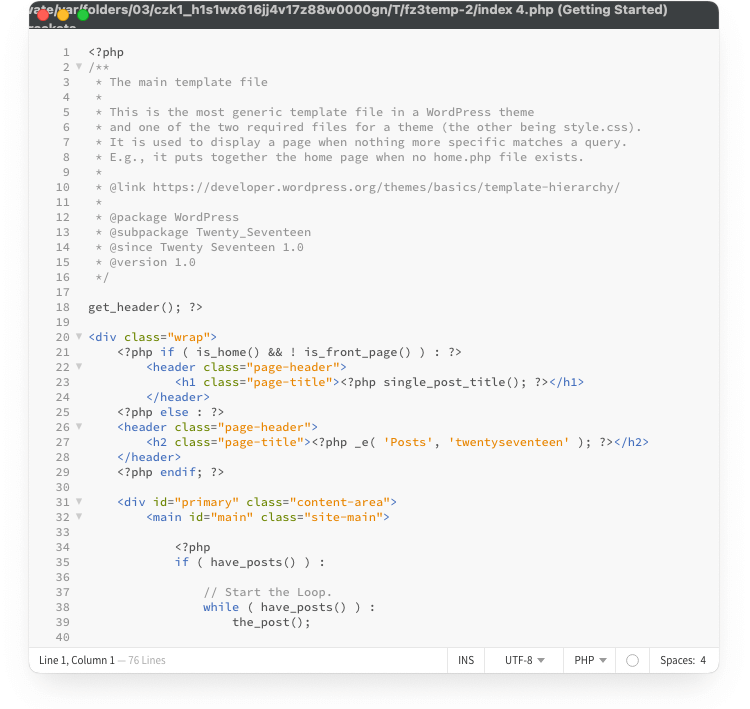
At the heart of index.php is the WordPress Loop, a PHP code block that retrieves and displays content from the database. This loop iterates through posts, displaying them according to your design.
The Loop typically starts with:
<?php if ( have_posts() ) : while ( have_posts() ) : the_post(); ?>
followed by the HTML and PHP to display the content, and ends with:
<?php endwhile; endif; ?>
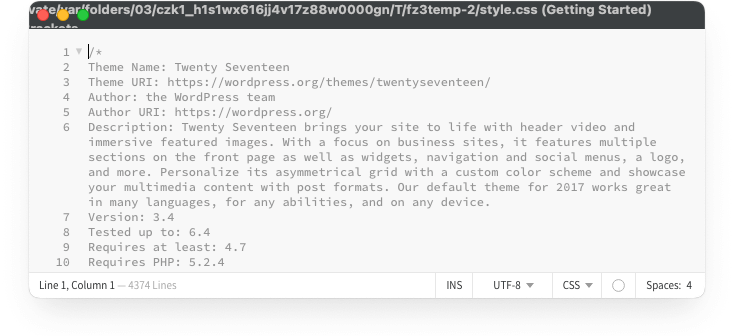
Crafting the style.css File
style.css is where you define the visual styling of your theme. This includes font styles, colors, layouts, and other CSS rules.
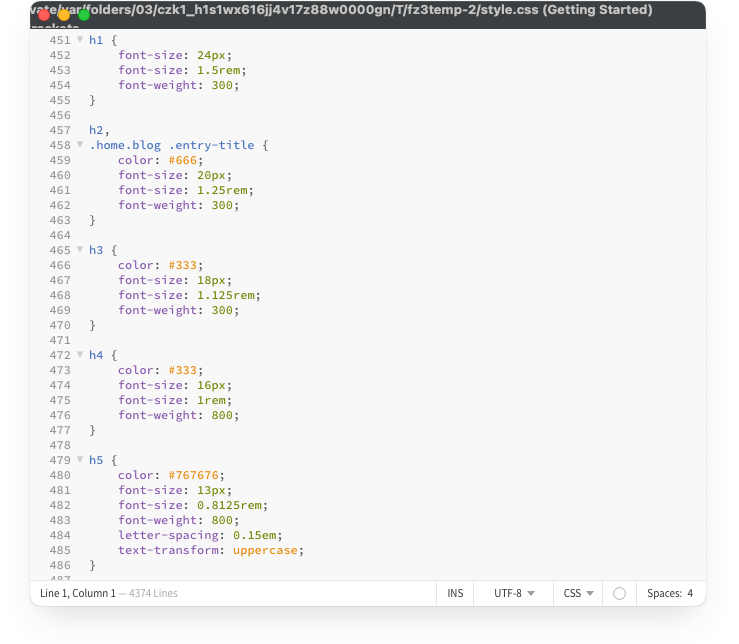
At the top of style.css, include a comment block with your theme’s details, like Theme Name, Author, Description, and Version. This information is displayed in the WordPress admin area and is essential for WordPress to recognize your theme.
Developing Additional Template Files
Once you’ve established the foundational template files, you’ll want to focus on crafting your header.php, footer.php, and sidebar.php templates to frame your WordPress site’s layout.
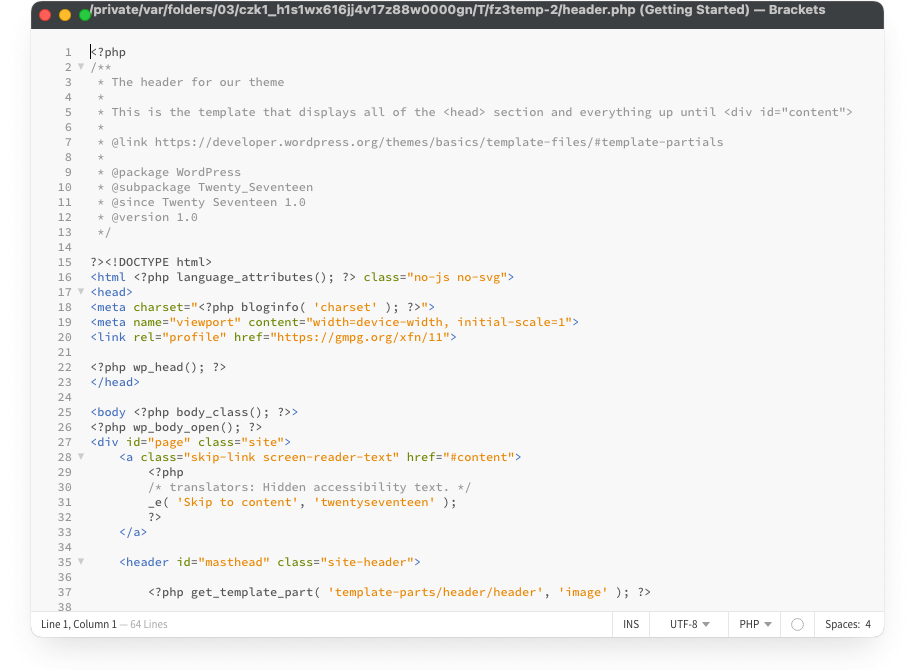
header.php: This file typically contains everything you want to display in the header of your site, including your site’s HTML <head> and opening <body> tag, navigation menus, and logo. It should introduce the site with consistent branding elements, setting the tone with your chosen color schemes and theme styling.
footer.php: This file usually contains the closing content of your site, such as the footer area. It encapsulates the closing </body> and </html> tags and often includes copyright information, secondary navigation, and social media links.
sidebar.php: If your theme includes a sidebar, this file will contain its content. Sidebars often include widgets, navigation menus, or additional information.
Implementing Template Hierarchy
WordPress chooses which template file to use based on a specific hierarchy. For instance, for a single post, WordPress looks for single.php; if it’s not found, it defaults to index.php.
As you grow more comfortable with theme development, consider adding more specific templates like single.php for single blog posts, page.php for individual pages, and archive.php for post archives.
By carefully crafting these basic theme files, you lay a solid foundation for your own WordPress theme. This foundation ensures your theme not only looks good but is also functional and versatile, capable of displaying various types of content effectively.
Enhancing Theme Functionality
Whether you are working with standard WordPress themes, which rely on a traditional PHP-based structure, or with the newer block/FSE themes with their visually-oriented, block-based approach, let’s see how to enhance their functionality.
Standard Themes
Standard WordPress themes rely heavily on PHP to define their structure and functionality. This reliance is evident in the use of template tags and functions – powerful tools that allow for dynamic content display and feature integration.
Template Tags: You’ll incorporate template tags to display posts, comments, and other data. These are PHP functions that output specific data from WordPress. For instance, the_content() is used within The Loop in files like index.php or single.php to display a post’s content. Similarly, the_title() displays the title of the post or page.
WordPress Functions: WordPress functions, on the other hand, let you tailor your theme’s functionality to your specific needs. Functions like get_header() and get_footer() are used to include header.php and footer.php, respectively, providing a consistent look across your site. wp_nav_menu() is crucial for displaying custom navigation menus, and get_sidebar() pulls in sidebar content, essential for custom WordPress themes with widgetized areas.
Use template tags and functions to keep your theme dynamic and easily updatable. Follow WordPress coding standards to ensure your theme is secure, stable, and compatible with future WordPress updates.
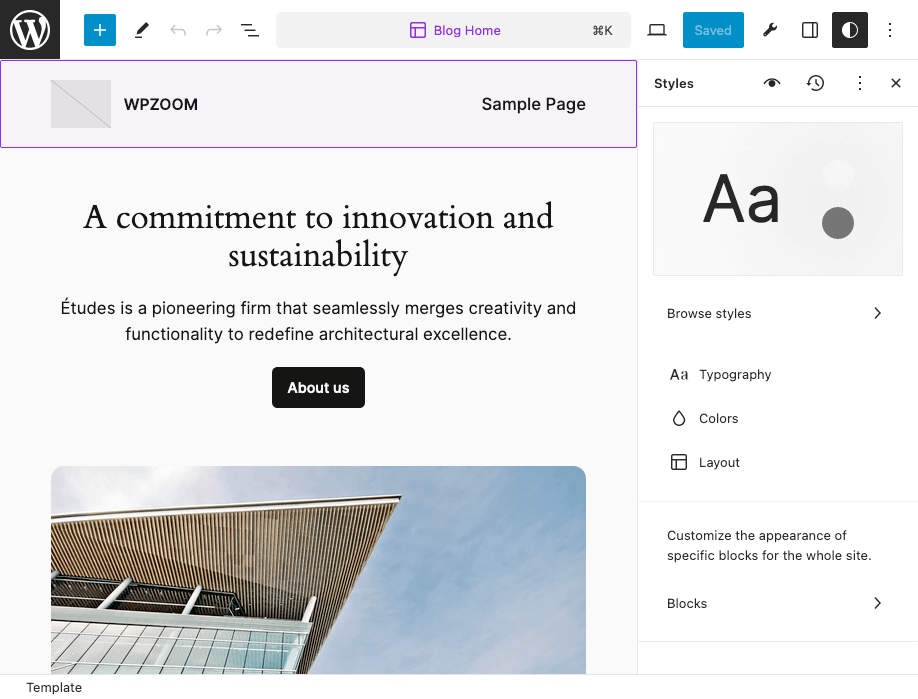
Block/FSE Themes
Block themes, designed for Full Site Editing (FSE), represent a shift in custom WordPress theme development. They move away from PHP-centric structures to a more visual, block-based approach, allowing greater flexibility and user-friendliness in theme customization.
- In block themes, the Gutenberg block editor plays a central role. It allows you to visually build and customize layouts using blocks. This includes adding, rearranging, and styling content blocks directly in the editor.
- Block patterns and reusable blocks further enhance efficiency, enabling you to create consistent layouts and designs with ease.
- The theme.json file is a game-changer in block themes. It allows global style settings, such as colors, typography, and layout configurations. This file dictates how elements behave across the entire theme, ensuring a cohesive look and feel.
Advanced Features for Your Theme
Taking your own WordPress theme to the next level involves incorporating advanced features that address specific needs and enhance functionality.
Here’s how you can implement these features:
Creating Custom Templates
Custom templates allow you to create different layouts for specific pages. For instance, a custom template for a contact page, about page, or landing pages.
Create a new PHP file in your theme directory, and at the top of the file, add a PHP comment defining it as a template, like /* Template Name: CustomPage */. This template can then be selected from the page editing screen in WordPress.
Use HTML and CSS to design the layout of these templates, incorporating elements that are different from your main page template. This could include unique headers, footers, sidebars, or content layouts.
Implementing Custom Post Types and Taxonomies
These are useful for adding different types of content to your site, like products in an e-commerce store, portfolio items, testimonials, etc. You can create custom post types by adding code to your theme’s functions.php file or by using a plugin like Custom Post Type UI.
Similar to categories and tags in standard posts, custom taxonomies help organize your content. You can create taxonomies specific to your custom post types, such as genres for books, or project types for a portfolio.
Once you have custom post types and taxonomies, create templates like single-yourcustomposttype.php or archive-yourcustomposttype.php to display this content in a unique way.
Deploying Your Custom Theme
Deploying your custom WordPress theme to a live site involves transferring all the work from your local development environment to a live server where your audience can access it. To ensure a smooth transition, follow these steps:
- Final Review and Testing: Conduct a thorough review of your theme in the local environment. Ensure that every aspect of the theme is working as expected. This includes testing all pages, posts, menus, widgets, and any custom functionalities.
- Back up Current Site: If replacing an existing theme, back up the current live site. This can be done using WordPress backup plugins or manually by exporting your WordPress database and copying your website files.
- Remove Unnecessary Files: Delete any development-related files that are not needed on the live site, such as test data or development tools.
- Transferring Your Theme: Use a FTP (File Transfer Protocol) client like FileZilla to manually upload your theme files to the appropriate directory on your server. Connect to your server using your FTP credentials, navigate to the /wp-content/themes/ directory, and upload your custom theme folder. Ensure all files are correctly transferred without errors.
You can also use migration plugins like Duplicator, All-in-One WP Migration, or WP Migrate DB to automate the process of transferring your entire WordPress site, including your custom theme, from local to live. - Activating Your Theme on the Live Site: Once uploaded, log in to your WordPress dashboard on the live site, navigate to Appearance > Themes and activate your custom theme.
After activation, browse through your website to ensure that everything is functioning correctly. Pay attention to layout, performance, and any dynamic features.
Using the “Create Block Theme” Plugin to Create a Custom Theme
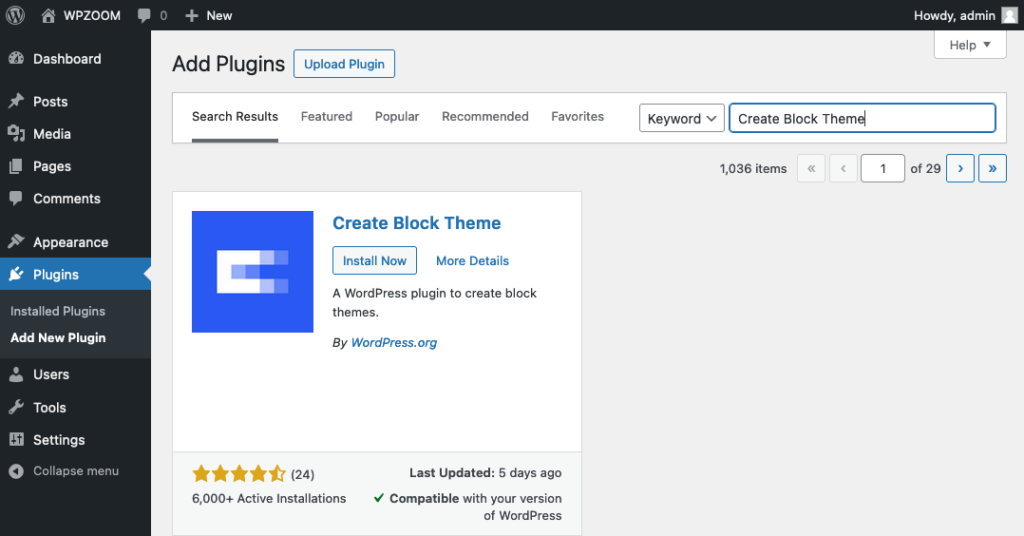
Creating a custom WordPress theme has become more accessible with the introduction of Full Site Editing (FSE) and the release of the Create Block Theme plugin. This plugin simplifies the process, making it ideal for both beginners and experienced developers looking to explore the world of block themes.
Here’s a step-by-step guide on how to use this plugin to create a custom theme:
1. Install and activate the Create Block Theme plugin.
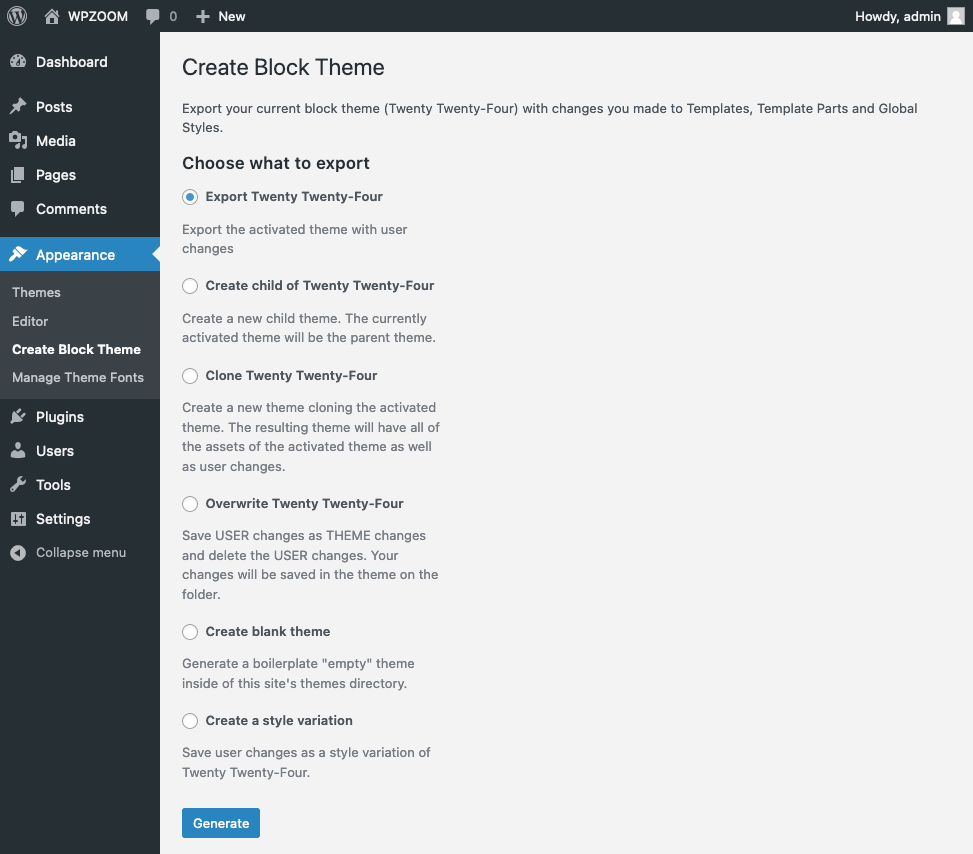
2. Choose a base theme. Go to Appearance > Create Block Themes. You can start with a blank slate or select an existing block theme to modify. The plugin allows you to create a new theme based on the current active theme.
3. Customize your theme. With the plugin, you’ll work primarily in the site editor, a part of the Gutenberg block editor. This is where you can visually customize templates and template parts. Modify existing templates (like the home page, single post, or archive) or create new ones. Adjust the header, footer, and other template parts as needed.
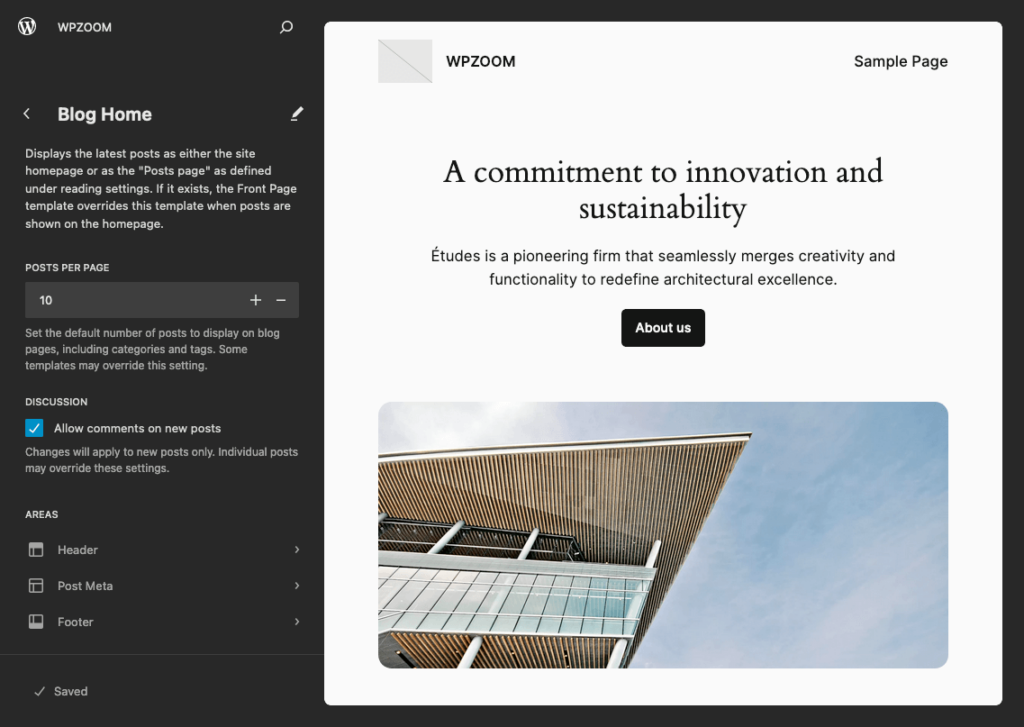
4. Add styles and global settings. The site editor includes a user-friendly interface for adding global styles to your theme, such as colors, typography, and layout settings. For more advanced customizations, you can directly edit the theme.json file, which controls the global settings of your block theme.
5. Export your custom theme. Once you are satisfied with your design, use the plugin’s export function. This will package your theme into a zip file. Download the zip file and save it. This file contains all the necessary components of your custom block theme.
By using the Create Block Theme plugin, you can significantly streamline the process of developing a custom WordPress theme. This tool not only simplifies the technical aspects of theme creation but also offers a more visual and intuitive approach to designing your theme, harnessing the full potential of Full Site Editing in WordPress.
Using a Starter Theme as a Foundation for Custom Theme Development
When starting the journey of creating a custom WordPress theme, one effective approach is to begin with a starter theme. Starter themes serve as a foundational framework, offering a basic structure and essential functionalities upon which you can build and customize your theme. They are designed with minimal styling, giving you the freedom to shape the theme according to your vision.
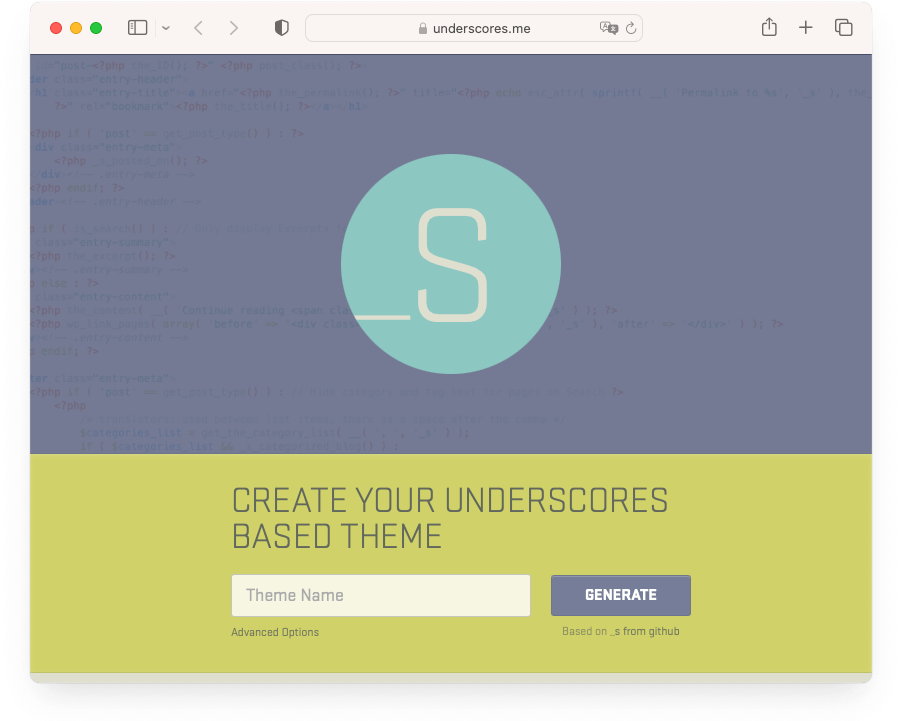
Starter themes come with the fundamental WordPress theme structure already in place. This includes basic PHP, CSS, and JavaScript files, as well as essential WordPress functions. By eliminating the need to code everything from scratch, starter themes can significantly speed up the development process.
For those new to theme development, starter themes provide an excellent learning opportunity. They allow you to dissect and understand the anatomy of a WordPress theme, including file organization, template hierarchy, and WordPress core functionalities.
Many starter themes are developed with best practices in mind, offering clean, well-commented code. This not only ensures a high-quality foundation for your theme but also educates you on efficient coding standards and practices.
Selecting the Right Starter Theme
When choosing a starter theme, consider your skill level and the specific needs of your project. Some popular starter themes include:
- Underscores: Developed by Automattic, it’s a minimalist starter theme that gives you a solid foundation while leaving plenty of room for customization.
- Sage: Known for its modern development tools, Sage includes a build process that uses Webpack, and it supports the Blade template engine.
- Understrap: Understrap merges the Bootstrap framework with the WordPress Underscores starter theme, offering a robust and flexible foundation for developers who favor Bootstrap’s responsive features in custom WordPress theme development.
Getting Started with a Starter Theme
- Choose a starter theme and download it to your development environment. Install it as you would any other WordPress theme.
- Familiarize yourself with the structure and files of the starter theme. Start customizing by adding your HTML, CSS, and PHP code. Pay attention to how the theme is organized, as this will help you maintain a clean and efficient codebase.
- Apply your design elements, from the layout to styles and functionality. The starter theme’s basic styles can be overridden to match your design specifications.
- As with any theme development, continually test your theme for functionality, responsiveness, and compatibility. Refine and iterate based on your findings.
Bottom Line
The process of developing a custom WordPress theme is a comprehensive journey that joins creativity with technical skill. Creating a custom WordPress theme improves your web development skills and deepens your understanding of WordPress.
It’s an enriching experience that opens up numerous opportunities for personal growth, professional development, and creative expression. As you journey through each phase of theme development, from planning and designing to testing and deployment, you gain a deeper understanding of WordPress and a sense of accomplishment in seeing your vision come to life.