
You may already know that you can use WordPress to create a complete subscription website. However, if you’re a beginner, you might not know how to do this using the Content Management System (CMS). The good news is that it’s super easy to get started with WordPress. Plus, transforming it into a subscription website is highly straightforward when you use the right plugin.
Ideally, whichever tool you use should enable you to create multiple subscription plans, process payments, automate renewals, and more. With a subscription plugin doing the heavy lifting, you’ll have more time to provide your subscribers with the content and services they deserve. This way, they’ll happily renew their plans.
In this article, we’ll talk about the benefits of subscription websites. Then, we’ll show you how to create one using a WordPress subscription plugin. Let’s get to it!
What Are the Benefits of Creating a Subscription Website?
The goal of most subscription websites is usually similar to other e-commerce ventures – you probably want to make a profit. And, in this case, to have as many members as possible.
However, leveraging subscriptions means that you get a lot of benefits that other online businesses don’t. For instance, you’ll get:
- A steady revenue stream. Knowing roughly how much money your website will make each month is something that most businesses would kill for. Your subscribers will go up and down during each period but it’s much easier to forecast revenue than with other types of businesses.
- Increased customer retention. When a customer pays for a subscription, they’re typically open to sticking around for a while. That means even if they’re not happy with the content or service they get at one point, you get the chance to redeem yourself and keep them around.
- Better scalability. One key advantage of subscription websites is that the costs per user tend to decrease as your customer base grows. This depends on what type of services or content you provide, but it typically means scaling is easier.
- Frequent engagement. When you pay for a website subscription, you’re much more likely to return to that website frequently to see if they’ve published anything new. Most types of websites struggle to get repeat visitors, so this is a huge advantage.
It’s important to point out that you’ll only get these perks if you’re providing subscriptions with real value.
We won’t be diving into what kind of content or services you should offer, as that will depend on your expertise. But, we can tell you how to handle the technical side of creating a subscription website with WordPress.
How to Create a Subscription Website Using a WordPress Subscription Plugin (6 Steps)
Now, we’re going to show you how to create a subscription website in just a few steps! We’ll be using WordPress and a subscription plugin for this tutorial.
1. Choose a Web Host + Domain and Install WordPress
One of the great things about WordPress is that it’s highly customizable. And, when you use WordPress.org, you get maximum control over your site.
Since WordPress.org is self-hosted, the first decision you’ll need to make is which web hosting provider to use. A web host is simply a company that provides your site with the server resources it needs to be online.
At this stage, you’ll also need to choose and sign up for a domain. Fortunately, most quality web hosts double as domain registrars, enabling you to get your site’s web address at the same time.
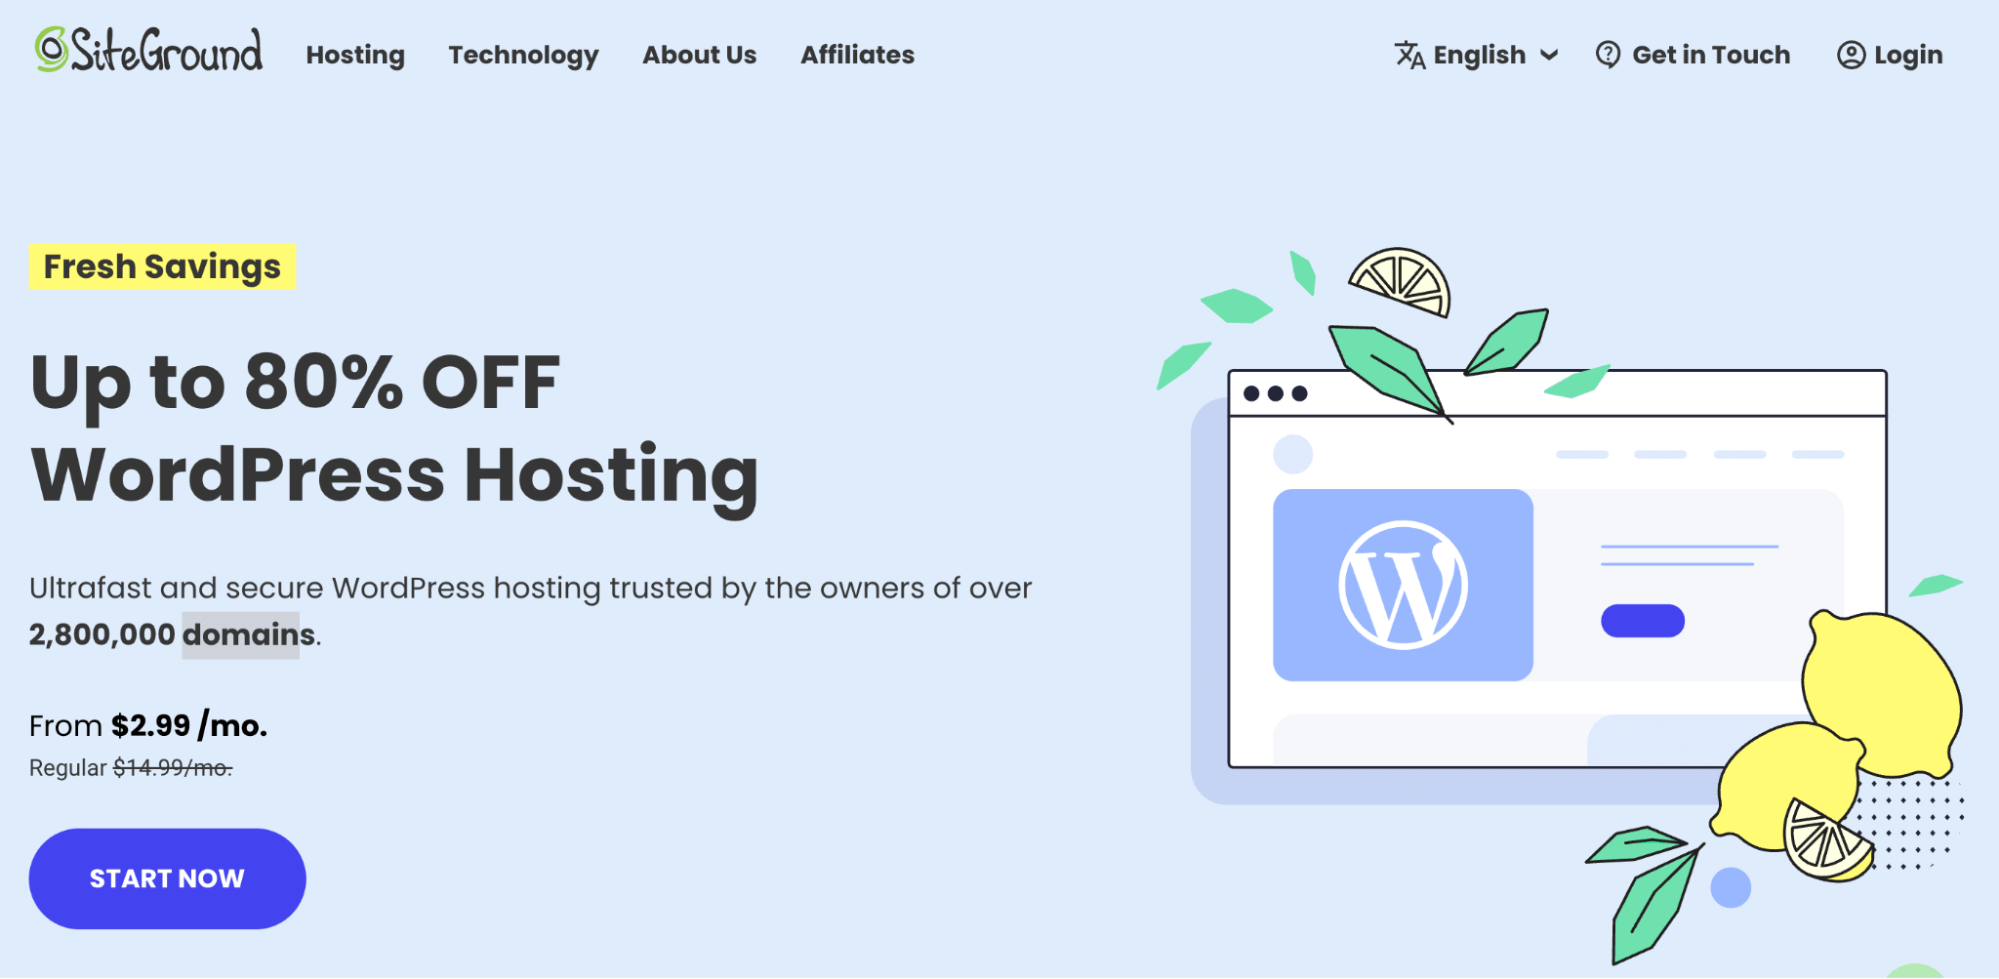
Additionally, lots of hosting providers also offer essential features like privacy protection, security services, and more. If you’re unsure about which web host to pick, you might consider SiteGround, which is a popular and reliable choice:
If you’re a non-technical person or you’re new to WordPress, you’ll likely want to opt for a managed hosting plan. This way, you won’t have to deal with daily WordPress maintenance tasks, like updating plugins, managing security features, creating backups, etc.
Once you’ve selected a web host and domain, you should be able to install WordPress. With most hosting providers you’ll be able to do this in a single click. If not, you’ll need to consult your hosting provider’s documentation to find out how.
2. Select a WordPress Theme
Once your WordPress installation is ready to go, you can start thinking about design. The good news is that WordPress was created to be beginner-friendly.
Thanks to its foundation in block-based editing, you can build an entire site without touching a single line of code. But, the first step is to choose a WordPress theme.
This is essentially a customizable website template that can provide you with the core design elements you’ll need, such as basic pages, navigation, etc. Each theme also has a unique appearance, so it determines the look and feel of your site.
You can choose a free theme in the WordPress theme directory. However, depending on the goals you have for your subscription website, you may be interested in a premium theme that’s more geared toward your content type:

For example, if your subscription will provide members with exclusive recipe posts, you might want to use a theme like Foodica or Gourmand. Premium themes also tend to come with more advanced features and customization options.
Once you’ve chosen your theme, just install and activate it on your site. Then, you can customize it to your heart’s content.
3. Install and Configure Paid Member Subscriptions
Now you’re ready to install and activate a subscription plugin! This will enable you to transform your site into a membership/subscription site. We’ll be using Paid Member Subscriptions for this tutorial.
One of the advantages of using this tool is that it offers a comprehensive setup wizard. These configuration screens will cover most of what you need to start offering subscriptions on your site.
The setup wizard will launch as soon as you activate the plugin. The first thing it’ll ask is if you want it to set up a basic set of membership pages for you. These pages include registration and login forms, as well as account and reset password pages:

You can skip this step and use the shortcodes or blocks the plugin offers to create these pages. However, it’s easier to let the setup wizard do it for you.
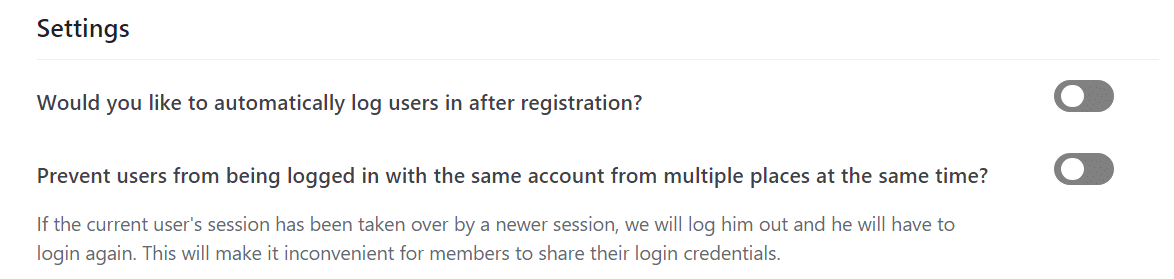
Afterward, you can decide whether to automatically log in users after they subscribe to your site and whether to allow multiple logins from different devices. That last option is great if you want to avoid account sharing:
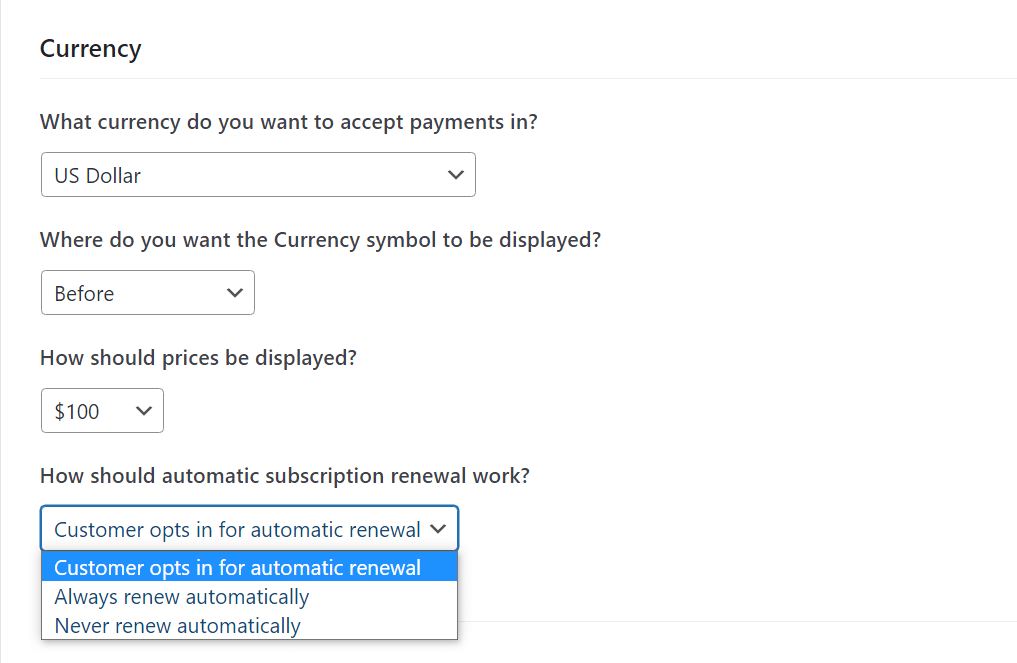
After you decide which settings you want to enable, move on to the next step. This is where you decide what currency to offer subscriptions in and how to handle renewals:
By and large, modern customers are used to automatic subscription renewals, so you might want to opt for that.
Still, you’ll want to make sure this policy is clear during the signup process. Otherwise, users could feel like you tricked them into renewing automatically.
Next up, choose what payment gateways you want to use. The plugin’s base options are Stripe, PayPal, and offline payments:

Keep in mind that if you use the premium version of the plugin, you’ll get access to additional gateways.
Also, note that the setup process for each gateway will vary. Typically though, it just involves connecting your account. Then the plugin will guide you through the necessary steps.
Confirm your selections and that’s it. Now it’s time to create your site’s subscription options.
Step 4: Create One or More Subscription Plans
You can’t have a subscription website without offering one or more plans. To create a subscription plan, go to Paid Member Subscriptions > Subscription Plans and click on Add New.
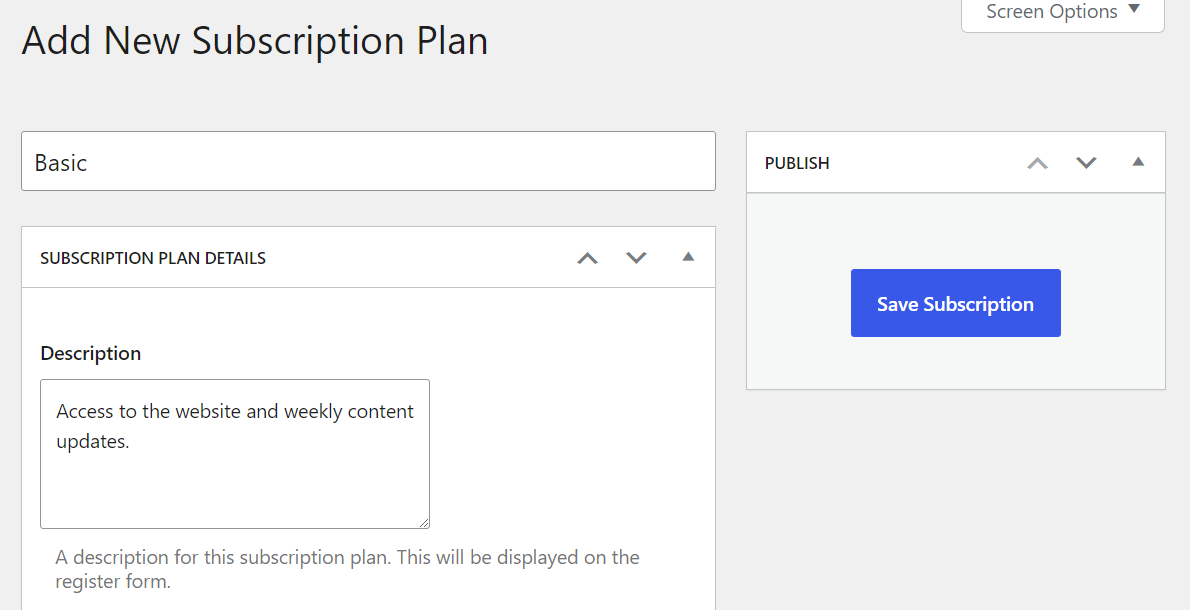
This will launch a straightforward editor that allows you to create a subscription. Let’s start by setting a name and description for your first plan:
Now let’s configure how long the subscription period should be, as well as the price you want to set for this tier:

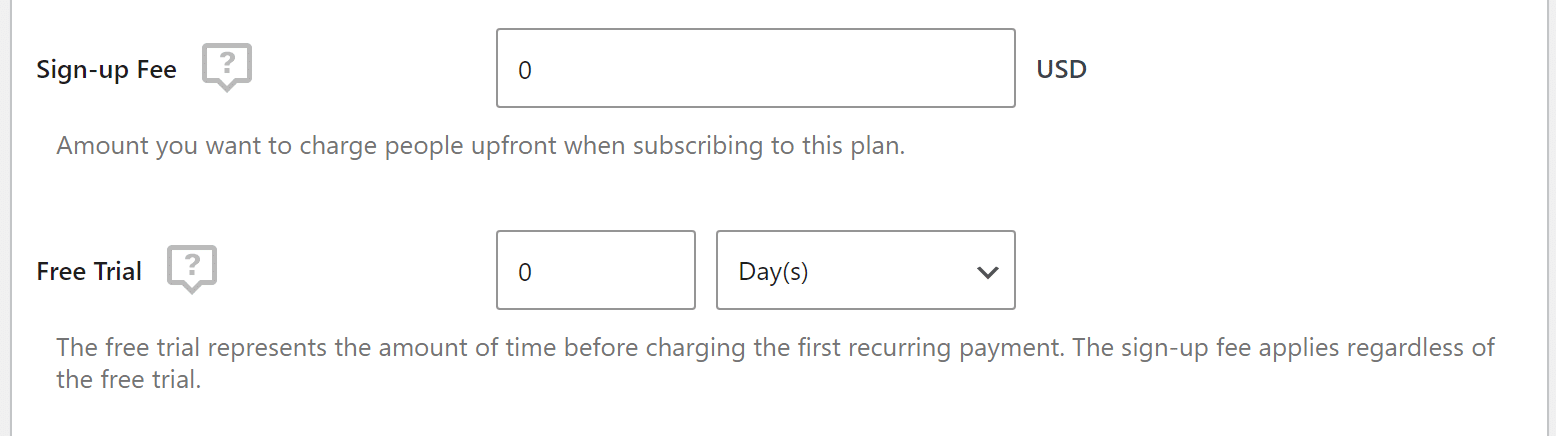
The plugin also enables you to configure whether you want to charge a signup fee or offer a free trial for any plan you create. Most subscription sites don’t charge signup fees, so keep that in mind when deciding whether to do so or not.
Depending on the type of subscription, offering free trials can be a good idea as they can give users a glimpse into what they’ll get if they stick around:
Finally, the plugin will ask you if you want to change the default renewal settings, and what user role to assign subscribers. If you plan on offering different levels of content or services for each plan, you’ll want to create unique user roles for each tier:
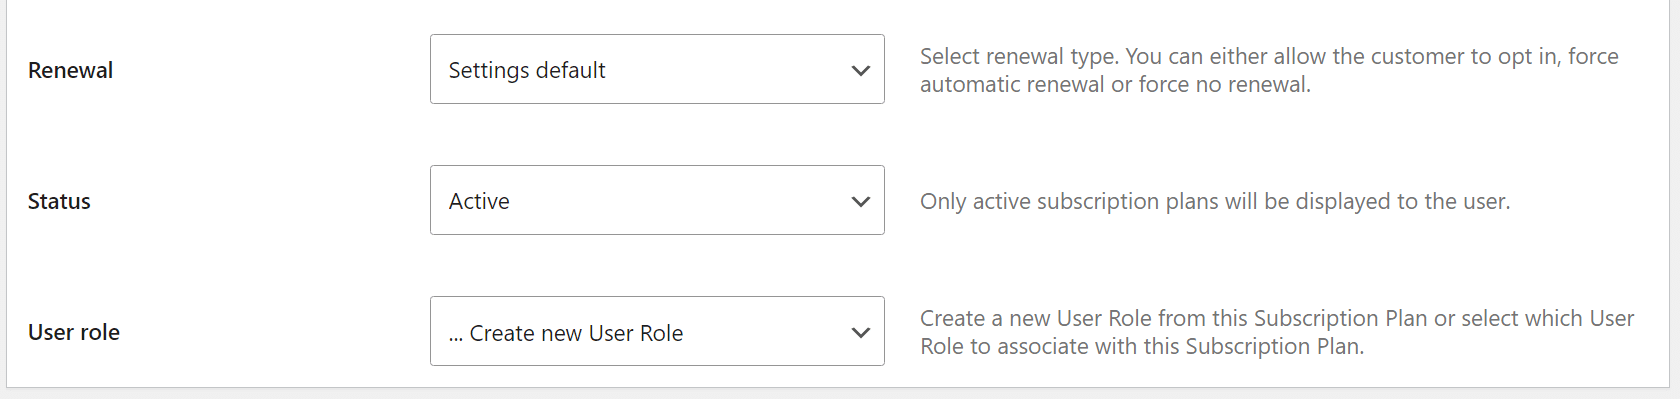
When you’re done, click on Save Subscription and that’s it. The plugin will automatically create a new user role for the plan with its same name.
You can review and edit the subscription plans you’ve created by going to Paid Member Subscriptions > Subscription Plans. If you want to create additional plans, simply repeat the process.
Step 5: Restrict Content to Members
The hallmark of any subscription website is that only members get access to some of its content. Paid Member Subscriptions enables you to do this by restricting specific content or entire pages and posts.
We recommend the latter approach, as restricting only part of a page can be tricky. To restrict an entire page or a post, open it using the WordPress editor and scroll down until you see the CONTENT RESTRICTION widget:
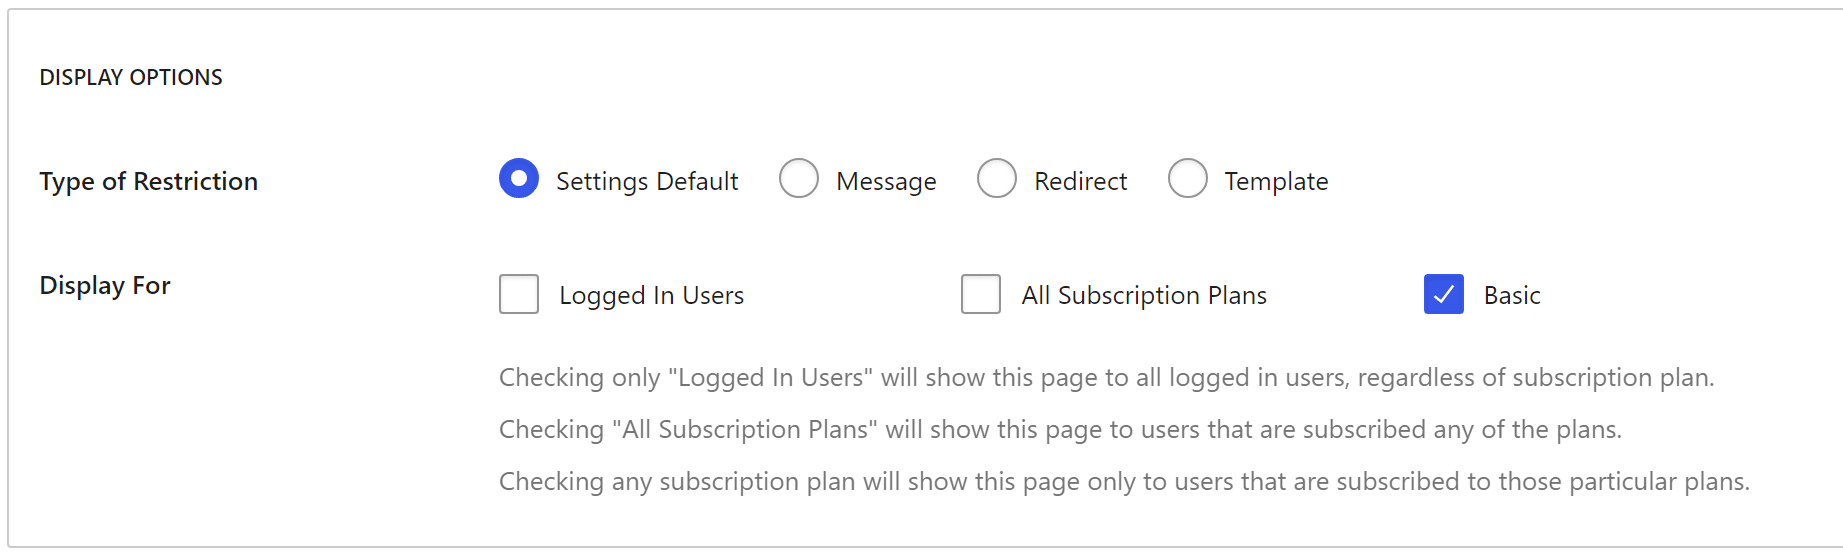
The widget will include options to restrict content to logged-in users, all subscribers, or to specific plans. Once you’ve set up subscription plans, you’ll see them in that list.
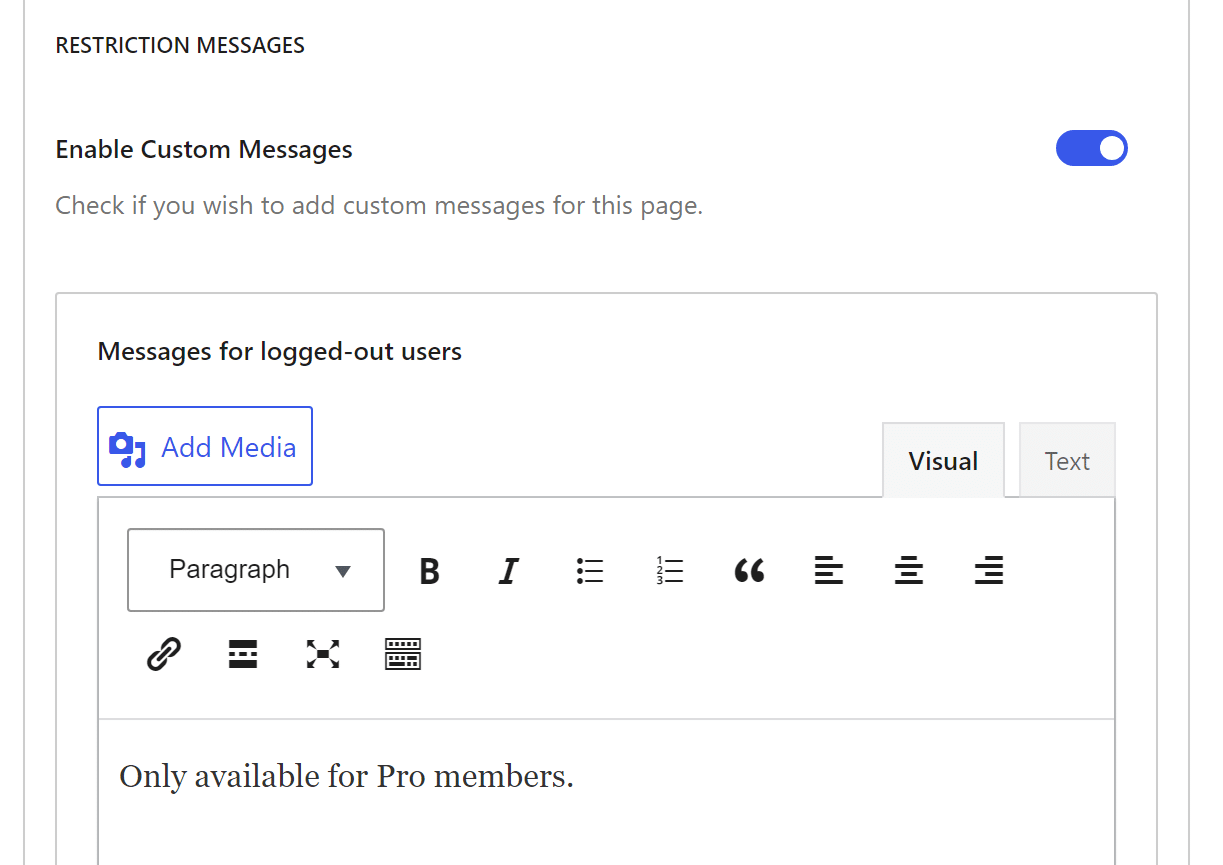
If you want to, you can configure a custom message that will appear when an unauthorized user tries to access that content. Scroll down until you see the RESTRICTION MESSAGES widget and toggle the Enable Custom Messages option:
Save changes for the page or post and that’s it. Remember that you have to do this for every page and/or post that you want to restrict, whether they’re already in your content library or for future entries.
Step 6: Test the Registration Page
If you used the setup wizard to automatically create the membership pages you need, there should be a Register page you can access from the menu. Here’s what our simple registration page looks like after creating two membership tiers:
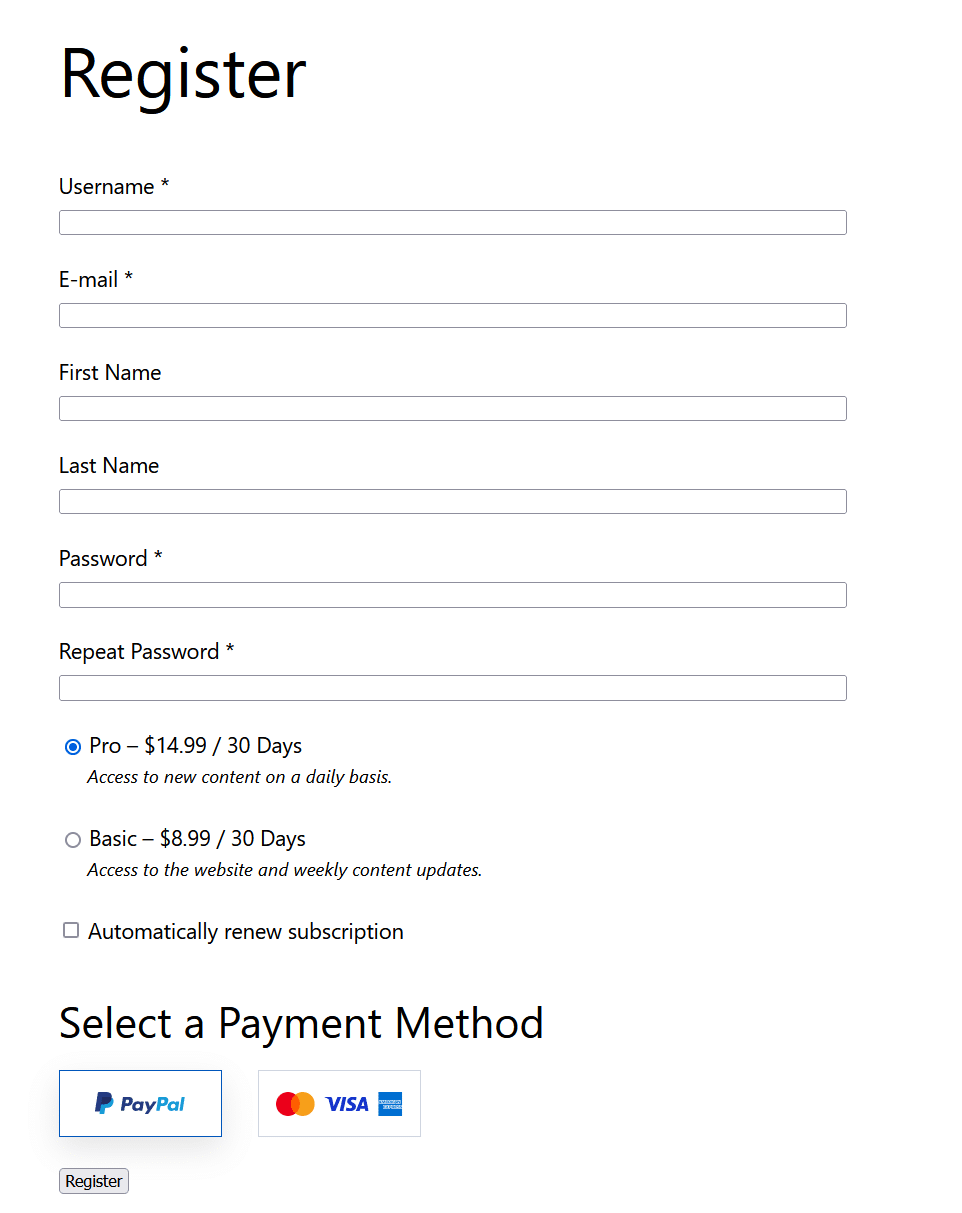
Using this page, visitors will be able to select what subscription plan they want to sign up for. They can also enter their personal details and select a payment method.
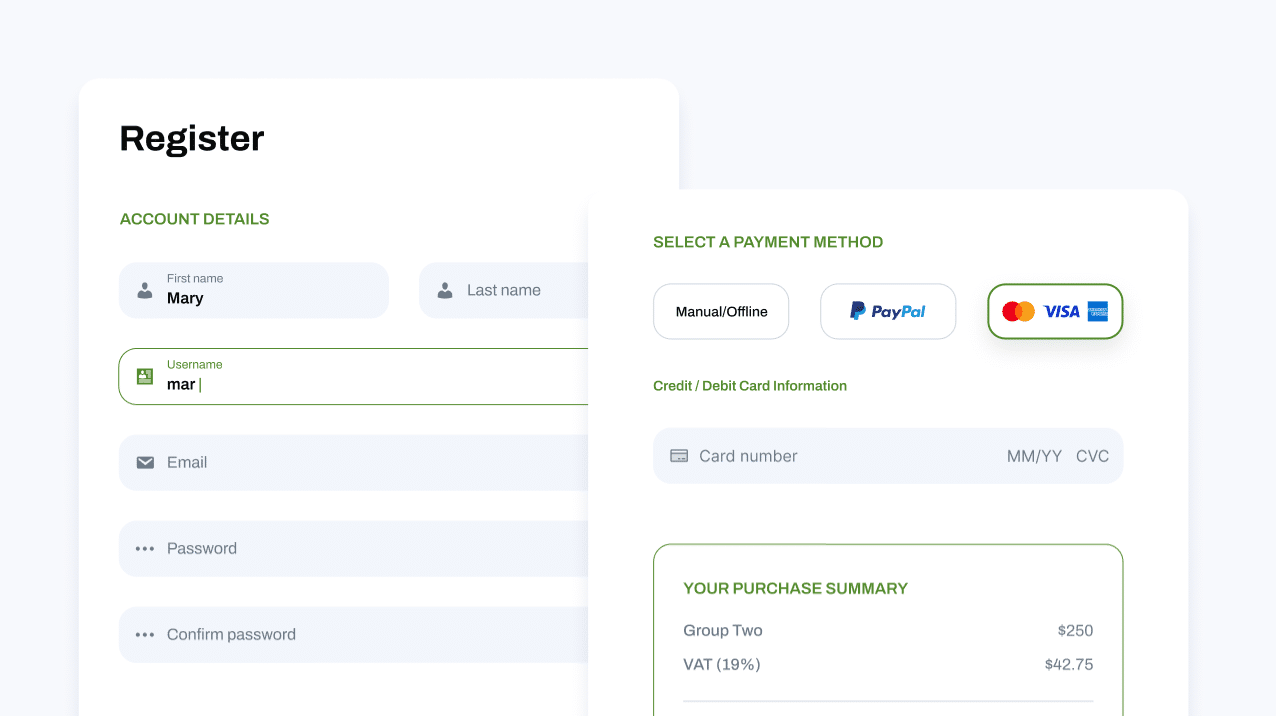
If you want to take it up a notch, the plugin also lets you choose from a selection of pre-designed form templates so that your registration form will match the design of your website. For example, this is how your registration form could look like:
Now that you have subscription plans, a registration form, payment options, and restricted content set up, you can start promoting your website!
Subscriptions may be slow to come in at first, but once you start gaining an audience, creating and offering new content and services will be a lot less of a chore.
Conclusion
When you offer high-quality content, a subscription website can be the kind of online business that steadily makes money for years to come. What’s more, anyone can build a subscription site using WordPress and a user-friendly plugin like Paid Member Subscriptions.
To recap, here’s how you can do it in just six steps:
- Choose a web host + domain and install WordPress.
- Select a WordPress theme.
- Install and configure Paid Member Subscriptions.
- Create one or more subscription plans.
- Restrict content to members.
- Test the registration page.
Do you have any questions about how to create a subscription website using WordPress? Let’s talk about them in the comments section below!

August 5, 2023 9:43 pm
Sir how can we create a subscription website in wordpress for a (group buy) tools?