If you’re an online course instructor or business owner, you can create a membership website to build a community and generate recurring income. Offering access to exclusive content based on a membership model is a great way to encourage people to try out your offering.
In this tutorial, we’ll walk you through a step-by-step tutorial explaining how you can create a membership website in WordPress. Before we begin, let’s quickly take a look at why you might want to create a membership website in the first place and the business benefits it offers.
Why You Might Want to Create a Membership Website?
Membership sites offer exclusive content and products to people in exchange for a membership fee. Some memberships charge a monthly fee while others opt for a quarterly or annual subscription.
As a business owner, you can restrict access to some (or all) of the content on your website. This could be downloadable resources, blog posts, online forums, online courses, or video tutorials.
The main benefit of creating a membership website is that it’s a great way to generate recurring income. Additionally, membership sites help you establish yourself as an authority in your niche. This is particularly useful for business owners that sell online services.
The best part is that you can create premium content for paying members once and then focus on selling memberships. This means you have to put in less work for a bigger reward.
Now, you might be wondering: should I create a membership website?
A membership website is perfect for online course instructors that want to sell courses to learners on a subscription basis rather than a one-time fee. This model suits online instructors that want to create a finite online course (such as 3-month cooking classes) or an on-going training program (such as iPhone Photography) that offers a mix of online video courses, downloadables, blog posts, and worksheets.
Membership websites are also great for SaaS businesses that want to offer members access to their app and customer support in exchange for a small monthly fee.
And, finally, membership sites are a great way to build a community. For example, you can set up an online forum around a specific topic and offer access to the forum in exchange for a membership fee.
How to Create a Membership Website
Creating a membership site in WordPress is incredibly easy. The best part is that there are plenty of free and paid membership plugins that you can use to power your WordPress membership website.
To get started, you’ll need a membership plugin like Simple Membership and the VideoBox theme to create a membership website in WordPress. You’ll also need some content (like blog posts, video tutorials, podcasts, or downloadables) that you’d like to offer members.
Step #1: Install the Simple Membership Plugin
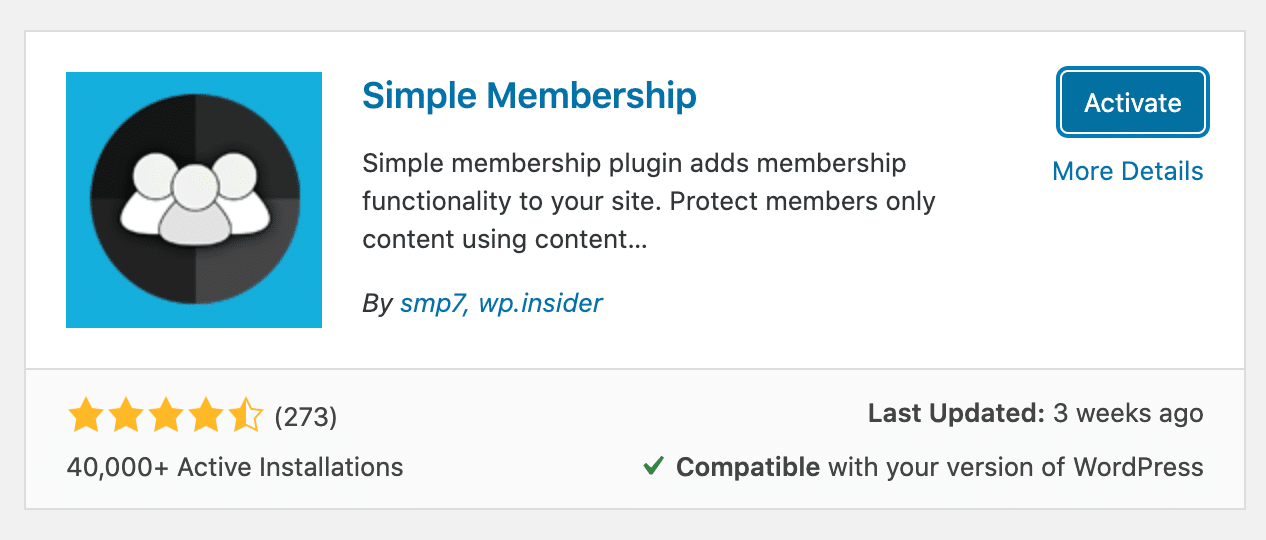
The first thing you need to do is install the free Simple Membership plugin on your WordPress website. Head over to Plugins > Add New from the WordPress admin panel and search for Simple Membership.

Install and activate the plugin on your WordPress website. This free membership plugin works seamlessly with VideoBox. If you haven’t done so already, get the VideoBox theme and install it on your website.
Once that’s done, you can head over to WP Membership > Settings from the admin panel to configure the plugin’s settings. The Simple Membership plugin automatically creates some pages for you when you activate it. These include the login page, registration page, edit profile page, and a password reset page.
Step #2: Create Member User Roles
Before you start creating membership levels and setting content permissions, it’s a good idea to create a member user role. For example, you could call the member user role something simple like Members. Alternatively, you can create separate member user roles for each membership level you plan on creating. This could be something like Bronze Member, Silver Member, and Gold Member.
Take a minute to think about the membership levels you want to create and how you’ll structure your membership site. This will help you decide the best way to create member user roles.
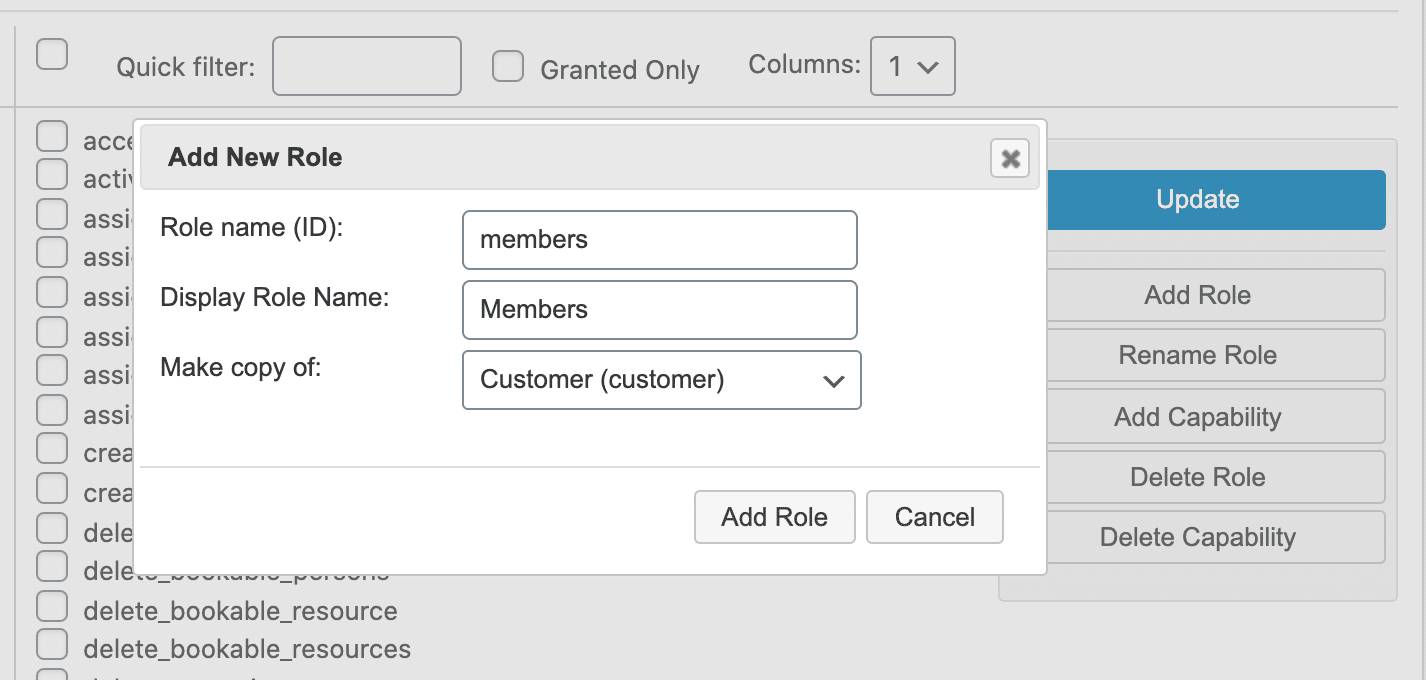
Once you’ve decided on the member user roles, use the free User Role Editor plugin to create them. Here’s what you need to do:

- Head over to Users > User Role Editor from the admin panel.
- Click the Add Role button.
- Enter the Role name (ID), Display Role Name, and choose which user role to make a copy of.
Now that we have a user role created for members, we can start creating membership levels and setting content permissions.
Step #3: Create Membership Levels
Before you start creating membership levels, here are some factors to consider:
- How long will each membership level last?
- How will you price each membership level?
- Can members upgrade from one level to another?
The Simple Membership plugin makes it easy to create membership levels.
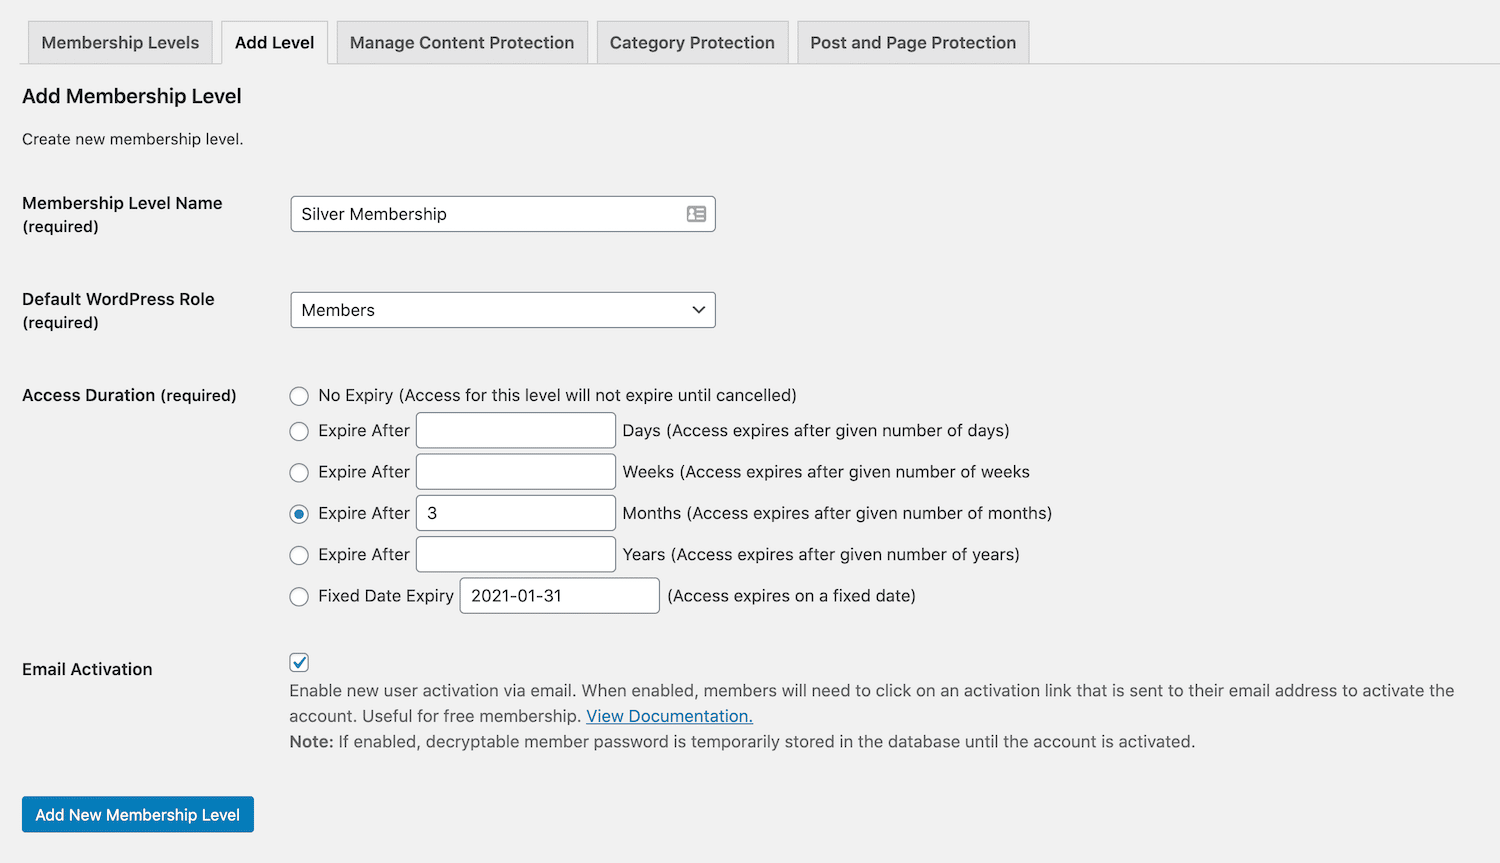
Head over to WP Membership > Membership Levels from the admin panel and click the Add New button. From the Add Level tab, you can add a new membership level. Here’s how:

- Enter a Membership Level Name e.g. Silver Membership.
- Choose the Default WordPress Role. This should be the user role you created for members in Step #2.
- Set the Access Duration based on how long you want to offer the membership. You can also set a fixed date expiry or choose to set no expiry date.
- Enable new user activation via email by ticking the checkbox next to the Email Activation option.
Once you’re done, click the Add New Membership Level button to continue. You can create as many membership levels as you’d like.
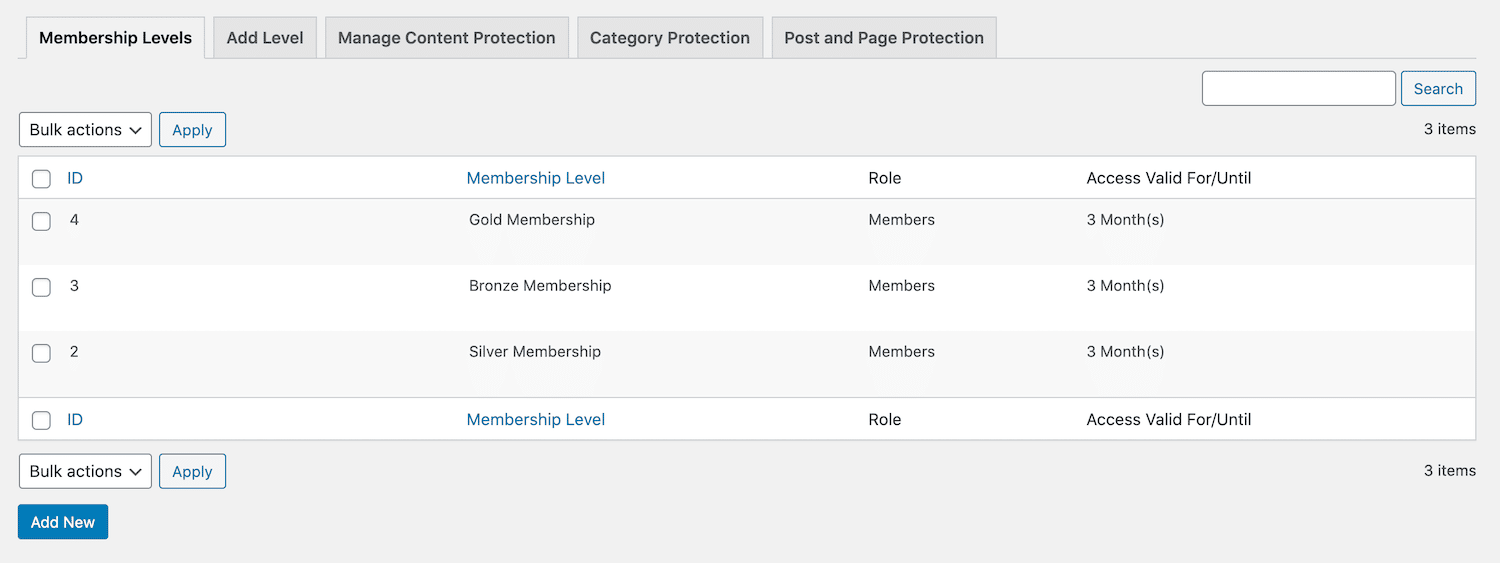
You can view all membership levels by going to WP Membership > Membership Levels from the admin panel.

Step #4: Set Content Permissions
Membership sites offer members exclusive access to premium content. This can be downloadables, blog posts, video tutorials, online courses, or just about anything else.
The Simple Membership plugin lets you restrict access to pages and posts in WordPress as well as entire WordPress categories.
Restrict access to pages and posts

- Edit the WordPress post or page that you want to offer to members.
- Scroll down to the Simple WP Membership Protection section.
- Select the Yes, Protect this content option.
- Choose the membership levels that you want to grant access to the page’s content.
Restrict access to categories

- Go to WP Membership > Membership Levels > Category Protection from the admin panel.
- Choose the membership level you want to grant access to the categories using the dropdown.
- Tick the checkbox next to the categories you want to restrict access to.
- Click the Update button to continue.
Preview
When a user tries to access the content you’ve restricted access to, they’ll be prompted to log in to their user account or register to become a member.

And, after they log in, they’ll be able to access the membership content. It will look something like this:

The VideoBox theme is perfect for membership sites that have lots of video content for members. For example, if you’re creating a membership site for online courses or training programs then VideoBox is the right theme for you.
Besides the Simple Membership plugin, you can choose another plugin that provides some additional features you might find useful for your membership website. Here are a few alternatives:
Create Your Membership Site
A WordPress membership website is great for anyone that wants to offer exclusive access to premium content in exchange for a membership fee. There are plenty of plugins out there that can help you get started with a membership site in no time.
We explained how you can create a membership website using the Simple Membership plugin with VideoBox. It’s an easy way to create a visually-appealing membership site that focuses on video content.
All you have to do is create member user roles, set up membership levels, and configure content permissions. The plugin handles everything else for you.
Ready to create a membership website? Get VideoBox today!


