Full Site Editing brings blocks to every aspect of website customization in WordPress. If you use a block-based theme, you’ll notice that the Customizer is gone, and in its place, there is the Site Editor. Understanding the differences between both tools is key to adapting to this change.
Fortunately, the Site Editor offers more customization options. Once you’ve mastered this feature, you can edit different parts of your site and easily apply settings across multiple pages.
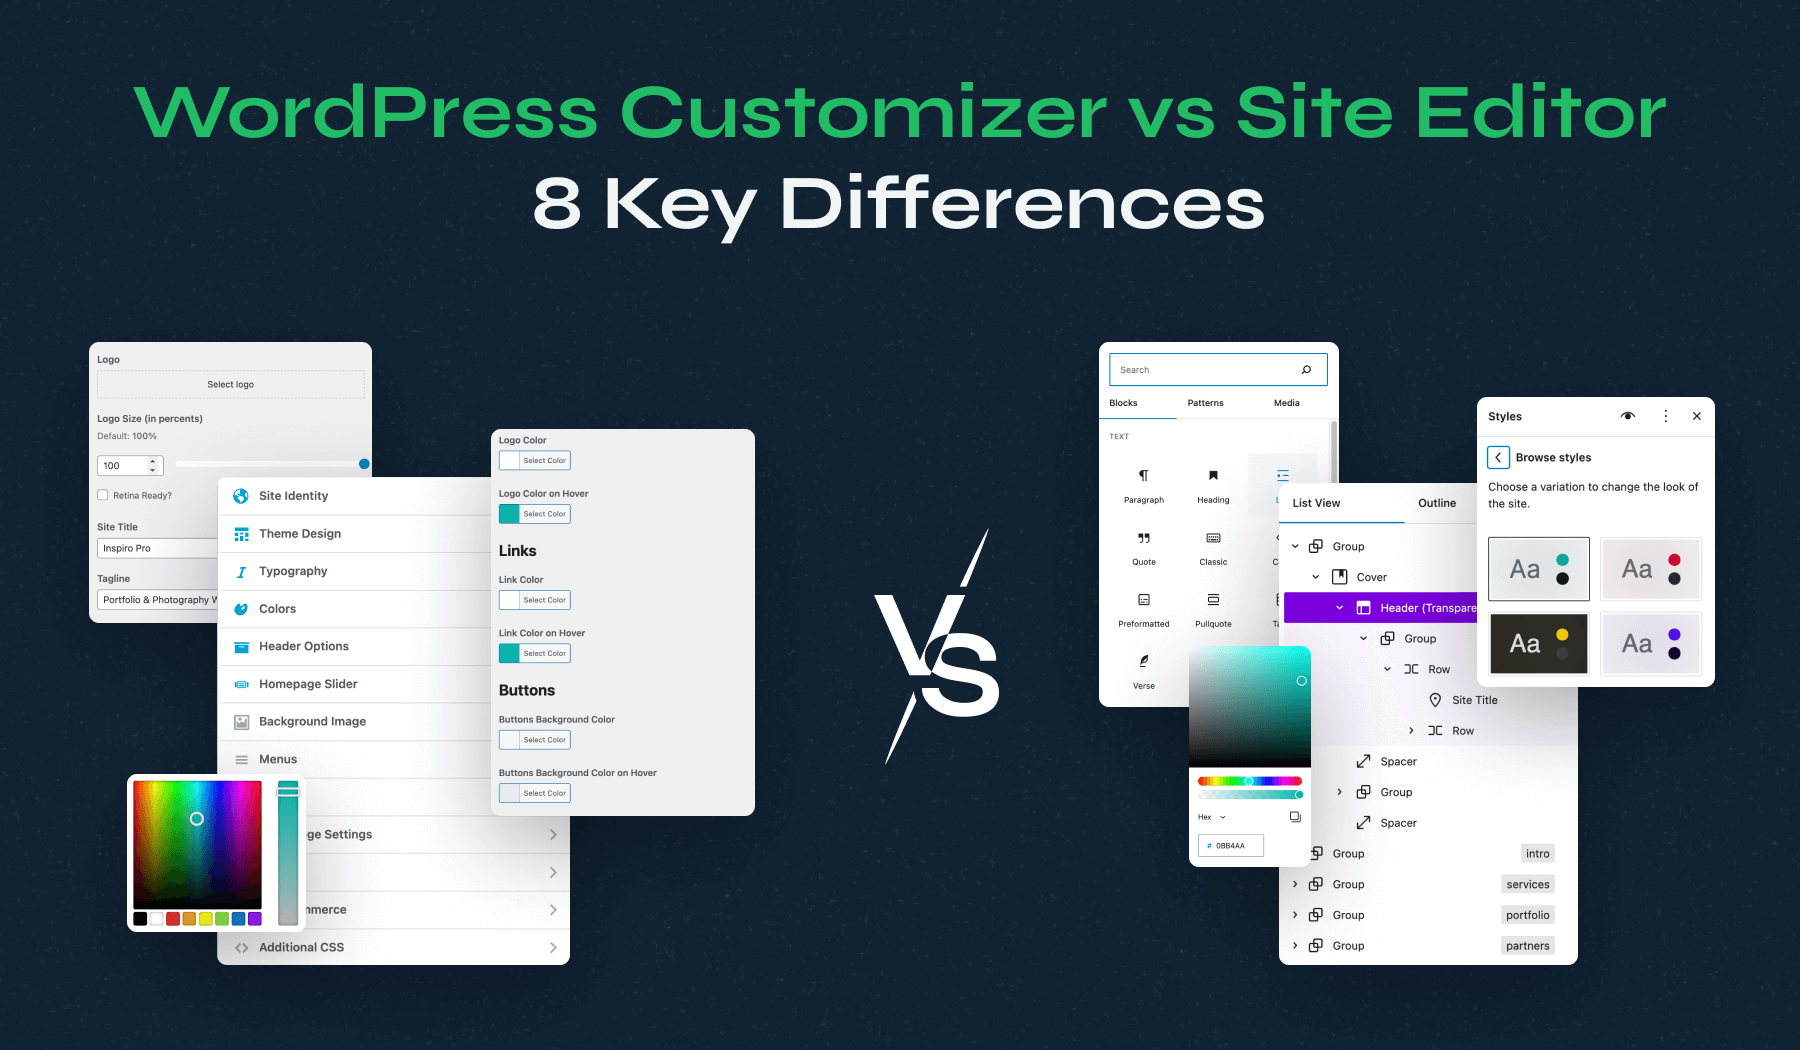
In this article, we’ll compare the WordPress Customizer vs Site Editor in different theme areas. Plus, we’ll show you how to customize key aspects of your site with each tool. To better illustrate the comparison, we’ll use Inspiro PRO and Inspiro Blocks PRO as examples. Let’s get to it!
WordPress Customizer vs Site Editor
1. Website Logo
Changing the website logo in the WordPress Customizer
Changing a website’s logo in WordPress has always been a simple process. Using the Customizer, you can navigate to the Site Identity section and click on Select logo to upload a new image:
Changing the website logo using the Site Editor
Changing the logo in the Site Editor is a different experience. Once you open the Site Editor, it’ll ask if you want to customize templates or template parts.
To change the logo, you’ll need to customize the header, which is a template part. Navigate to Template Parts > Header. Here, you can edit the theme’s header using the Block Editor.
Add a Site Logo block to the header, or click on the existing logo block to customize it:
The process here is just as simple. The only difference is that you’re free to use any blocks you want. This makes the Site Editor much more flexible when it comes to customizing your theme.
2. Website Favicon
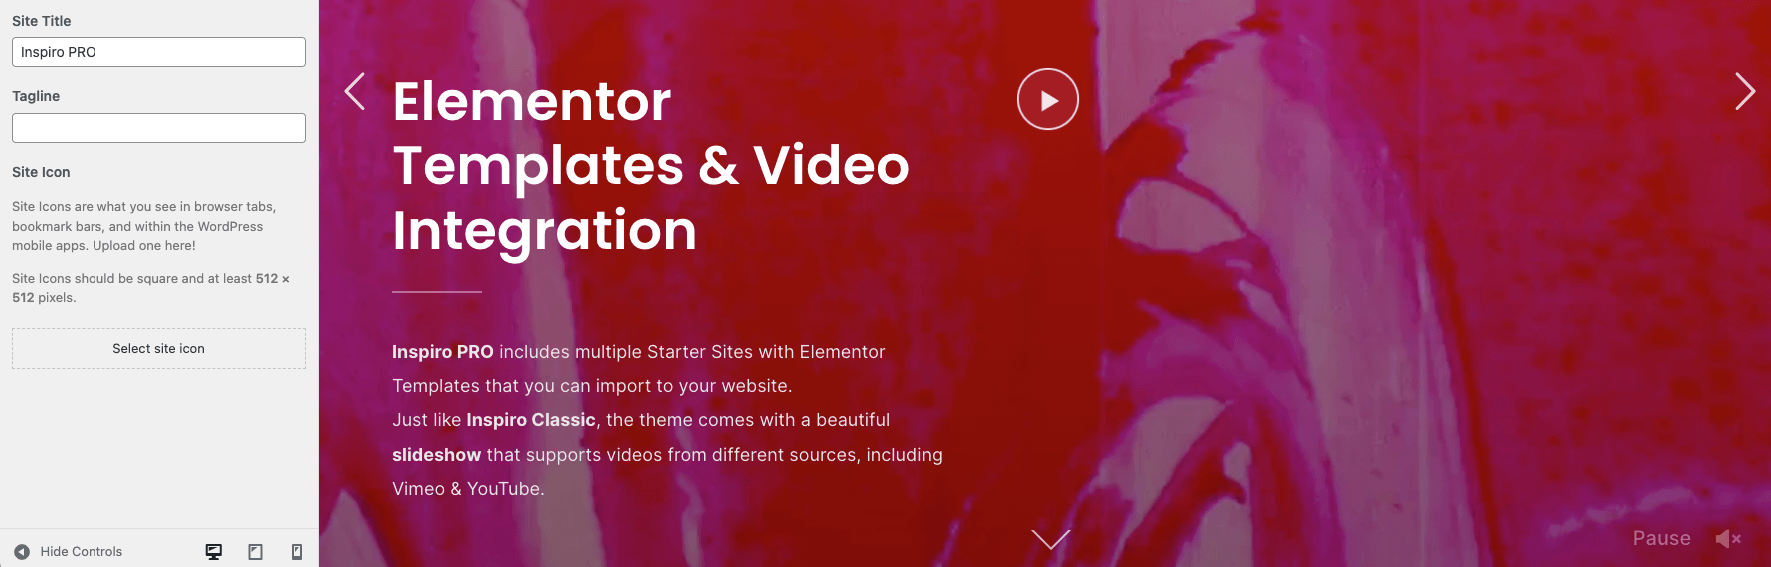
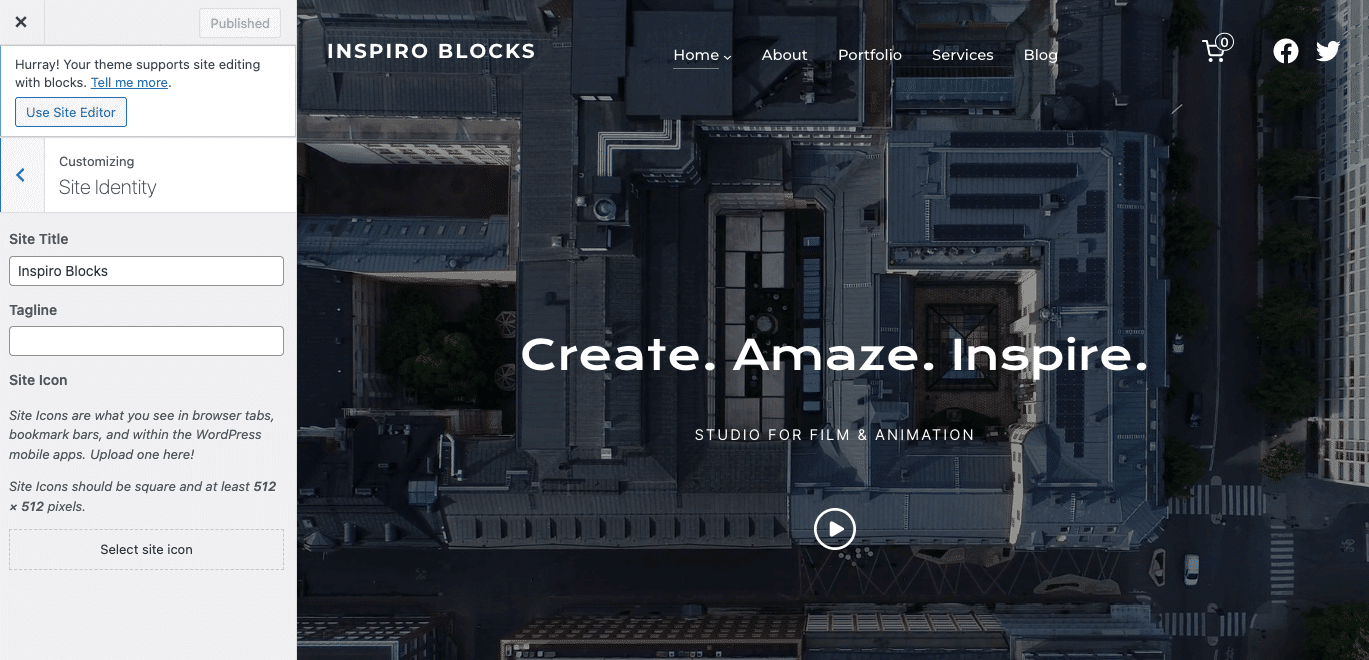
Changing the favicon in the WordPress Customizer
Changing your site’s favicon using either the Customizer or the Site Editor works much the same as changing the logo. Using the Customizer, you can change the favicon from the Site Identity section:
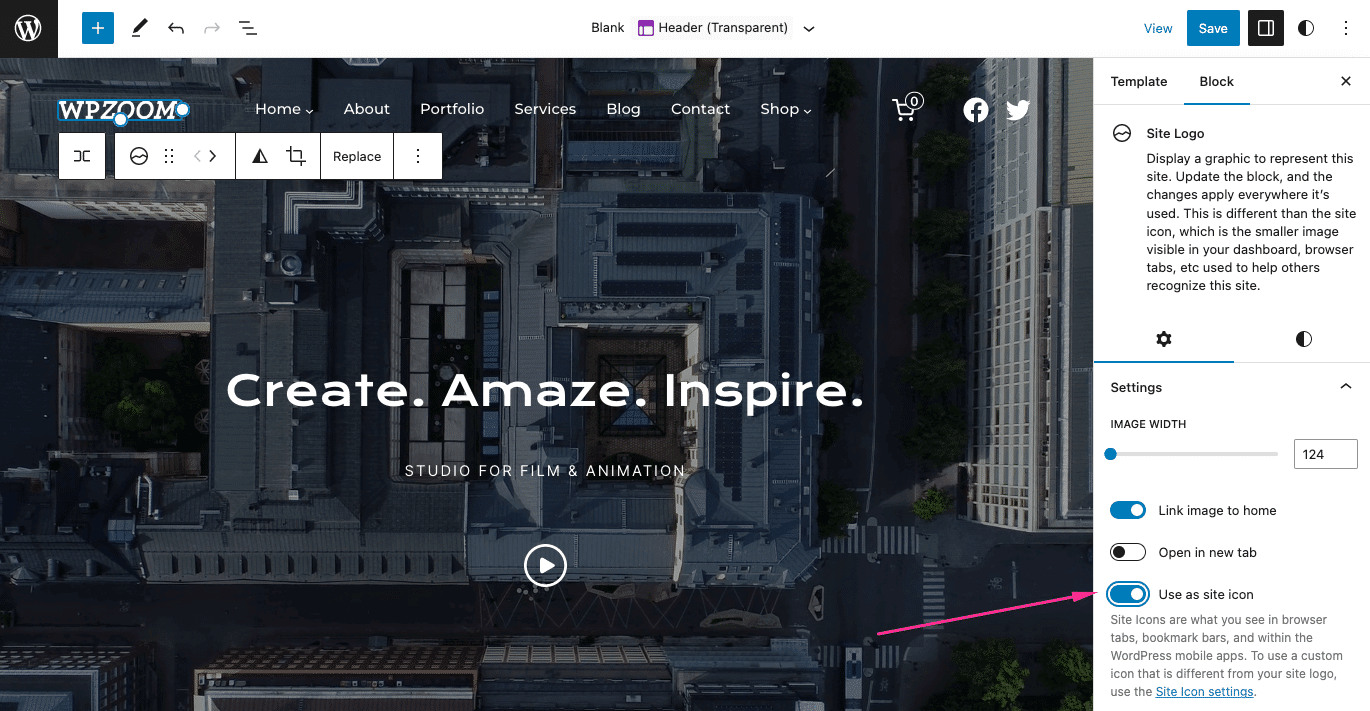
Changing the favicon using the Site Editor
The Site Editor does not have the option to upload an image as your favicon. Instead, when you edit the theme’s header, you can open the settings for the Site Logo block and look for the Use as site icon option:
This is one aspect where the Site Editor is somewhat limited. Alternatively, Inspiro Blocks PRO includes a section in Appearance > Customize similar to the one from the WordPress Customizer. You can upload a custom favicon in this section:
3. Header Button
Adding a header button in the WordPress Customizer
While the WordPress Customizer gives you a lot of control over your site’s style, it doesn’t let you add elements to it or change the content of each page. If you want to do this, you’ll need to use the Block Editor or your favorite WordPress page builder plugin.
Alternatively, Inspiro PRO includes a workaround that lets you add a custom header button by using CSS classes for the main menu items.
Adding a header button using the Site Editor
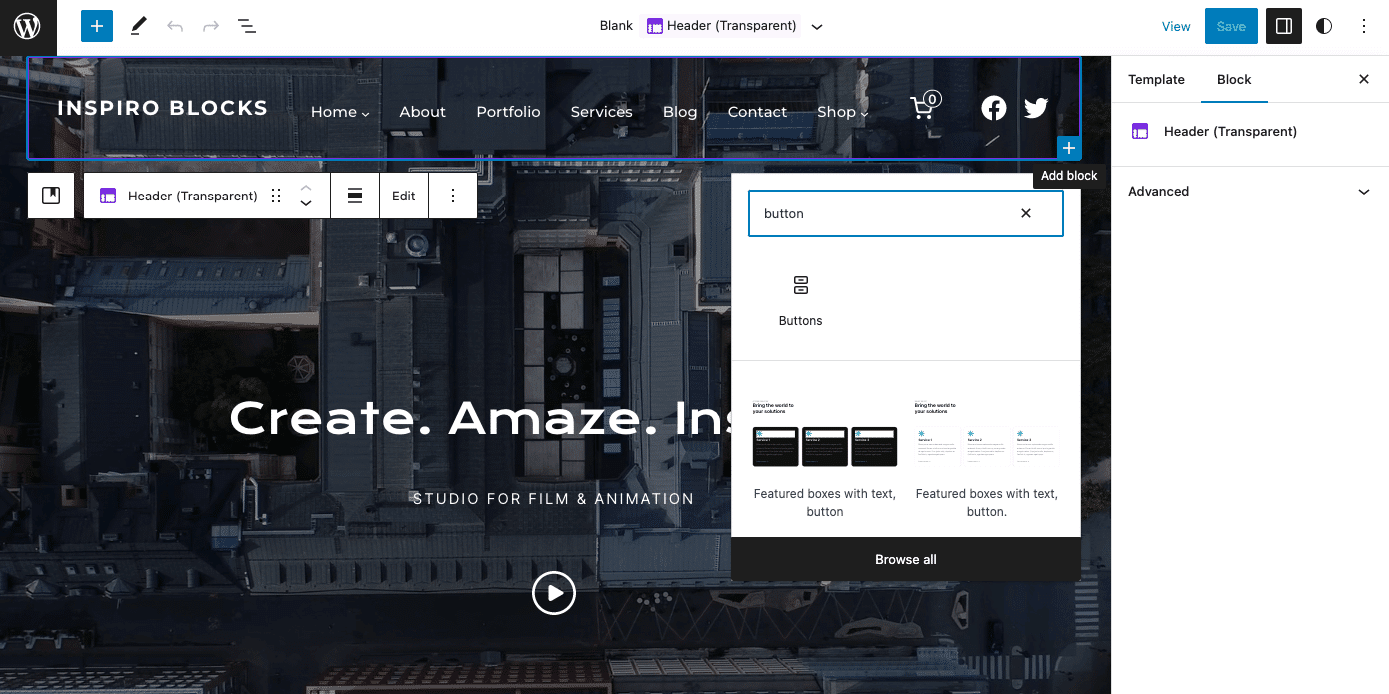
The Site Editor shares a similar approach. You can’t edit the content of your site’s pages while customizing your theme templates. However, it does enable you to add new elements to templates, such as buttons in the header.
Select the Header option from the template parts in the Site Editor. Then, add a Button block anywhere you want within the header:
You can also add other blocks to the header, such as a search bar and social icons. Plus, you can edit other template parts, such as the footer and sidebar.
4. Footer Content
Adding footer content in the WordPress Customizer
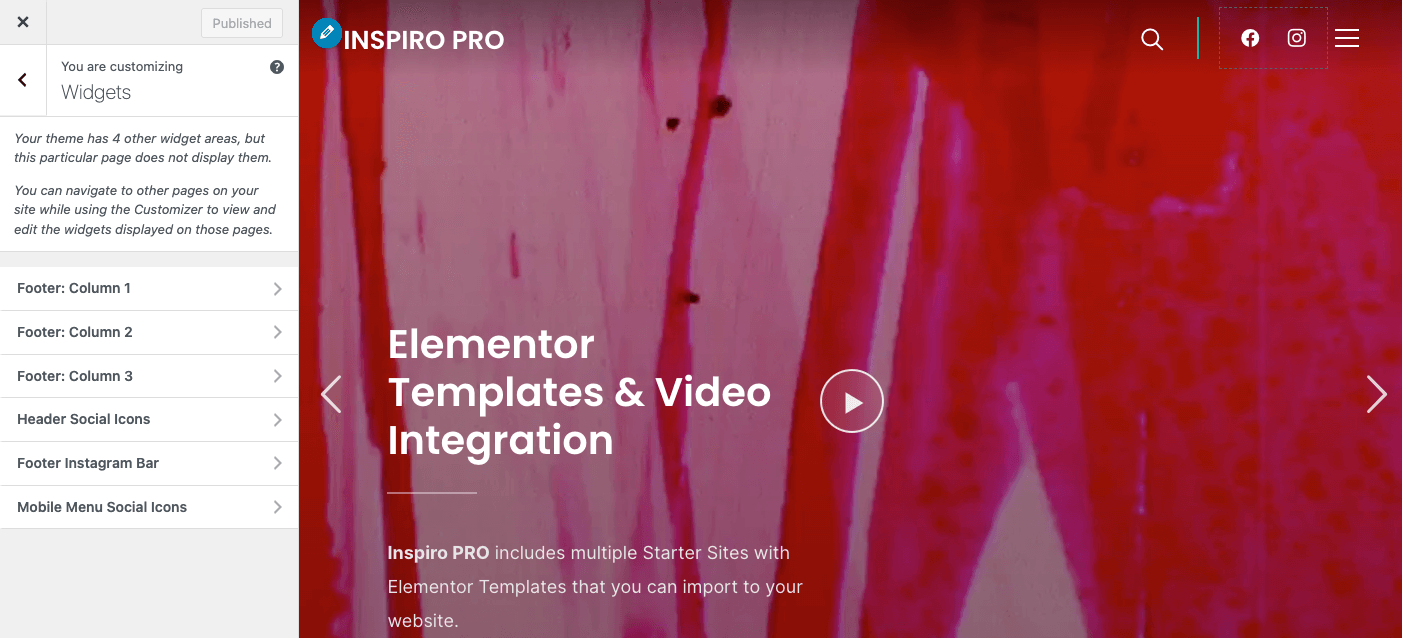
Most themes allow editing the footer content via footer widget areas that can be easily accessed in the WordPress Customizer in Appearance > Customize > Widgets.
However, you can have more control over the footer widgets in Appearance > Widgets. There, you can select the widgets that you want to add to the footer:
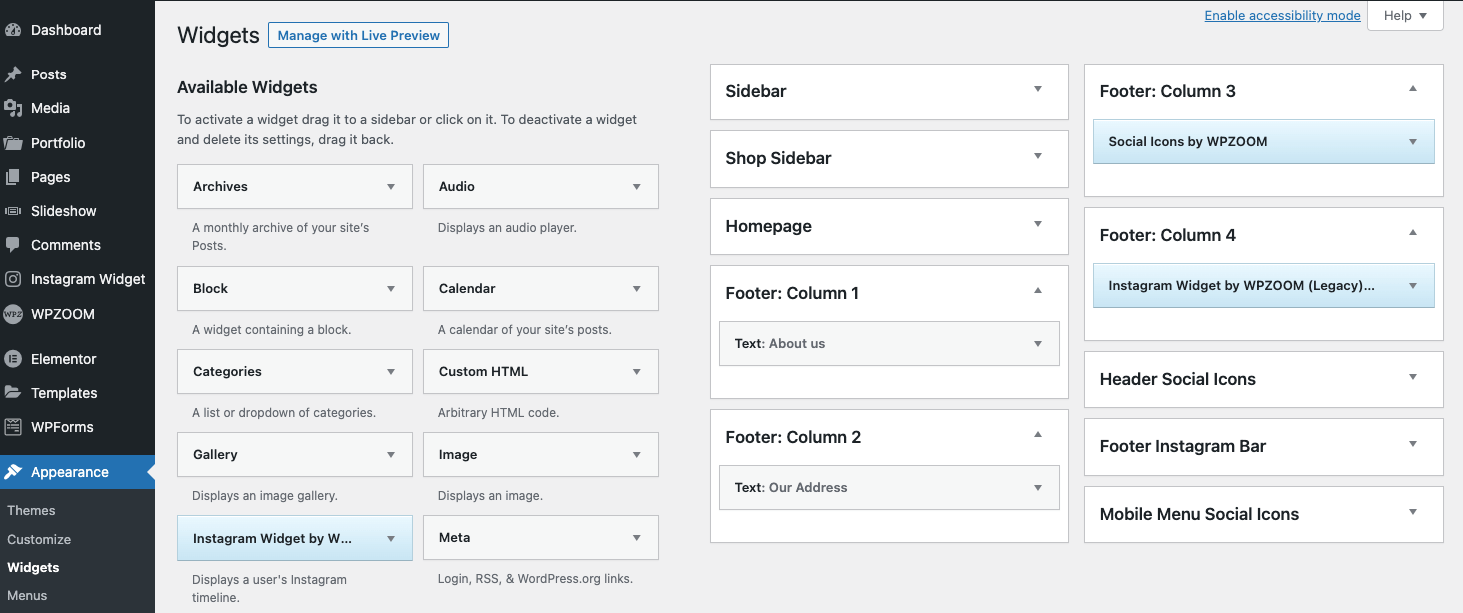
Note that different themes will have different widget options.
Adding footer content using the Site Editor
Now, let’s look at how to edit the footer in the Site Editor. Go to Template Parts and select the footer. Then, click on the existing blocks to customize them or add new elements.
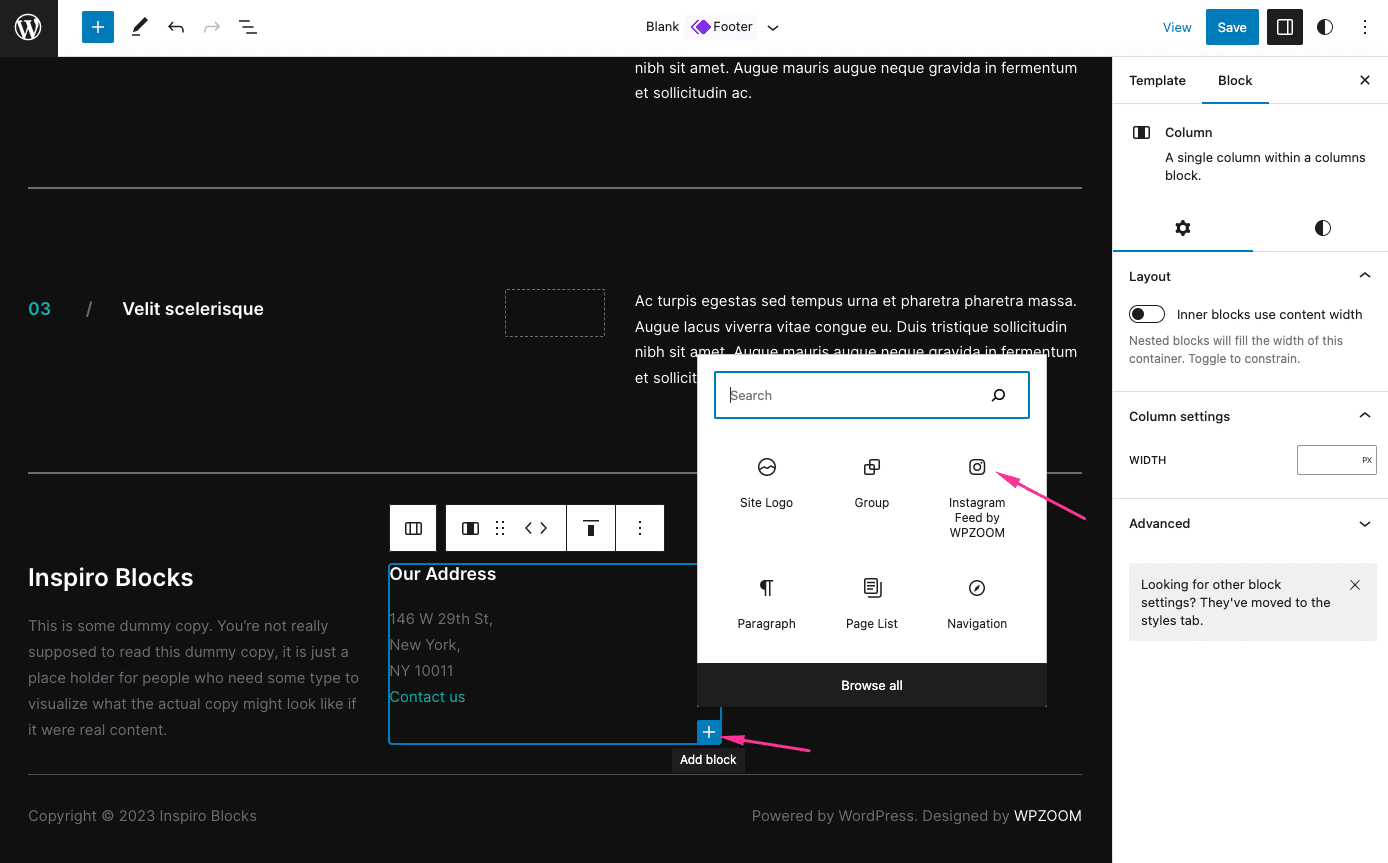
As you can see, with the Site Editor, you’re not limited to the widgets available with your theme. Instead, you can add any blocks you want and create a custom footer.
5. Menus
Adding a menu in the WordPress Customizer
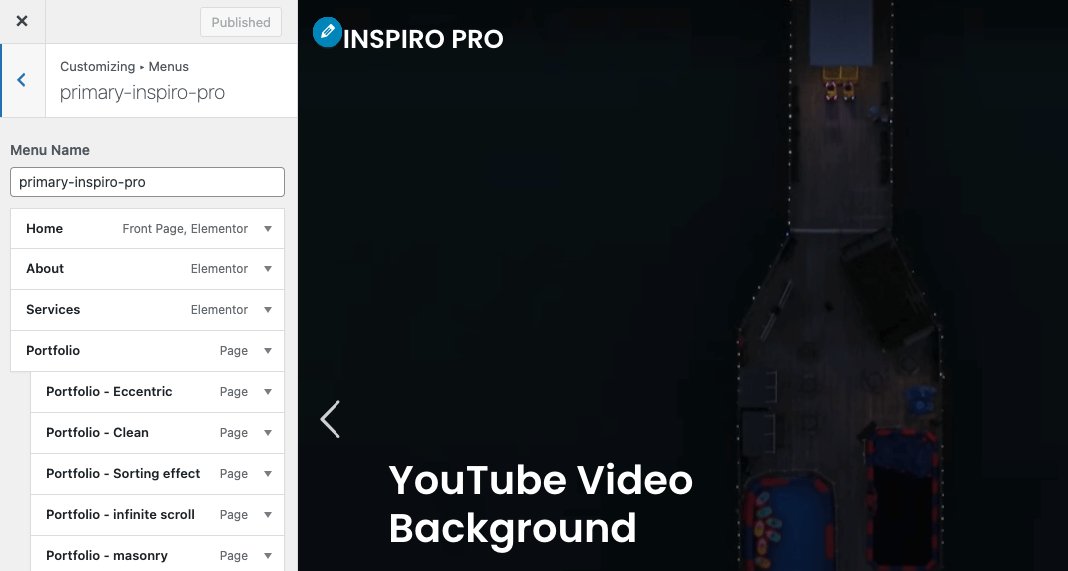
If you use the Customizer, you can edit menus by navigating to the Menus tab. If you select a menu, the Customizer will display its name and the items it includes. You can add items to the menu and edit existing ones without having to leave the page.
Adding a menu using the Site Editor
Meanwhile, the Site Editor lets you edit a menu with the Navigation Block. If the menu you want to edit is in the header, you’ll need to open that template part. As you can see, every item in the menu is an individual block:
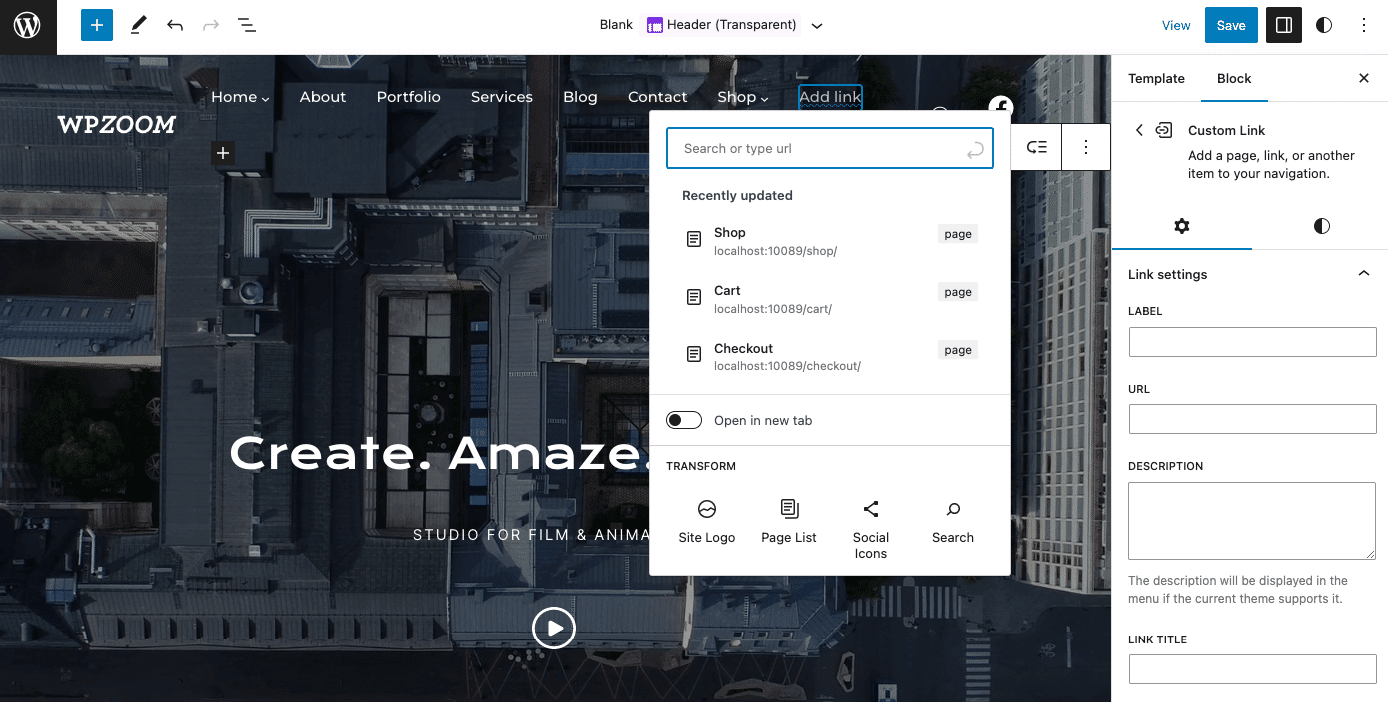
This means you can customize each item in the menu. The editor also gives you full control over the menu’s layout, which the Customizer doesn’t do.
6. Colors
Changing colors in the WordPress Customizer
The Customizer enables you to change your site’s default colors using simple menus. You can change the color for most elements on your site, including menu items, backgrounds, links, text, and dozens of other options.
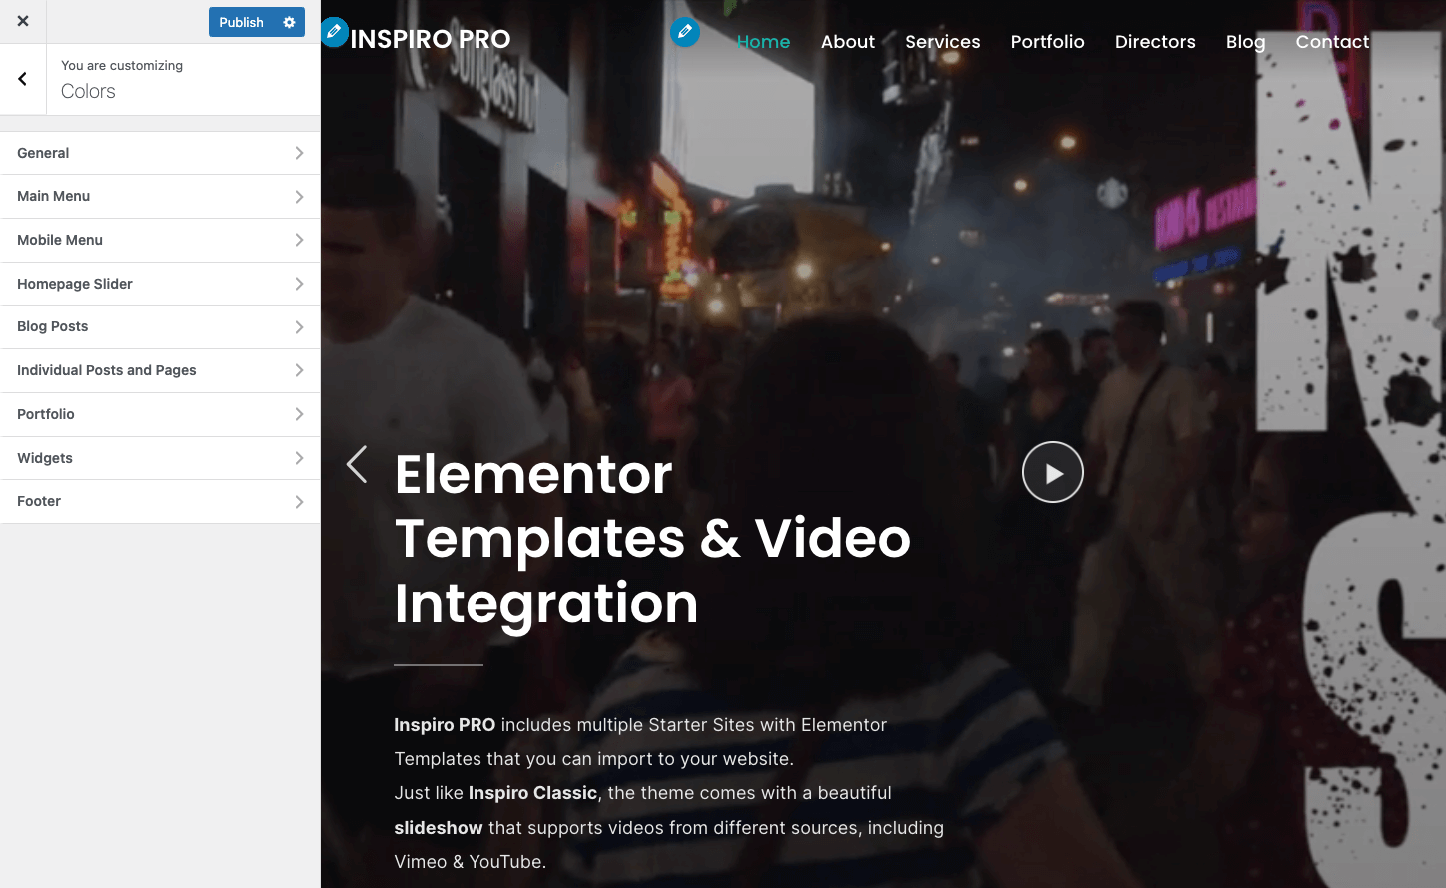
If you go to the Colors section in the Customizer, you’ll find options for your site’s main components:
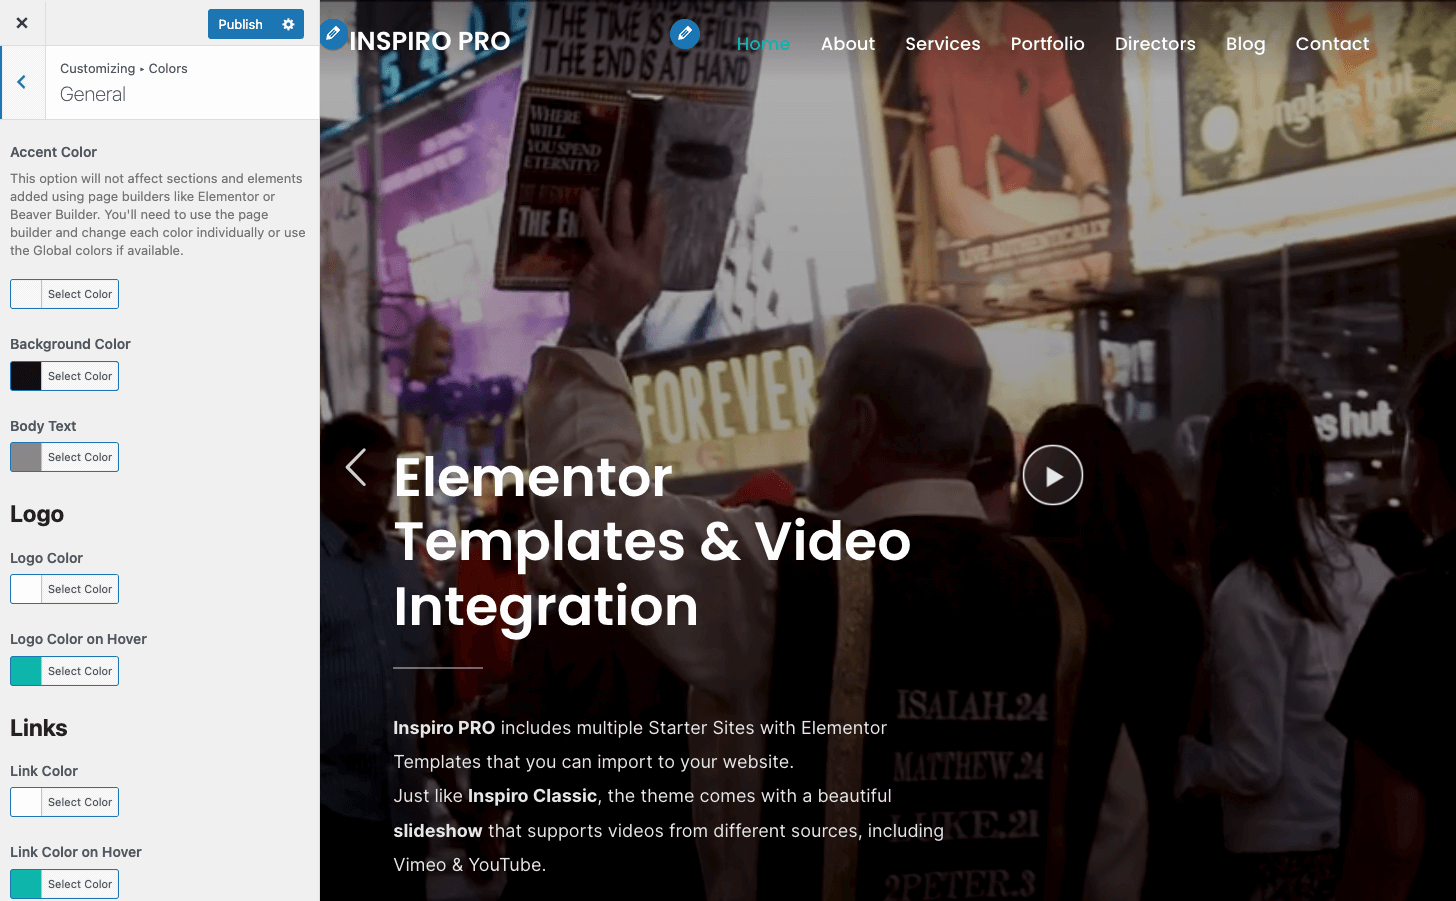
Once you select an item, you’ll see all the available color options for that element. For example, here’s what you see if you go to Colors > General:
Changing colors using the Site Editor
To edit your site’s colors in the Site Editor, you’ll first need to open a page or template part. Then, select the Styles icon in the top-right corner of the screen:
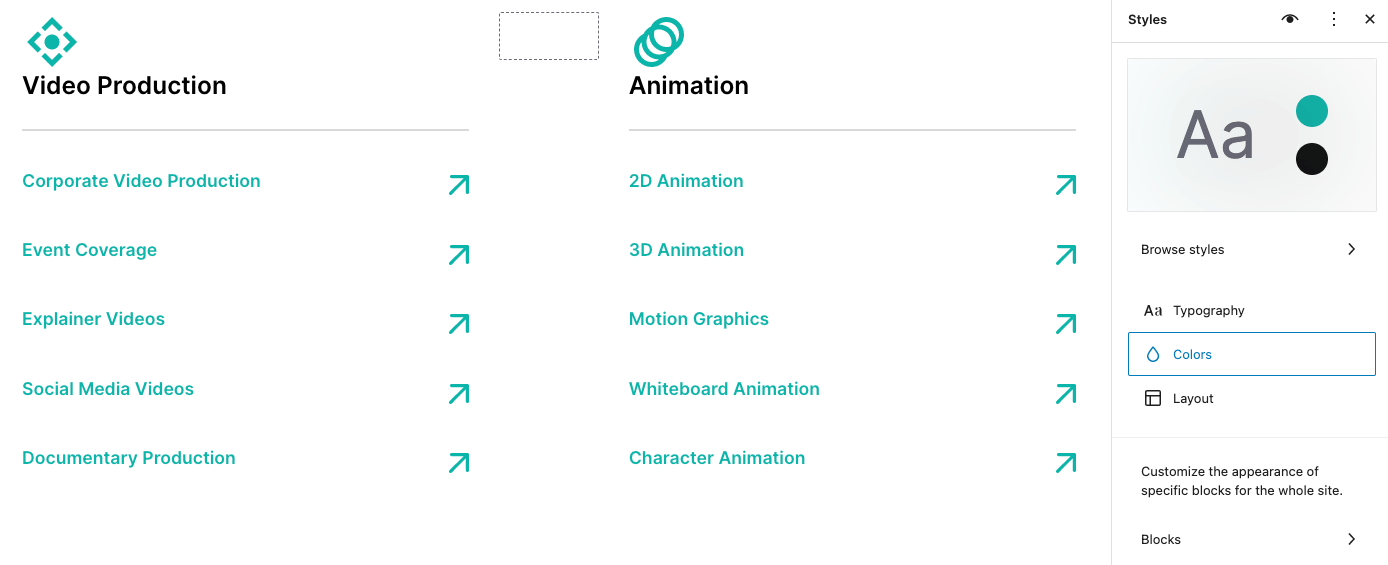
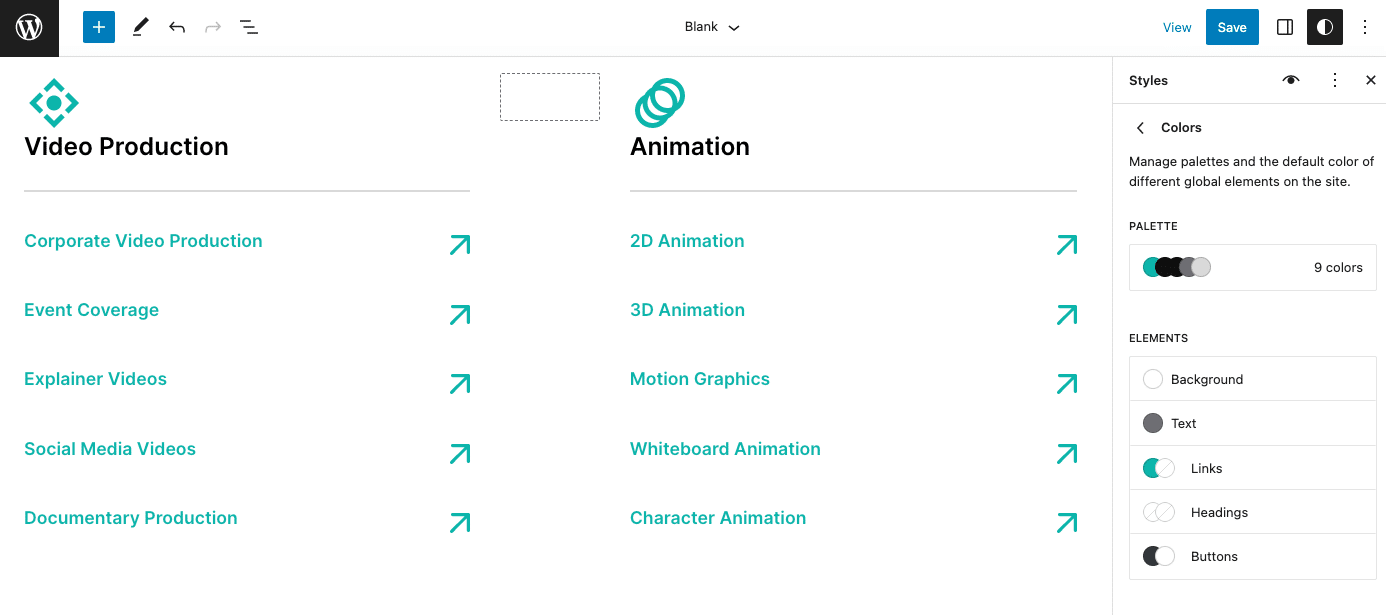
The Styles section enables you to make site-wide changes that affect every theme template. If you select the Colors option, you’ll be able to change colors for the background, text, links, headings, and buttons on your website:
Arguably, the Customizer offers more control over the colors you use for each type of element. The Site Editor groups elements together. This means that, instead of changing the colors of the text for menus and paragraphs separately (to give an example), you get to set site-wide settings.
7. Fonts
Changing fonts in the WordPress Customizer
Changing your site’s fonts in the Customizer works exactly as with colors. In this case, you’ll need to access the Typography section and select the elements you want to customize:
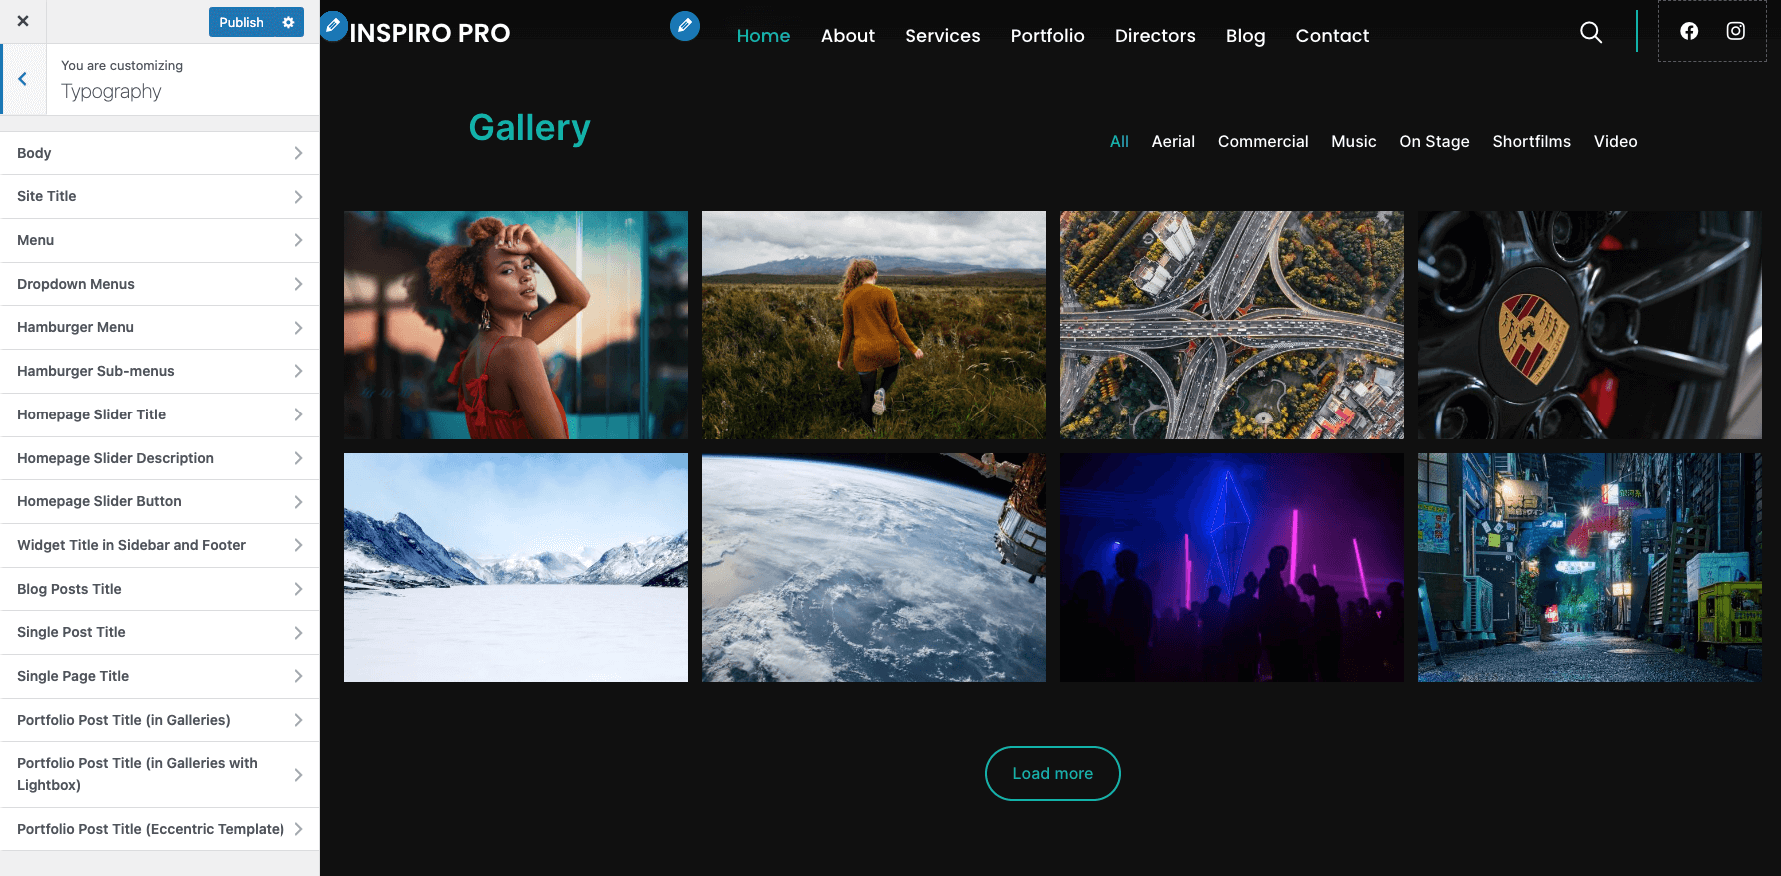
You can change the font family, weight, size, and style. Plus, you can set custom typography styles for your site’s body, menus, titles, buttons, and other elements.
Changing fonts using the Site Editor
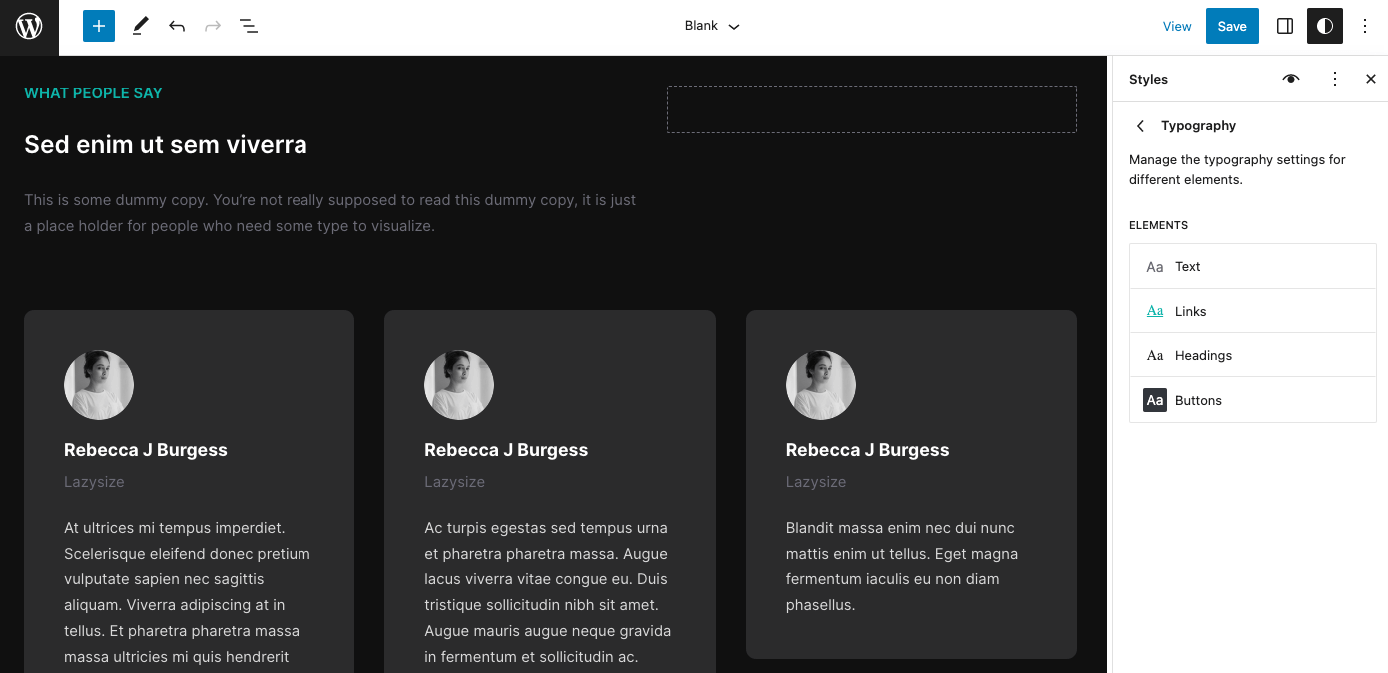
Using the Site Editor, you can change your website’s typography through the Styles menu. We showed you how to access the menu in the previous section, but in this case, you’ll select the Typography settings:
Just as with colors, the Site Editor enables you to configure site-wide typography settings. If you want to use custom fonts for specific elements, you’ll need to access each block’s settings.
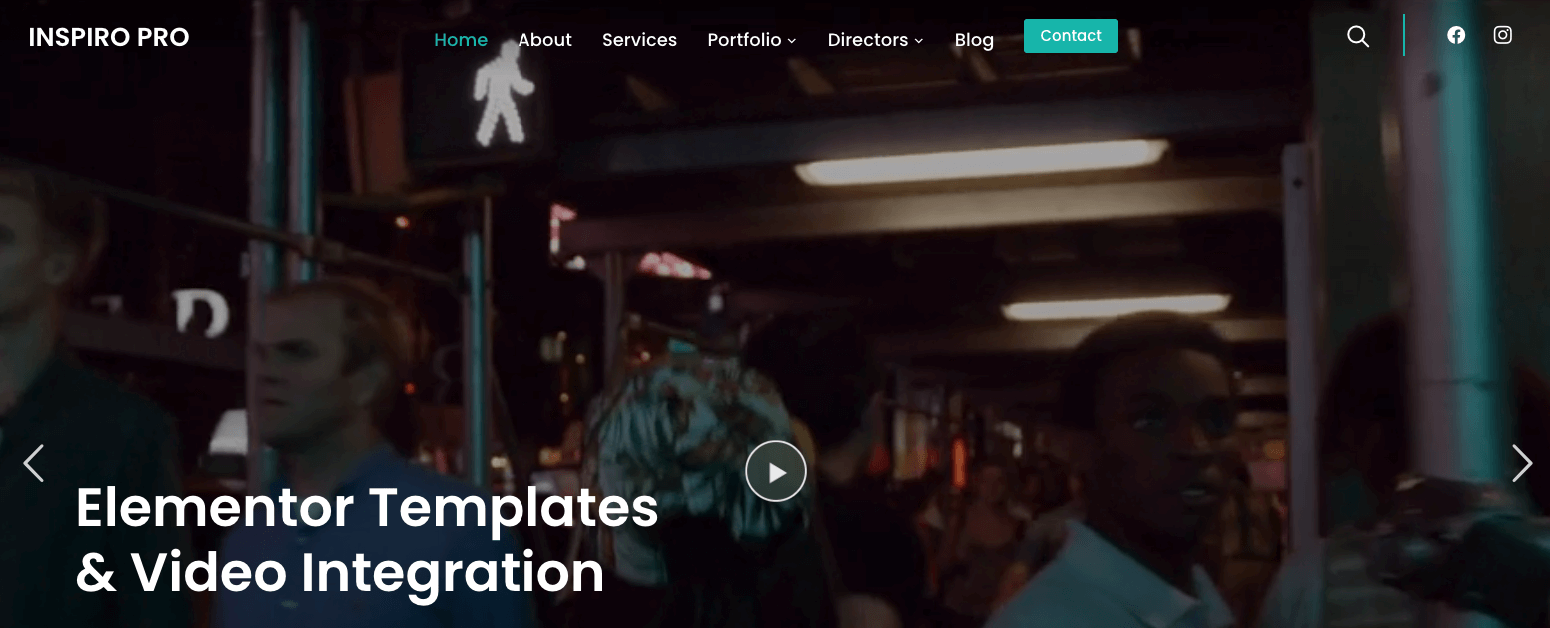
8. Video Background
Adding a video background in the WordPress Customizer
One feature that is lacking from the Customizer is the option to add a video background to your website. If you want to do this, you’ll need to use a page builder such as Elementor, or a WordPress plugin.
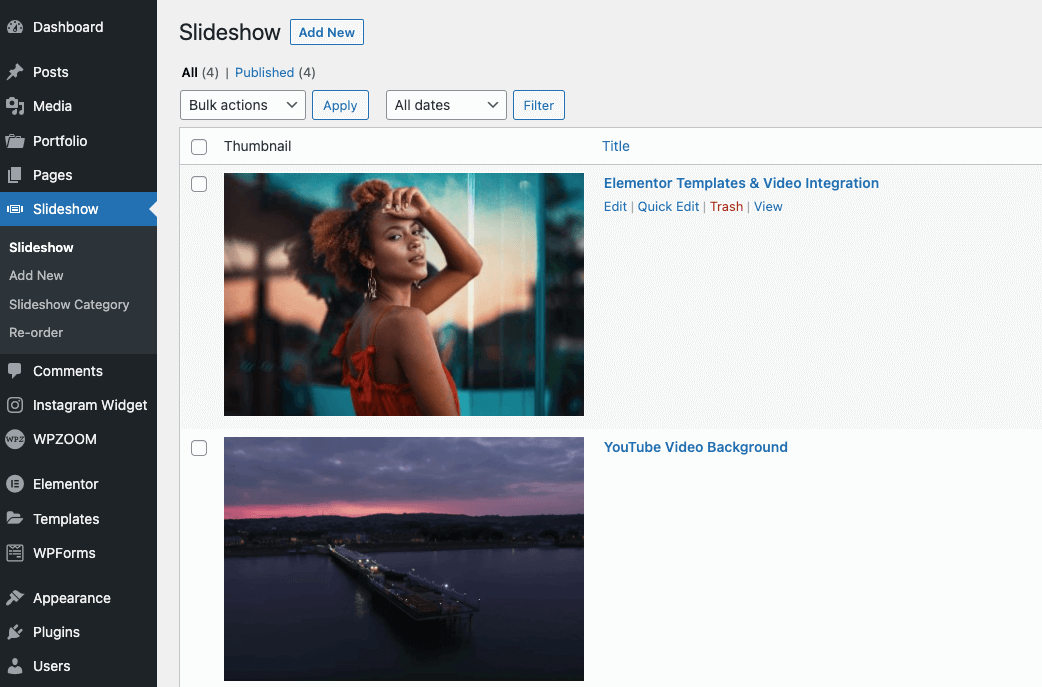
Inspiro PRO includes a built-in video background feature that allows you to easily create an eye-catching homepage slider. You can easily create slideshow items with video backgrounds in the Slideshow section of the theme:
Of course, certain themes can serve as an exception and you can add a video background directly from the Customizer. Our Inspiro Lite theme is such an example. Hovever, the customization options are limited in this case. You can only upload one video background and the theme doesn’t support the feature to create a slider with more than one videos.
Adding a video background using the Site Editor
The Site Editor doesn’t offer a block for adding video backgrounds. However, you can do this with a Cover block.
Inspiro Blocks PRO includes a full-width cover with a video background at the top of the homepage:
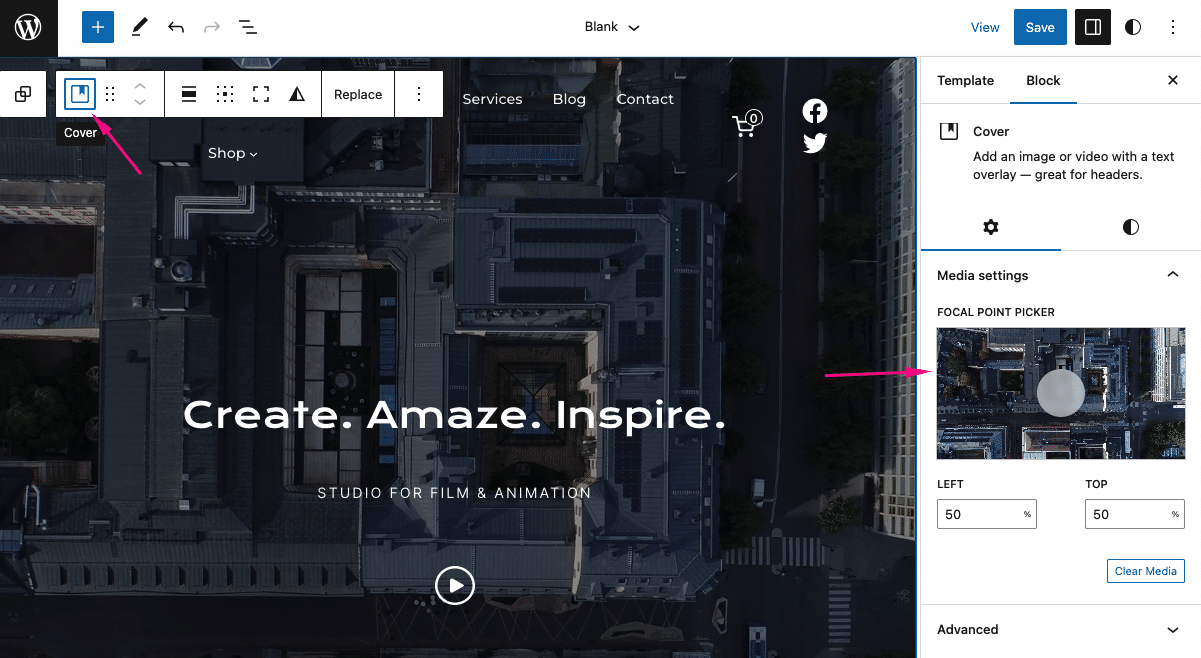
All you have to do is add it to the page and select your video. The Cover block can work as a background for individual sections of a page or the entire thing.
Conclusion
To sum up, here is a table of the features described above and their compared availability in the WordPress Customizer and Site Editor:
| WordPress Customizer | Site Editor | |
|---|---|---|
| Website Logo | + | + |
| Website Favicon | + | + |
| Header Button | – | + |
| Footer Content | + | + |
| Menus | + | + |
| Colors | + | + |
| Fonts | + | + |
| Video Background | – | + |
As you can see, the Site Editor provides a more all-in-one experience and is more accessible.
If you’ve been using the WordPress Customizer for a long time, switching to the Site Editor can be a challenge. However, if you’re familiar with the Block Editor, you can master the Site Editor in a matter of minutes.
Keep in mind that the Site Editor is only available if you use a block theme. Since block-based themes are becoming more popular, it’s important that you learn how the Site Editor works. Plus, with this feature, you’ll get more control over the design of your site.
Do you have any questions about the WordPress Customizer vs Site Editor? Let us know in the comments section below!