Out of the box, WordPress food themes (like Gourmand) are visually appealing, feature-rich, and incredibly flexible. You can expect to find all sorts of sections, elements, and widgets on it such as featured recipes, opt-in forms, author boxes, the latest recipes, and much more.
However, if you’re looking for a custom layout with different sections and elements or if you want to rearrange the elements that appear on your page, you can use a page builder to customize sections.
In this tutorial, we’ll show you how you can use Gourmand with Elementor Pro to customize sections and create new sections. By the time you’re done reading, you’ll know exactly how to customize the Gourmand theme to fit your preferences.
Elementor Pro’s Theme Builder
Using Elementor Pro’s Theme Builder, you can customize the Gourmand theme in a visual way. This includes headers, footers, single post pages, archive pages, and just about any other area of your WordPress website.
Here’s how it works:
You start by choosing a template type. For example, it can be a header, footer, single post page, or archive page. Once that’s done, the next step is to start building the framework of your page using dynamic content. Finally, you can set conditions using Elementor Pro to determine where your template should be applied.
With the Gourmand theme, you can customize sections (posts, pages, and archives) using Elementor Pro’s Theme Builder or build new ones. It all depends on your specific needs.
How to Customize Sections in a WPZOOM Theme Using Elementor Pro
Here, we’ll show you how to customize sections in a WPZOOM theme using the Elementor Pro page builder. For this tutorial, we’ll assume you already have the Gourmand theme and Elementor Pro installed on your WordPress website.
If you’re not familiar with Elementor, be sure to check out our Introduction to Elementor guide to get an idea of what it is and what you can do with it.
Layout
Let’s say you want to change the layout of the single post page. Start by opening up the post in Elementor.
If you run a food blog, you might have some images of foods, some text, a recipe, and social sharing buttons on your single post page.
Using Elementor Pro, you can change different aspects of the single post page’s layout settings.
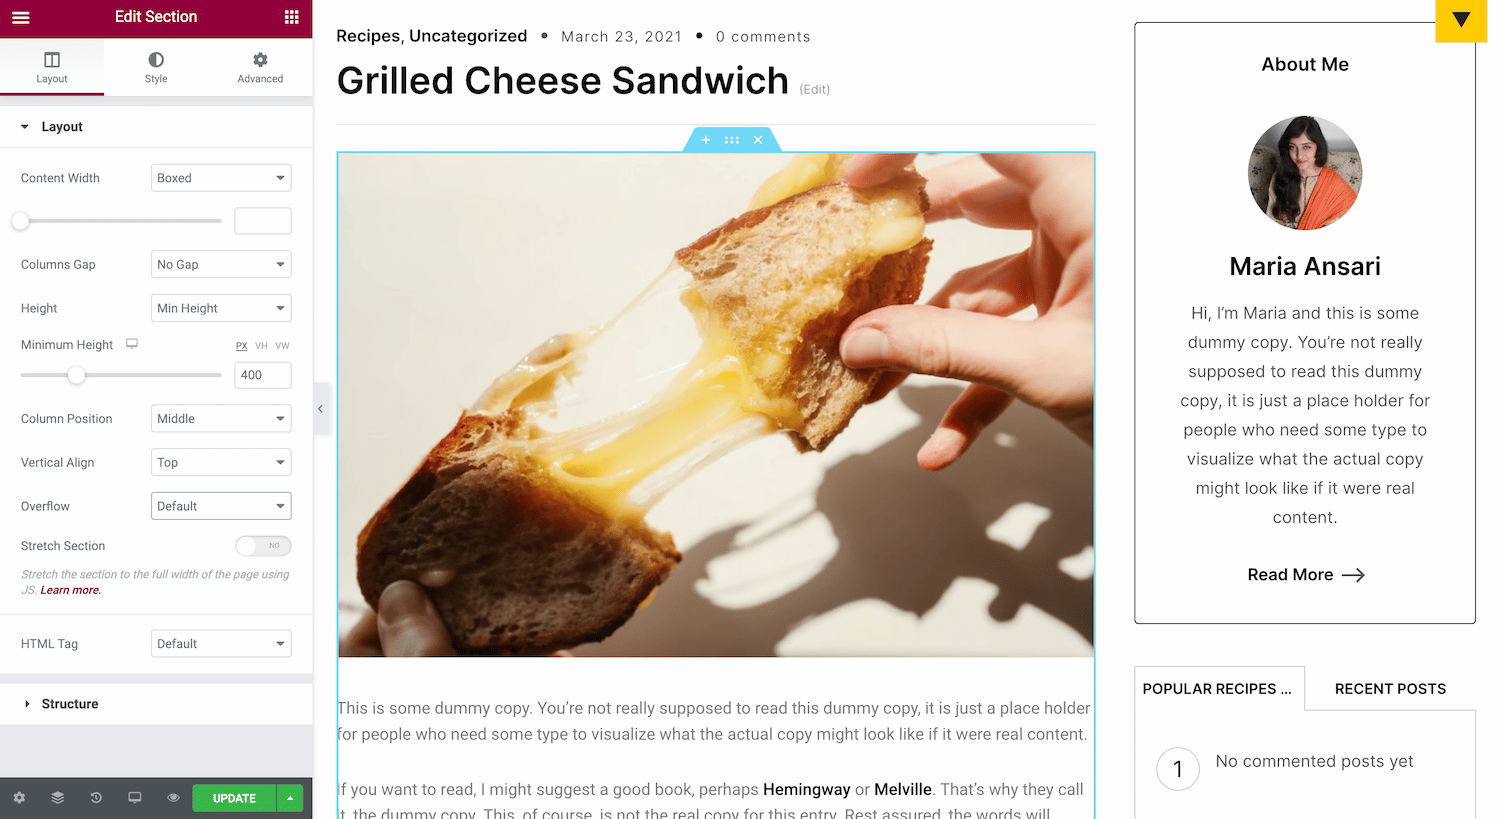
These include the:
- Content Width. You can choose between Boxed or Full Width. If you go with Boxed, you can use the slider to set your width
- Columns Gap. This is the gap between columns. You can leave this to default if your single posts are structured as single columns.
- Height. You can choose between Fit to Screen and Min Height.
- Vertical Align. This option lets you set the section content’s vertical alignment to top, middle, bottom, space between, space around, and space evenly.
- Overflow. Lets you select how to handle content that overflows its container. You can allow it or hide it.
- Stretch Section. This option forces the section to stretch to the full width of the page.
- HTML Tag. Use this to set an HTML tag for your section.
In addition to this, you can also change the order of elements. Elementor is a visual, drag-and-drop page builder which means you can reorder elements simply by dragging and dropping them into place.
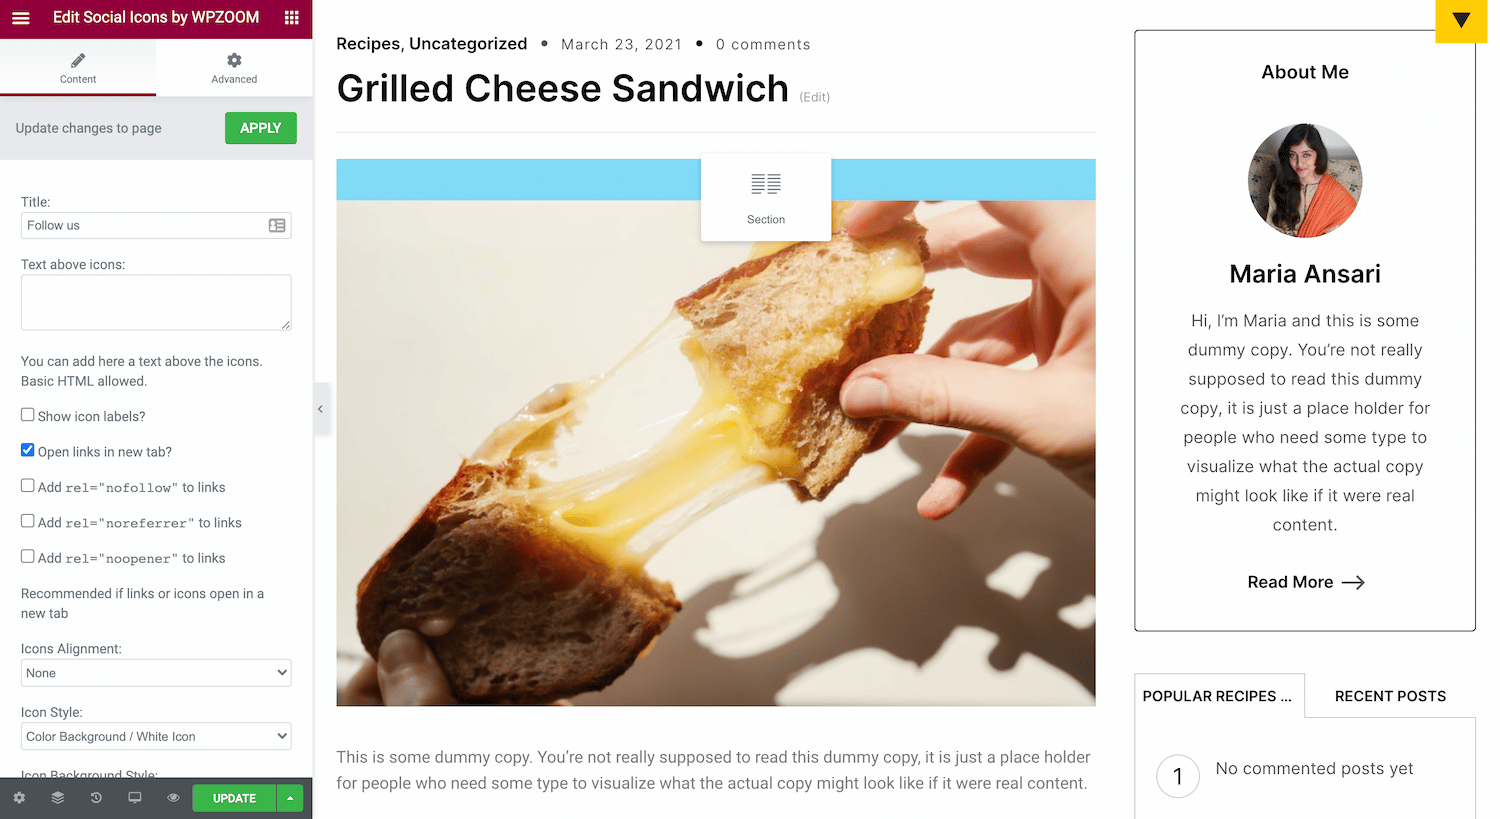
So, for example, if you wanted to bring the social share buttons to the top of the post, you would simply drag the social share buttons element to the top.
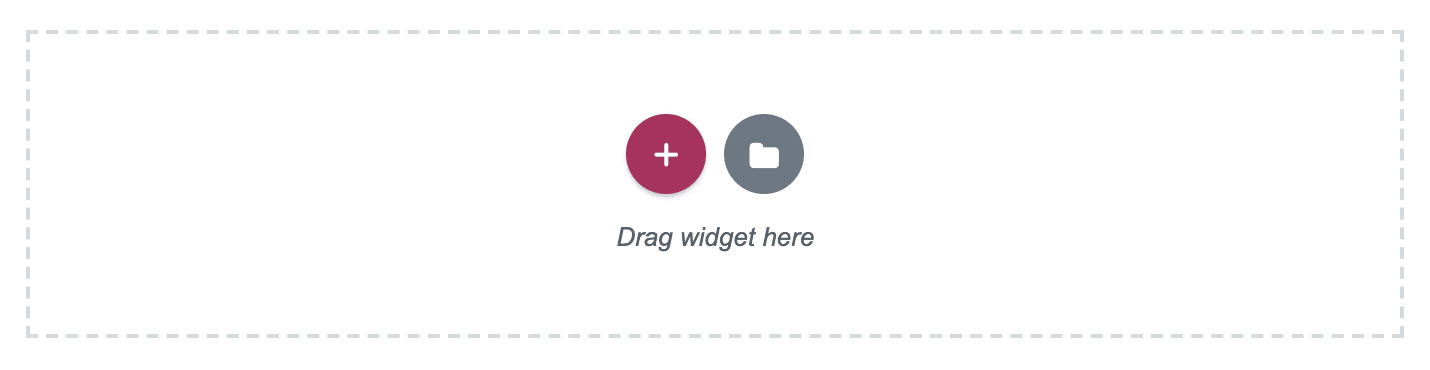
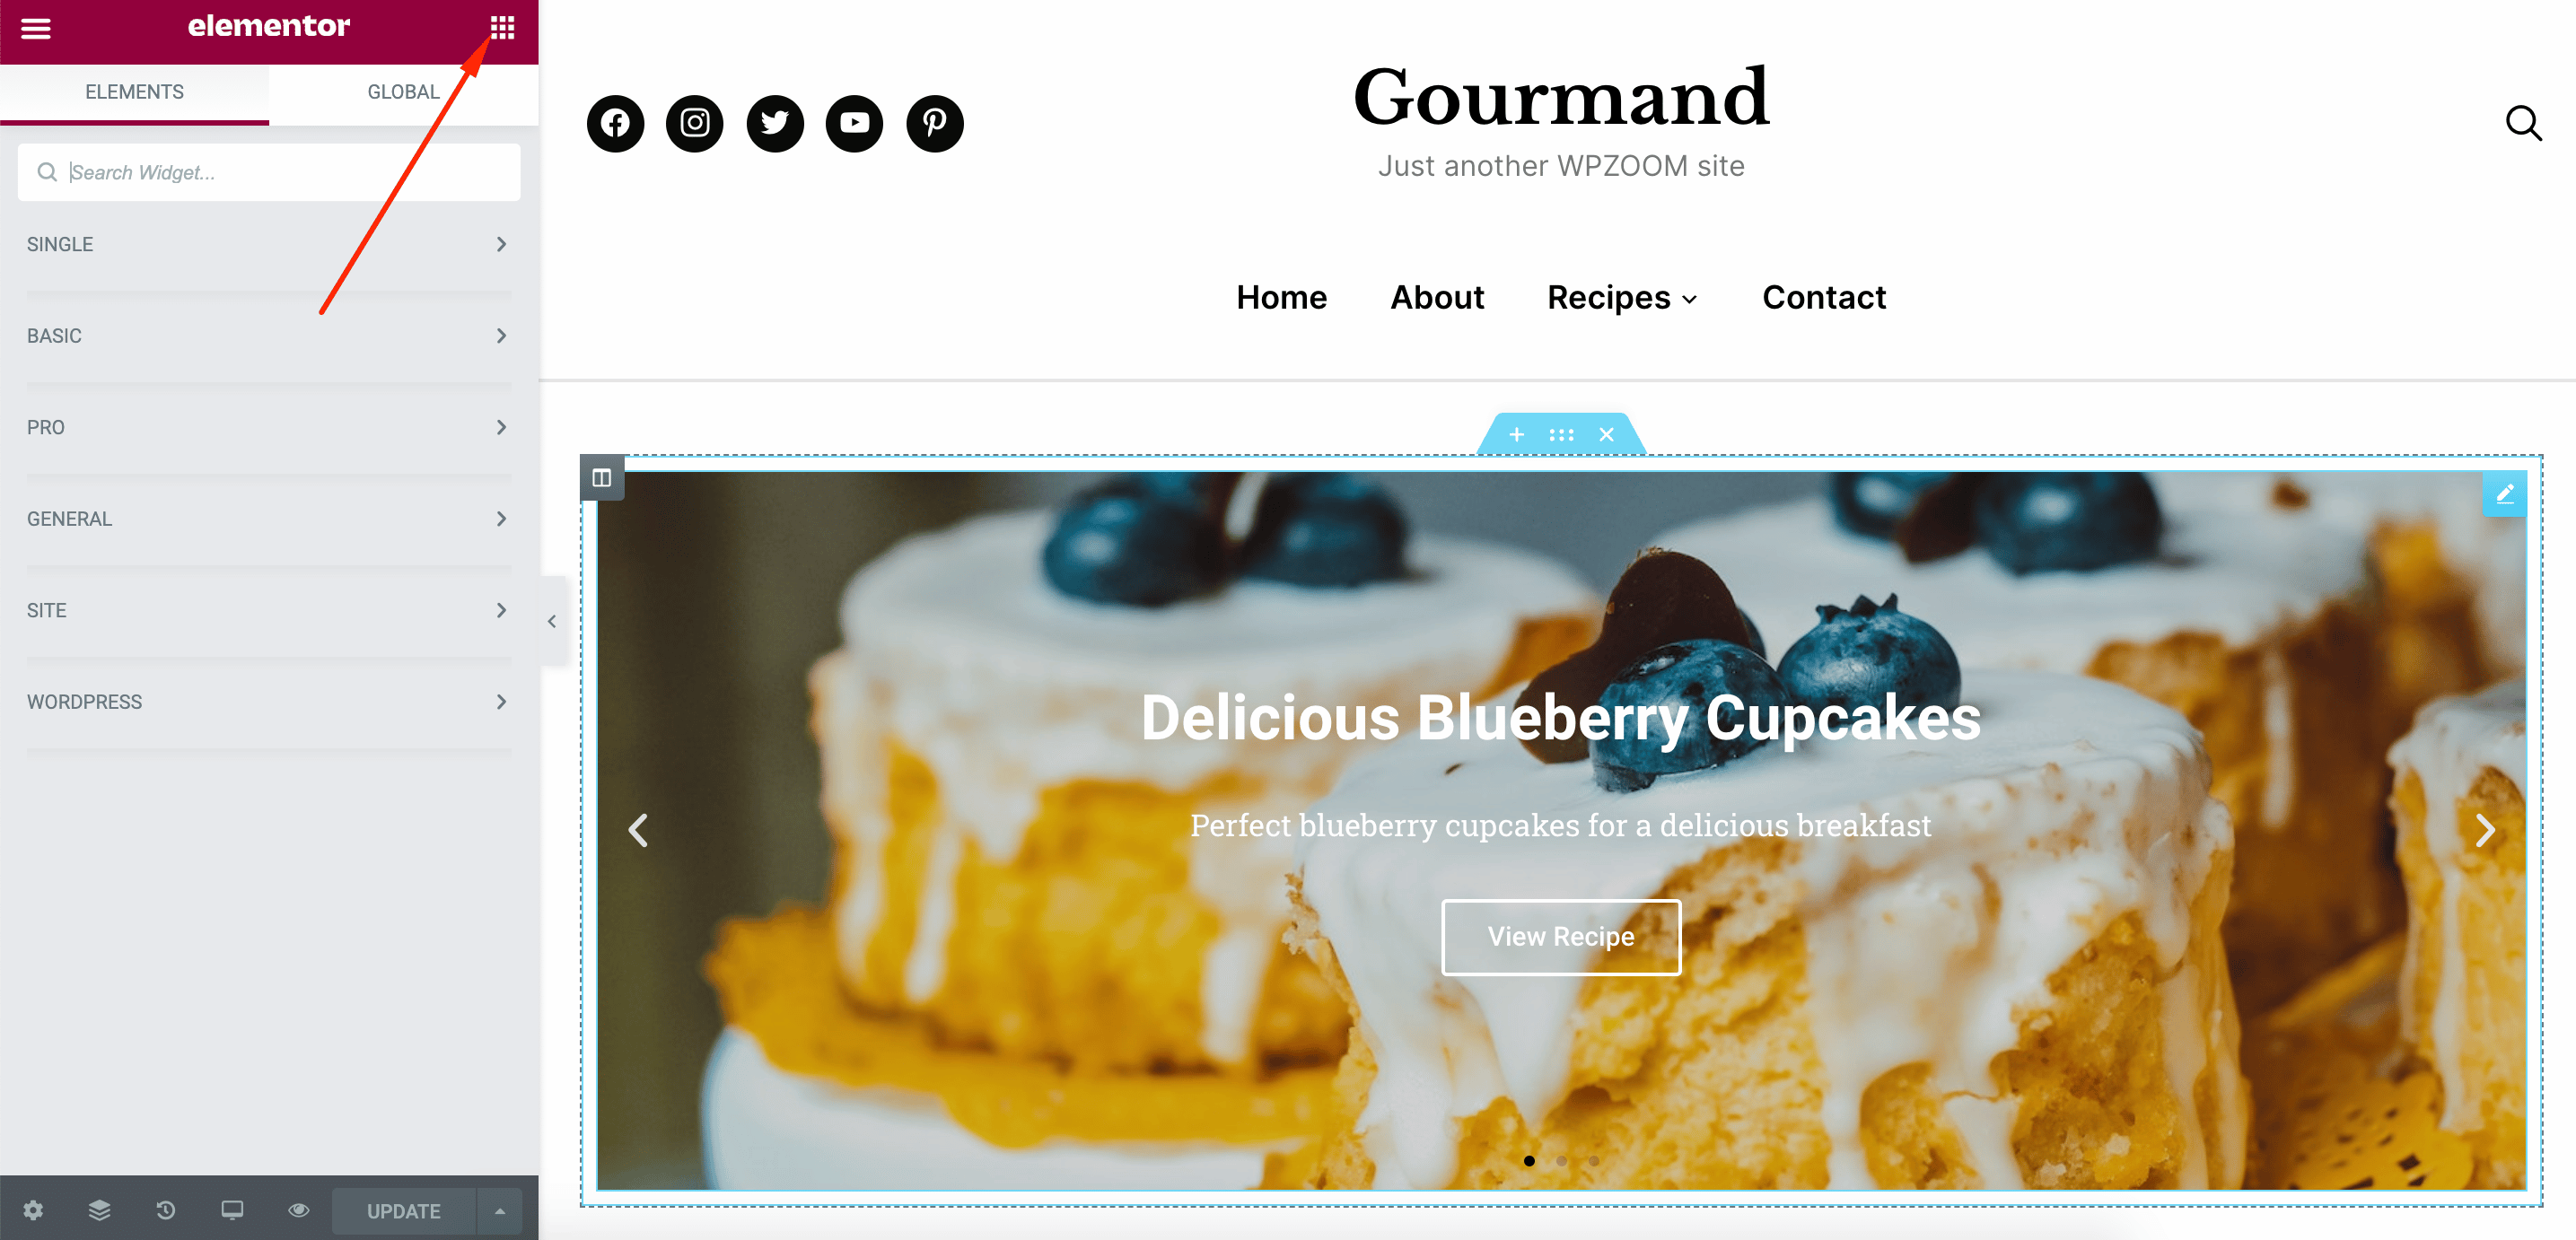
Elementor also makes it easy to add new elements and sections to your single post page. All you have to do is click the (+) icon to add a new section, select its structure, and drag-and-drop the widget into it.
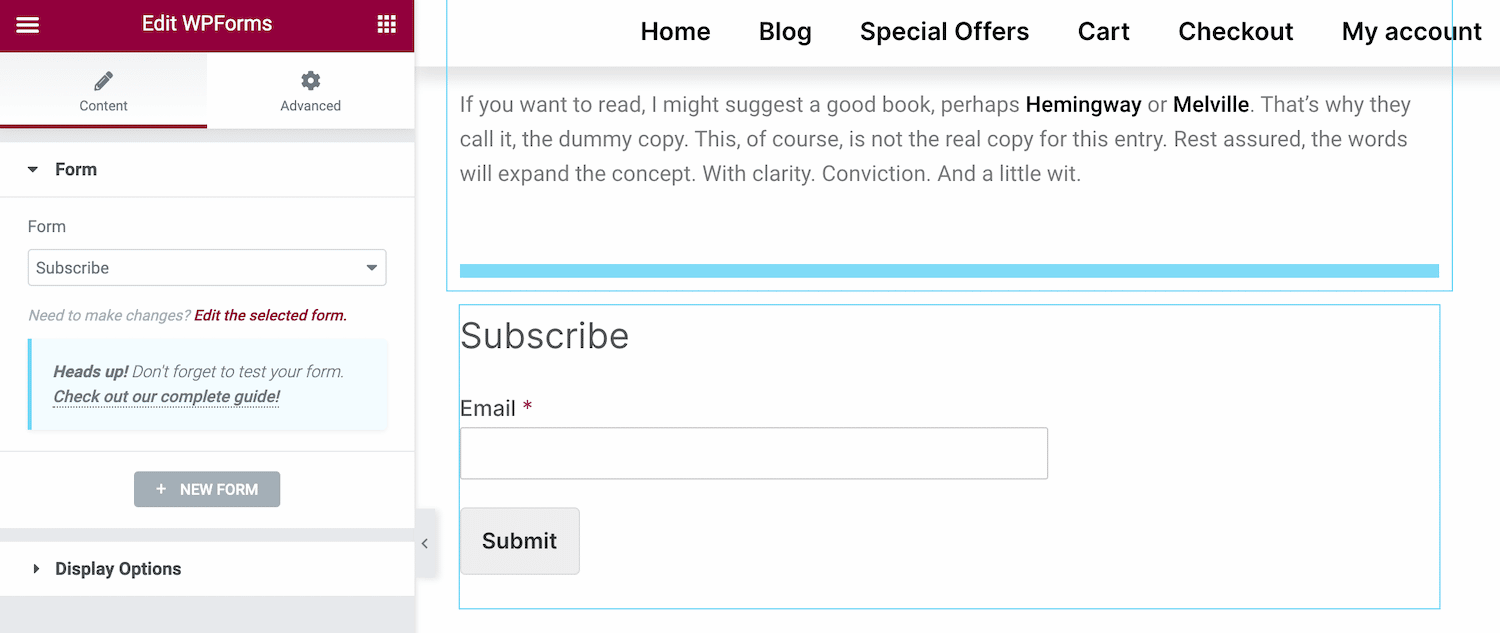
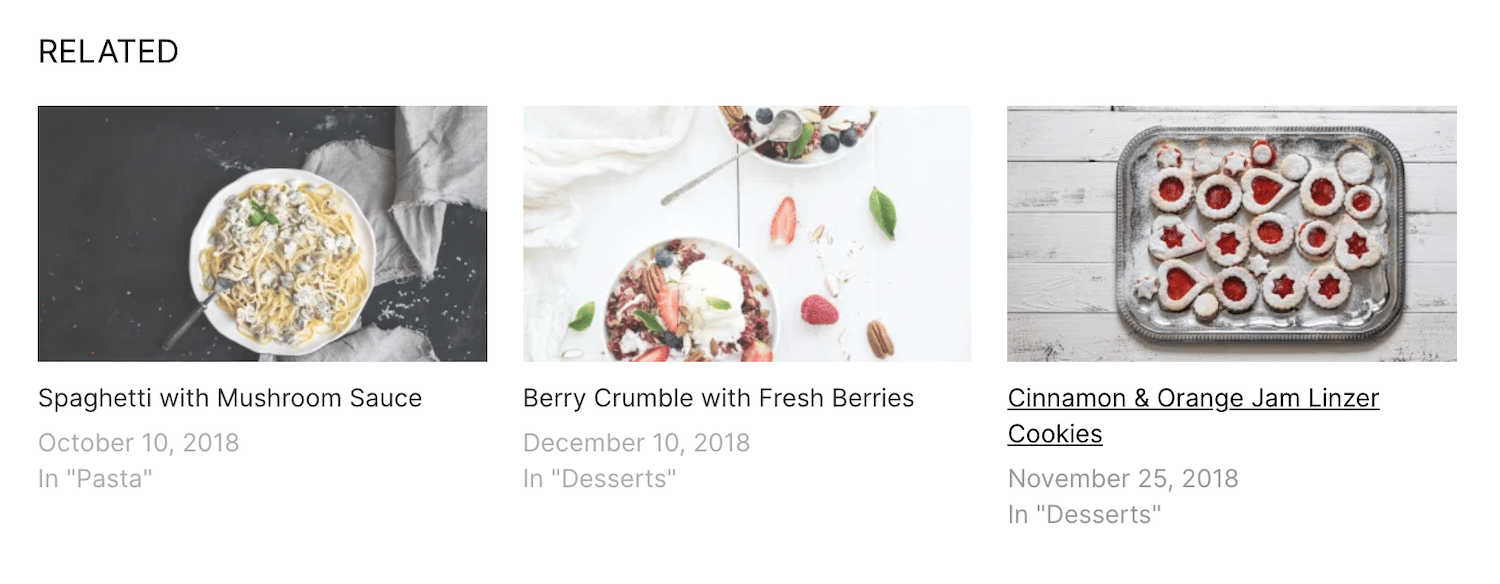
For example, you can create an opt-in form that lets readers subscribe to your email newsletter. All you have to do is drag-and-drop the WPForms widget in the section and add your form to it. Or you might consider adding a related posts widget to encourage visitors to check out similar recipes.
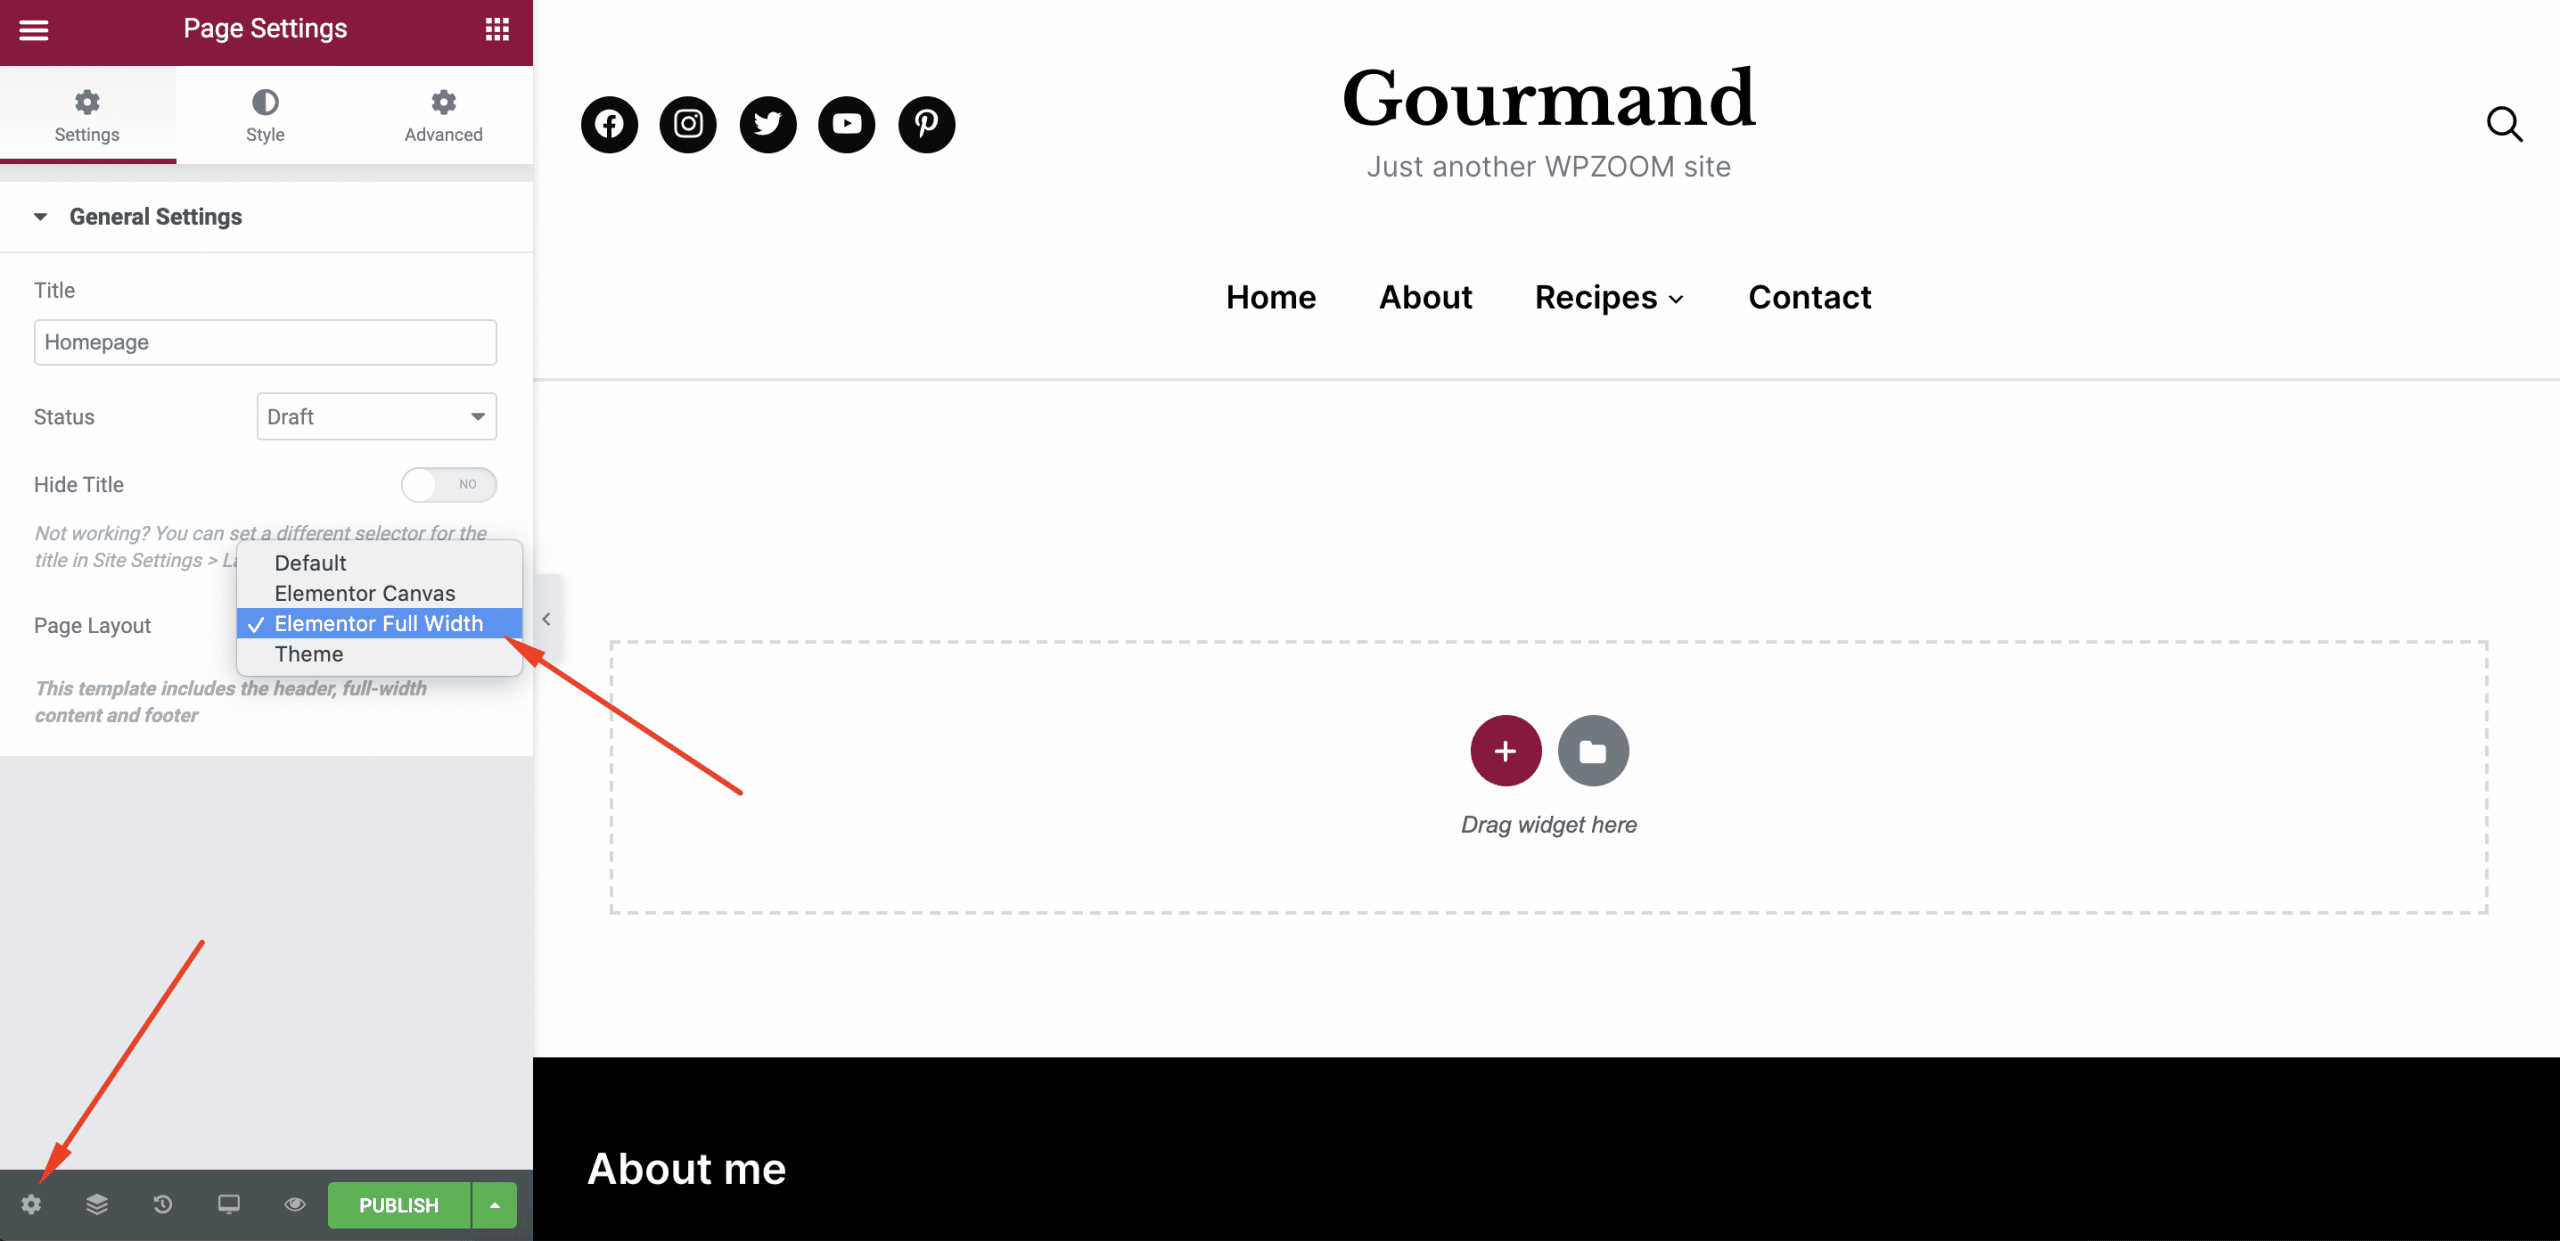
Moreover, you can even create custom layouts using Gourmand as a base. For example, in order to create a custom homepage layout, go to Templates → Theme Builder → Add New. Choose the Page template type and name it (e.g. Homepage). On the next screen, click on the General Settings icon and choose the Elementor Full Width page template.
With Elementor Pro, you will have access to premium modules that can be used across the website. The elements are categorized in Single, Basic, Pro, General, Site, WordPress. You can even combine Elementor modules with default WordPress and theme widgets.
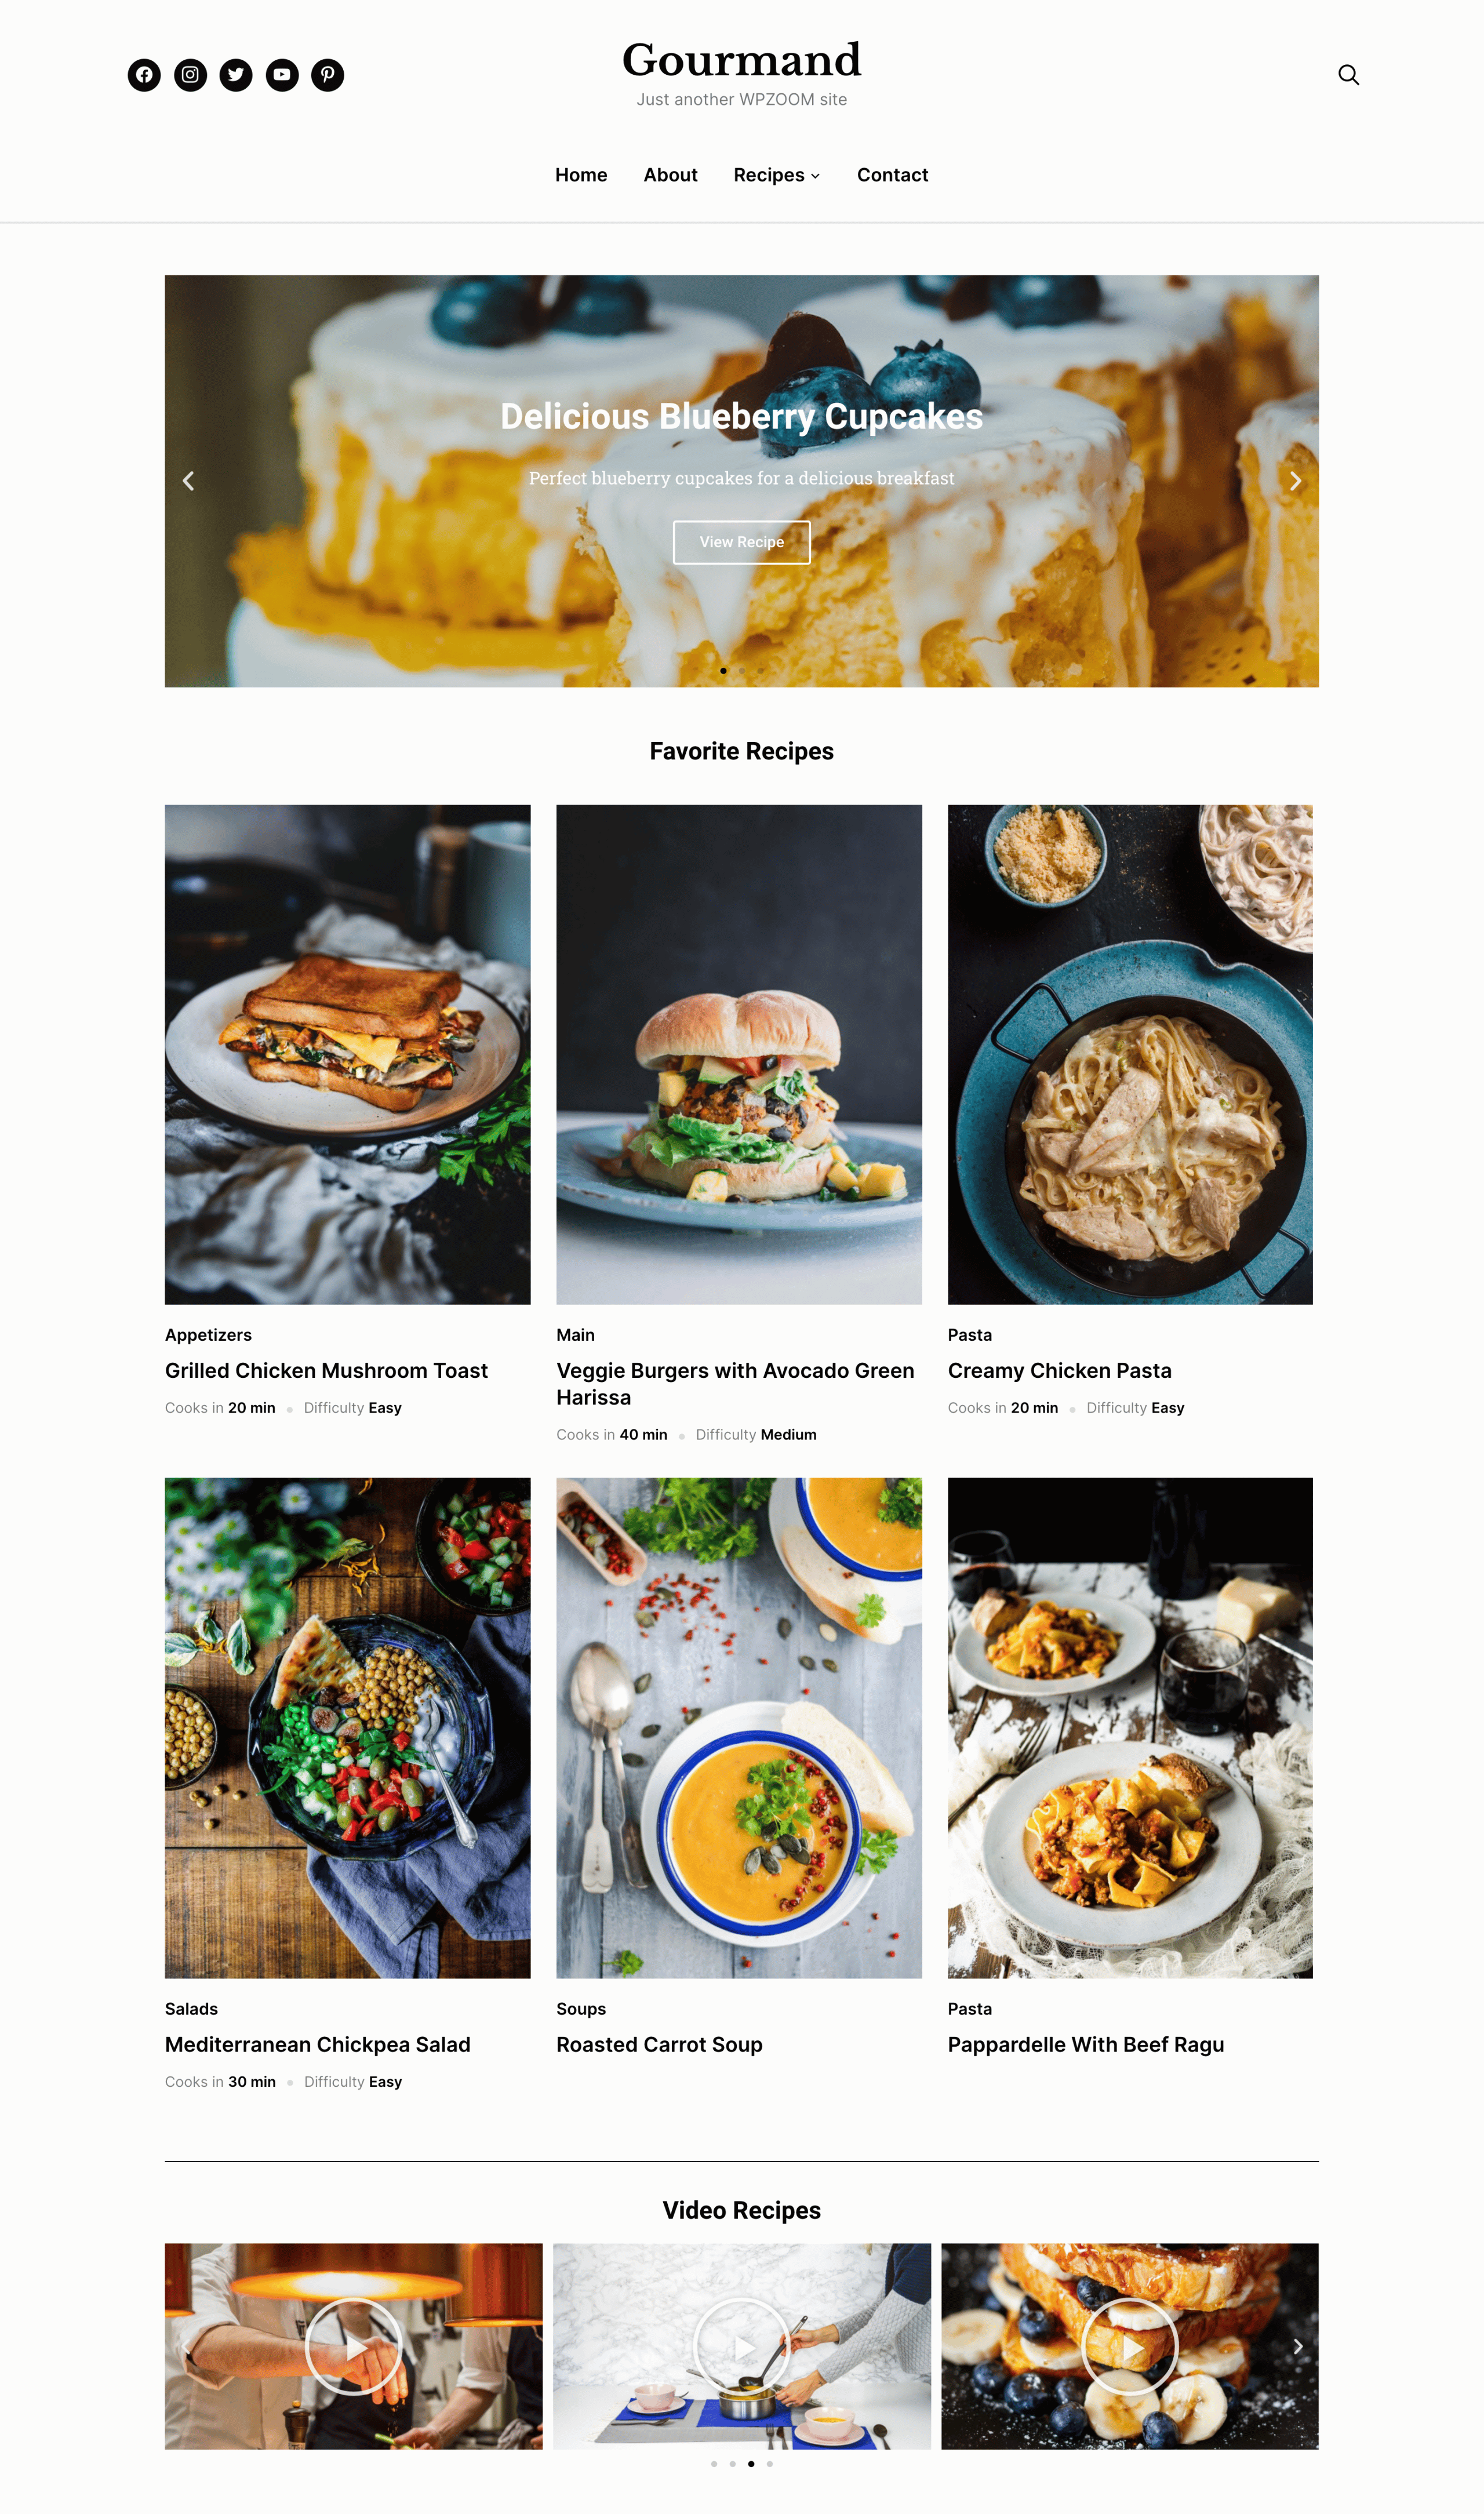
Play around and explore different elements that will make your website attractive for your readers. Here’s an example that you can easily achieve with Gourmand:
After you’re done with creating your template, make sure to publish it. This way, it will be available in Theme Builder → Templates. Here, each template will also be assigned with a shortcode. The shortcode of the template can be pasted on a new blank page. This way, after publishing, the layout created with Elementor’s Theme Builder, will be displayed on that page. Make sure to also assign the page as a static front page in Settings → Reading.
Style
Using Elementor Pro, you can also change the style of each section on your posts, pages, and archives. This includes:
- Background. You can choose between classic, gradient, video background, or image slideshow.
- Background Overlay. The background overlay option lets you set a background type and blend mode for the overlay.
- Border. You can configure these settings to set a border type and radius. It also lets you add a box-shadow to the section.
- Shape Divider. The shape divider option is particularly useful if you have lengthy pages. You can set the type, color, height, and width of the divider. In addition to this, you can also flip it and bring it to the front so it’s in front of other page elements.
- Typography. This option lets you set the typography colors for the section.
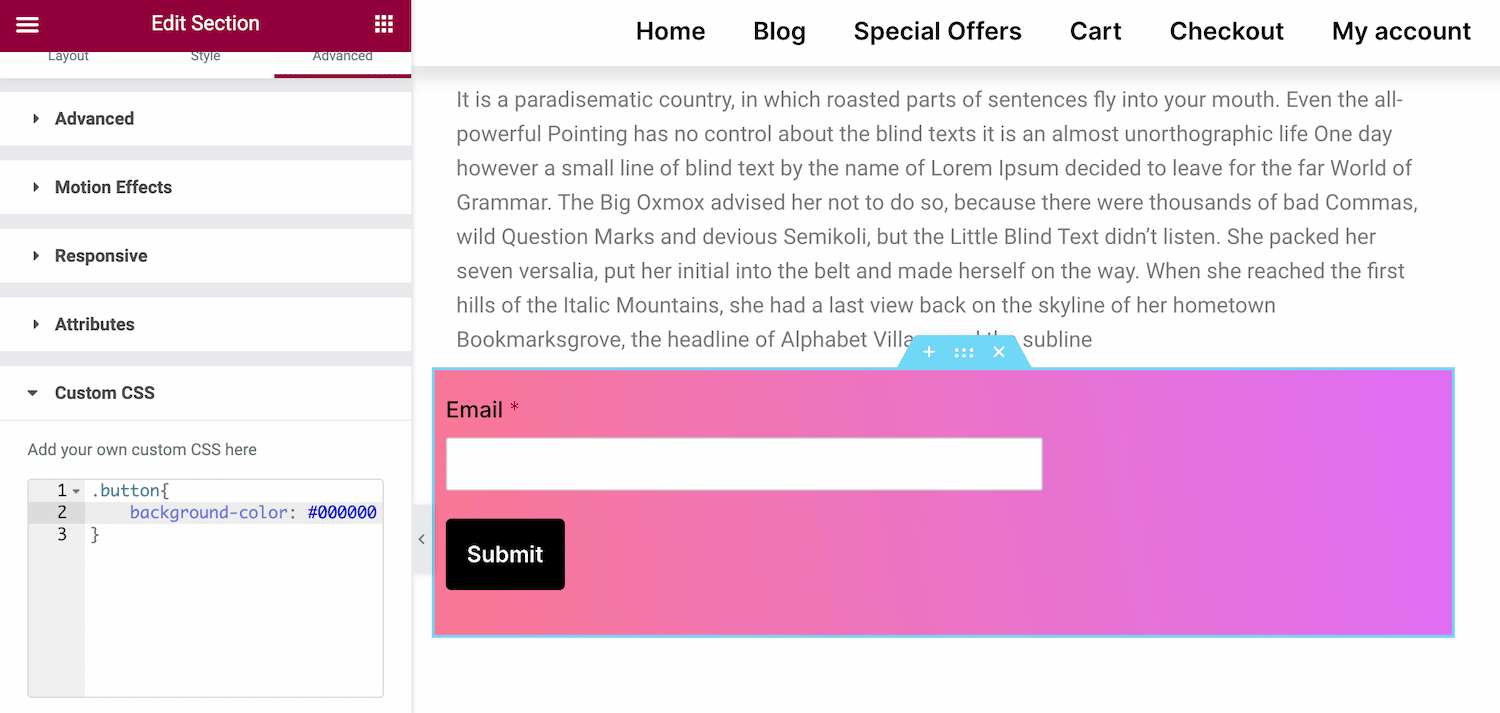
So, let’s say you want to style the opt-in form we added to the single post page. To get started, click on the section.
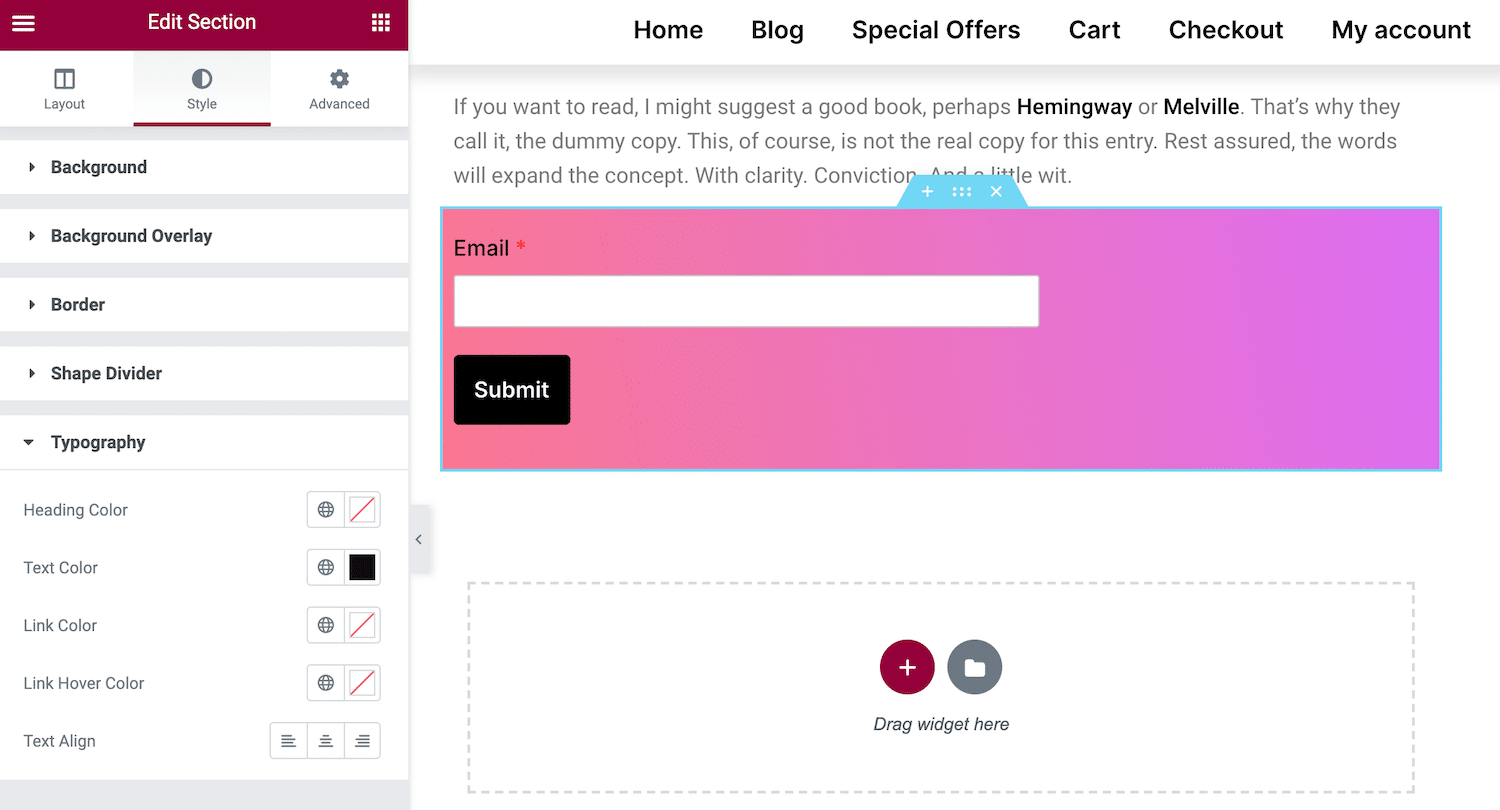
You’ll notice the different section settings appear in the column on the left. Click on the Style tab to configure the different options.
Advanced Options
With Elementor Pro, you can add advanced options to sections in posts, pages, and archives. Here, we’ll show you how you can add motion effects and custom CSS.
To add a motion effect, click on the section you want to customize and head over to the Advanced tab and click on Motion Effects. There are different options to choose from and you can combine different options for a truly unique effect.
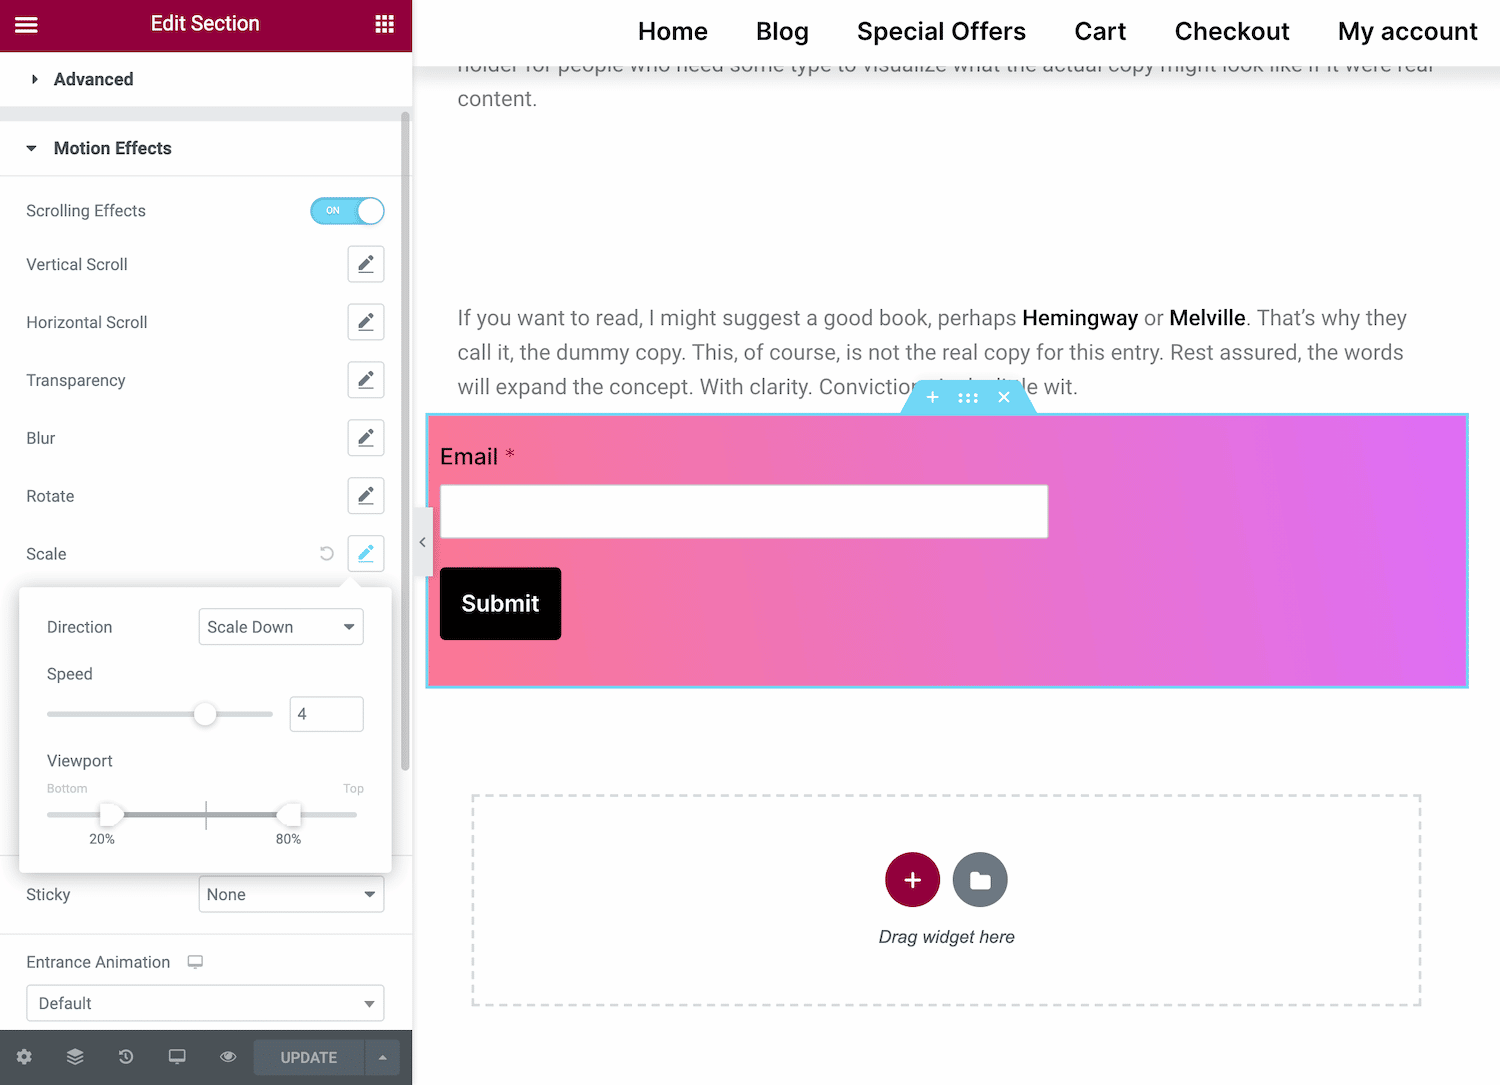
Enable Scrolling Effects and play around with the different effects to get a feel of what you can do with it. For example, if you use the Scale option set to Scale Down, your motion effect might look something like this for a visitor:
And, if you’d like to add custom code to your page’s sections, you can use the Custom CSS option. All you have to do is enter the custom CSS code in the box and update the page.
Customize Sections in WPZOOM Themes Today
You can use the Elementor Pro’s Theme Builder to easily and quickly customize sections (posts, pages, and archives) in any WPZOOM theme. You can customize existing sections and add new ones.
It lets you modify each section’s layout and style, and gives you plenty of advanced options that you can use to add motion effects or custom CSS. We showed you how to customize sections in Gourmand using Elementor Pro. Hopefully, you’re in a good position now to take the next steps.
Ready to start customizing your food blog? Get Gourmand today! Also, be sure to check out our other WordPress food themes.