FLASH SALE Get 20% OFF everything using the coupon code: FLASH20 View Pricing Plans →
Do you want to change some strings in English (i.e.: Read More, Designed by)? Then jump to step #4
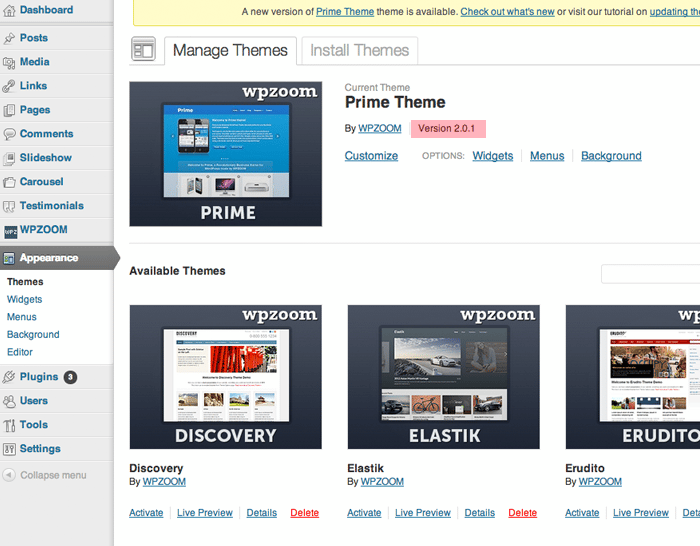
All WPZOOM themes are internationalized (?), which means that you can easily translate them into any language you want.
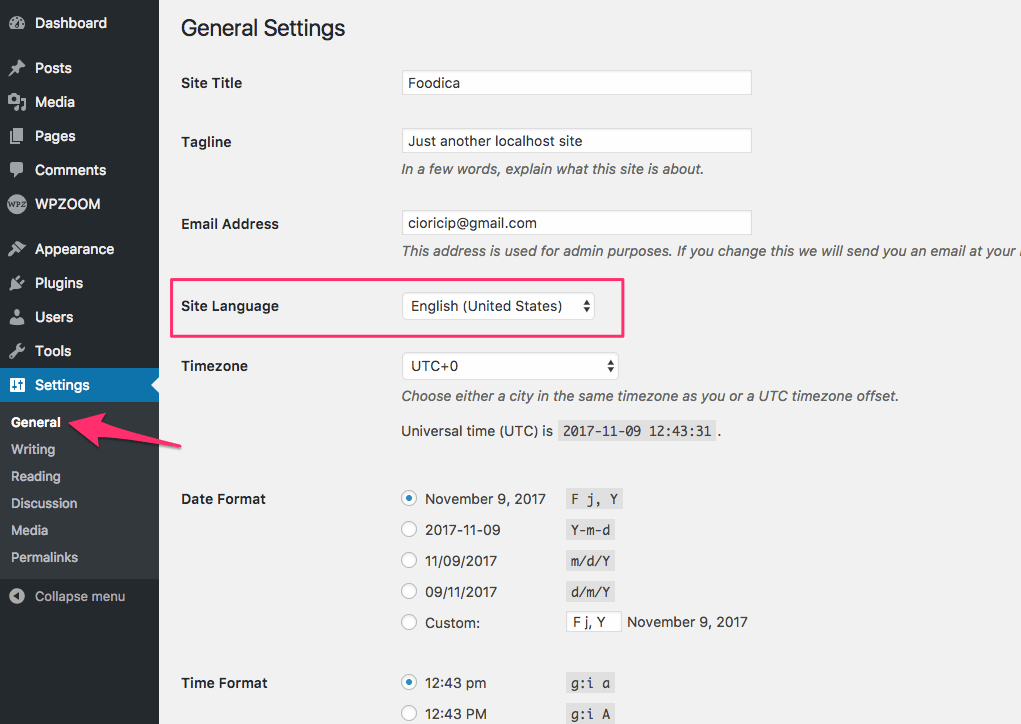
To translate a WordPress theme into a different language, you have to change the language of your WordPress site to the same language in which you plan to translate the theme.
In our case, we’ll translate the theme to Romanian (ro_RO), so on the General Settings page, I’ll select the Română option for Site Language.
Every WPZOOM Theme comes with a .pot file that contains all of the text to be translated.
You can use different tools to translate a theme, but our favorite is the TranslatePress plugin, which is very easy to use. Go ahead and install the plugin, and after that, make sure to activate it.
Once you have the plugin activated, navigate to the Settings > TranslatePress menu in the Dashboard or by clicking the Translate Site link in the admin bar at the top.
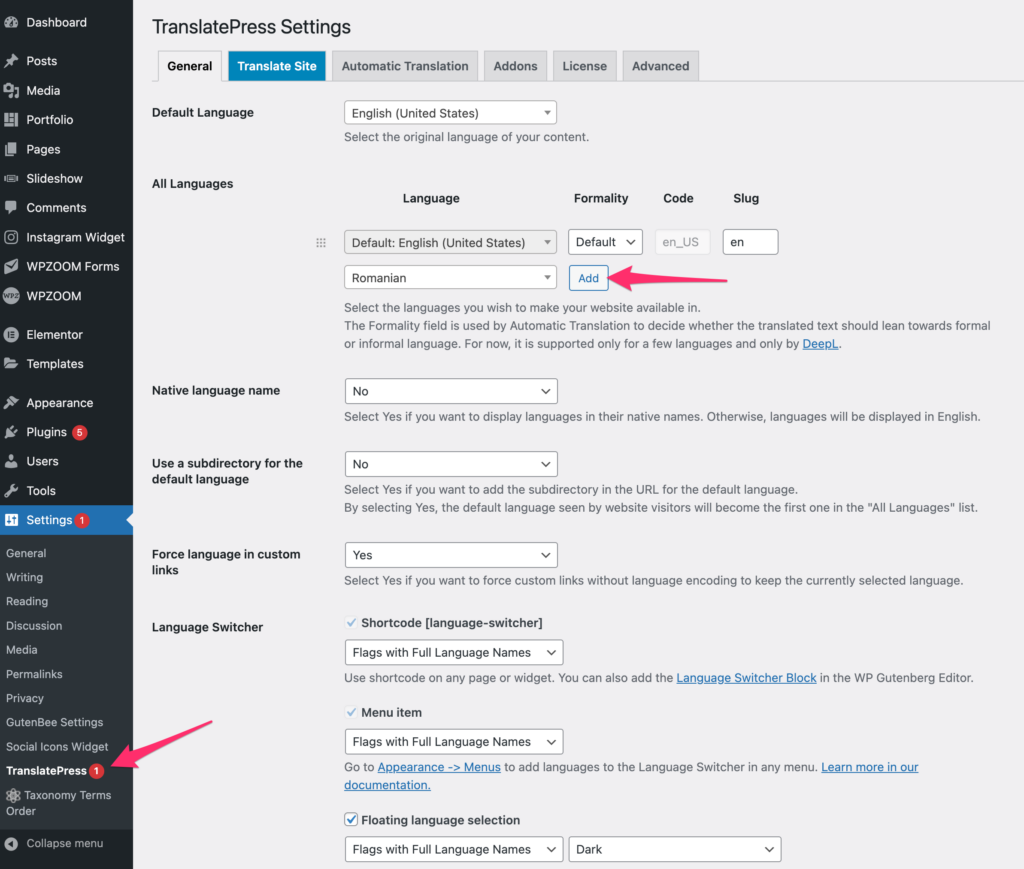
From the Settings page, you can easily configure your site to be multilingual, or you can translate the theme into the needed language. In this case, you’ll need to set the translated language as the Default Language.
When viewing your website, you will notice a new “Translate Page” item in the admin bar at the top:

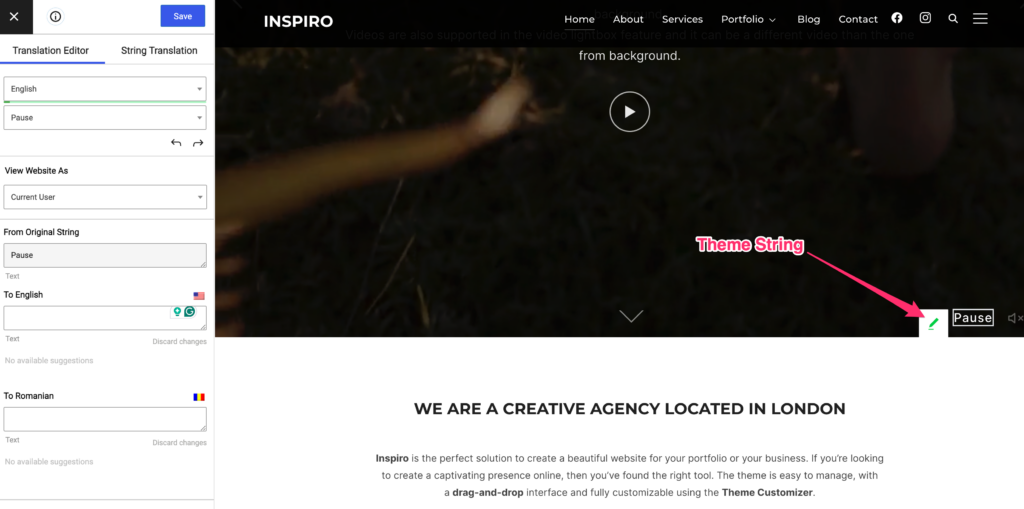
Clicking on that item will open a new interface where you can choose the text or theme strings you want to translate:
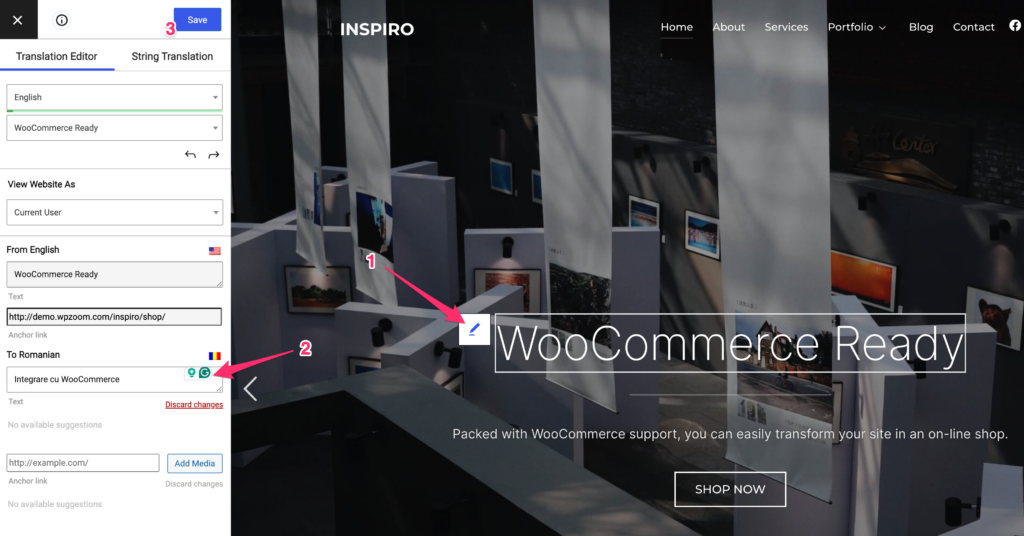
You can repeat this process for all text or theme strings you need to translate.
The color of the editing icon makes it easy to differentiate which content is saved in your database (blue icon) and which text is a theme string (green icon).
Theme strings are normally generic words like “Read More” or “Designed by WPZOOM”, which are a part of your theme. These words can be also easily translated using TranslatePress:
Looking for more features? Check TranslatePress PRO
Looking for more best WordPress plugins?