FLASH SALE Get 20% OFF everything using the coupon code: FLASH20 View Pricing Plans →
Numerous features can be added quickly in the theme from Jetpack Plugin: Tiled Galleries, Related Posts, Extra Sidebar Widgets, etc.
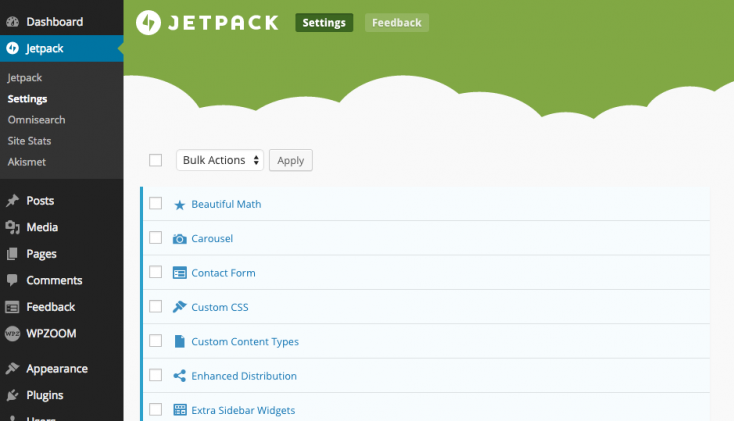
Recommended Jetpack Features:
Related Posts
Carousel
Extra Sidebar Widgets
Post by Email
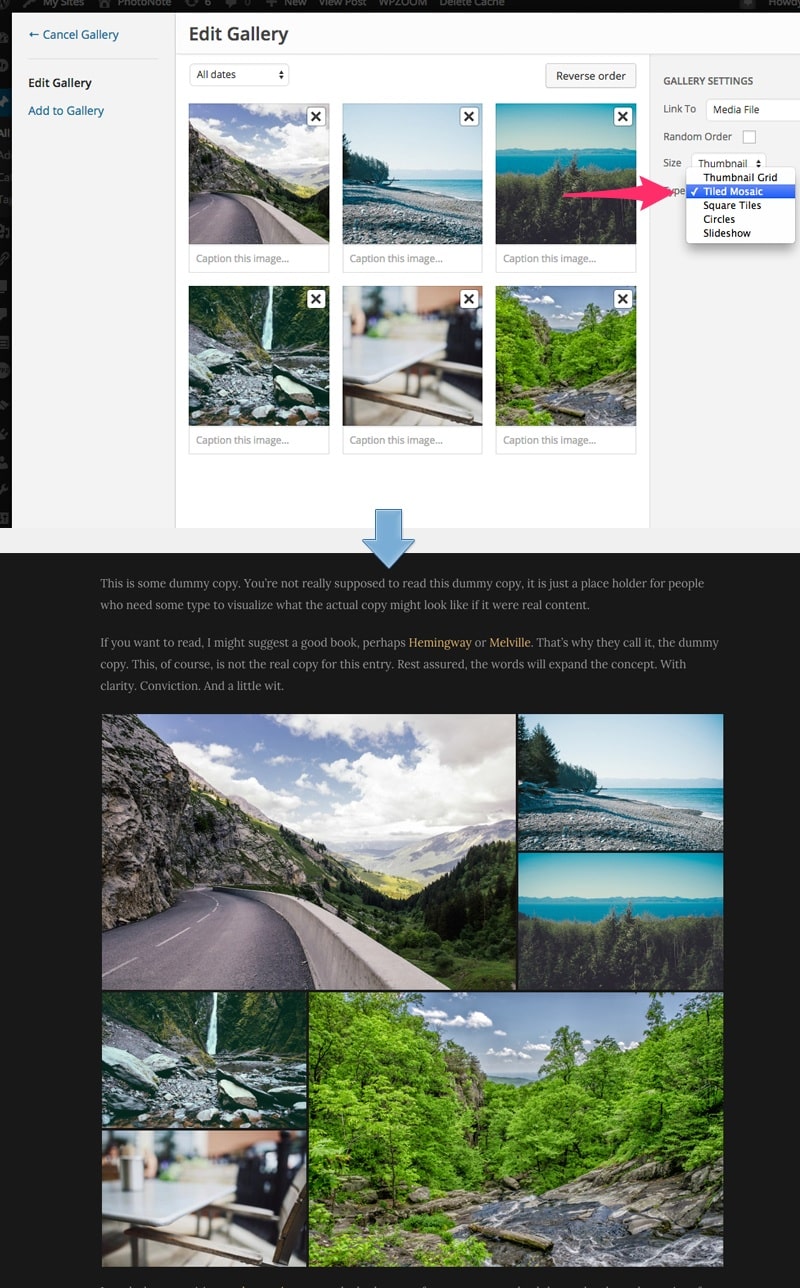
Tiled Galleries
If you need help installing and activating these features, please see this tutorial: Getting started with Jetpack.
Here’s how you can create a Tiled Mosaic Gallery: